Most cyclists obsess over watts, tyres and gear ratios – then leave breathing to chance. You’d never ride a climb in the wrong gear on purpose, but plenty of riders tackle hard efforts with “wrong” breathing: shallow, rushed, and about as efficient as pedalling squares into a headwind.
The good news: breathing is trainable. You don’t need a medical textbook, a lab, or a yoga retreat in the Alps. You just need a bit of awareness, some simple cycling breathing techniques, and a willingness to practise them on real rides.
This guide walks through how to breathe while cycling in a way that’s practical, beginner-friendly, and actually usable on the bike – whether you’re riding indoors on ROUVY or hanging on to the back of the Sunday group ride.
Why efficient breathing matters
Most riders treat breathing like background noise: it just happens… until it doesn’t. Then suddenly you’re halfway up a climb, heart rate pinned, legs still OK, but your lungs feel like they’ve clocked out and gone home.
Breathing is your built-in oxygen delivery system. Get it working with you, and everything feels smoother. Leave it on autopilot forever, and you’ll always feel like there’s a small handbrake on, especially when the pace lifts. Efficient breathing in cycling quietly does three big jobs:
1. Delivers oxygen to working muscles
This is the obvious one, but it’s worth spelling out.
- More oxygen in → more aerobic energy out.
- The better you move air in and out, the more your body can rely on its efficient aerobic engine, not just emergency top-end.
When breathing is efficient, you:
- Move more air per breath
- Spend less energy on the act of breathing itself
- Get better oxygen uptake for the same heart rate
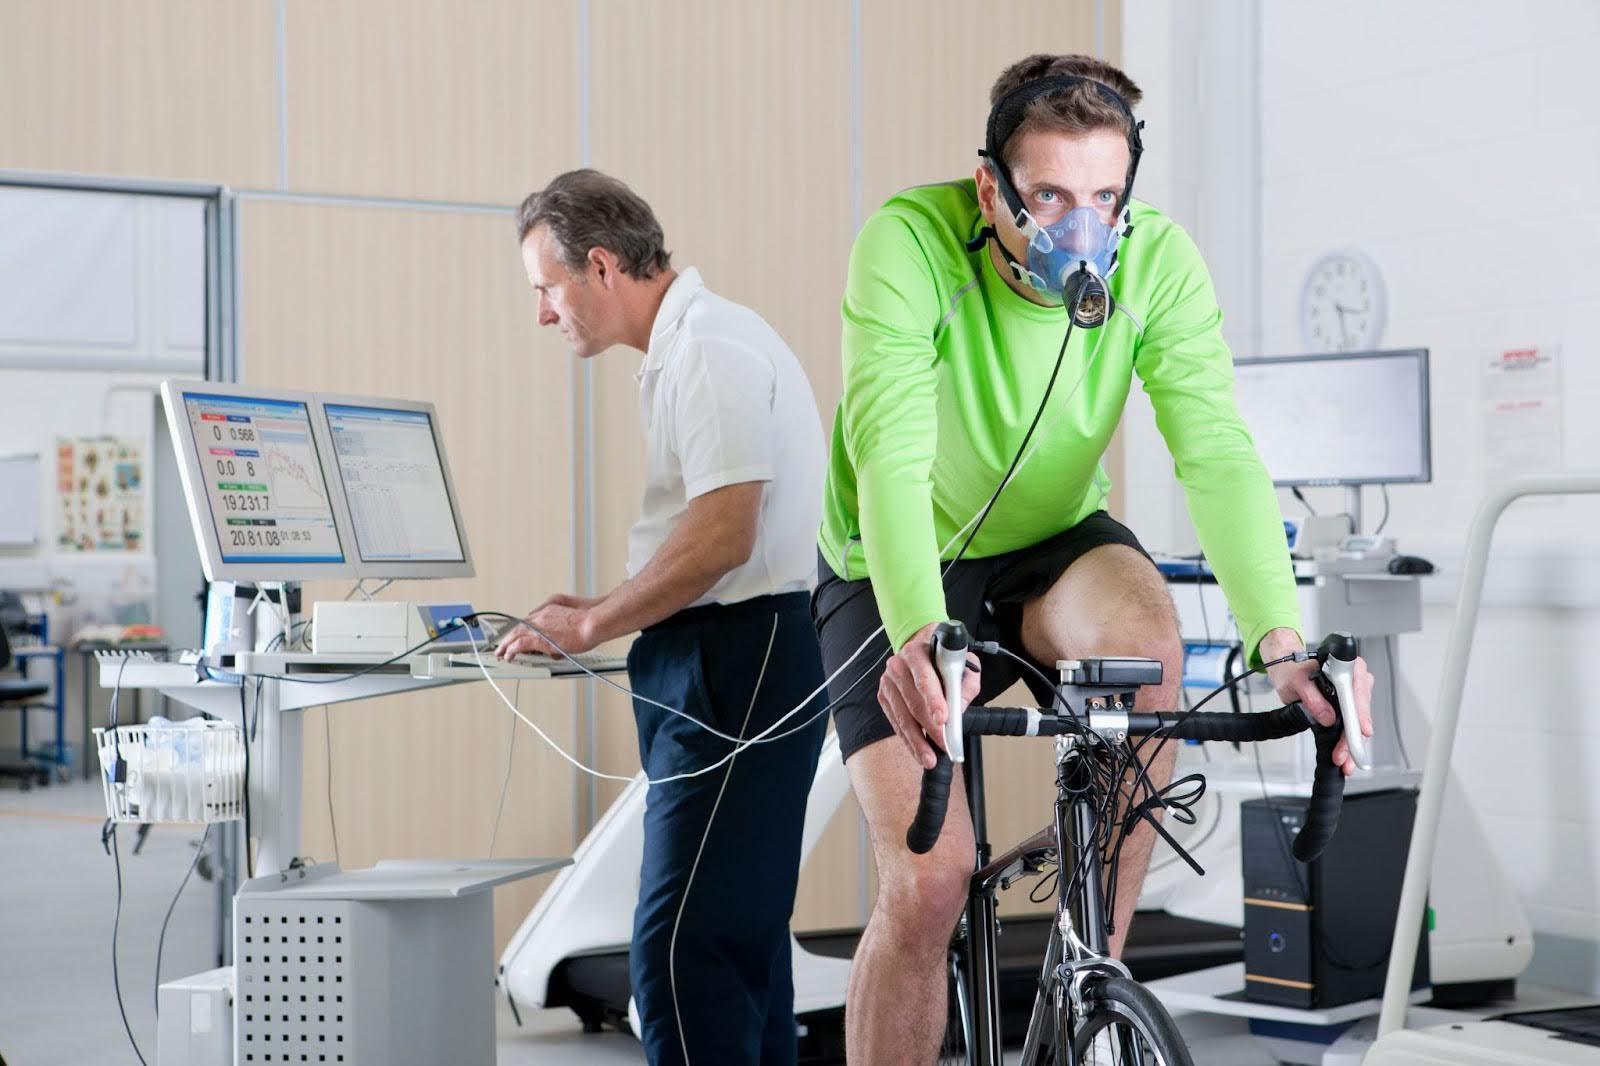
Sports science backs this up. Studies on trained cyclists have shown that when riders practise more efficient, deeper breathing, they can hold a given workload with lower perceived exertion and slightly lower ventilation – essentially doing the same work while feeling less “on the edge”. Other research on respiratory muscle training has found improvements in time-to-exhaustion and performance in high-intensity efforts, purely by making the breathing system more efficient and fatigue-resistant.
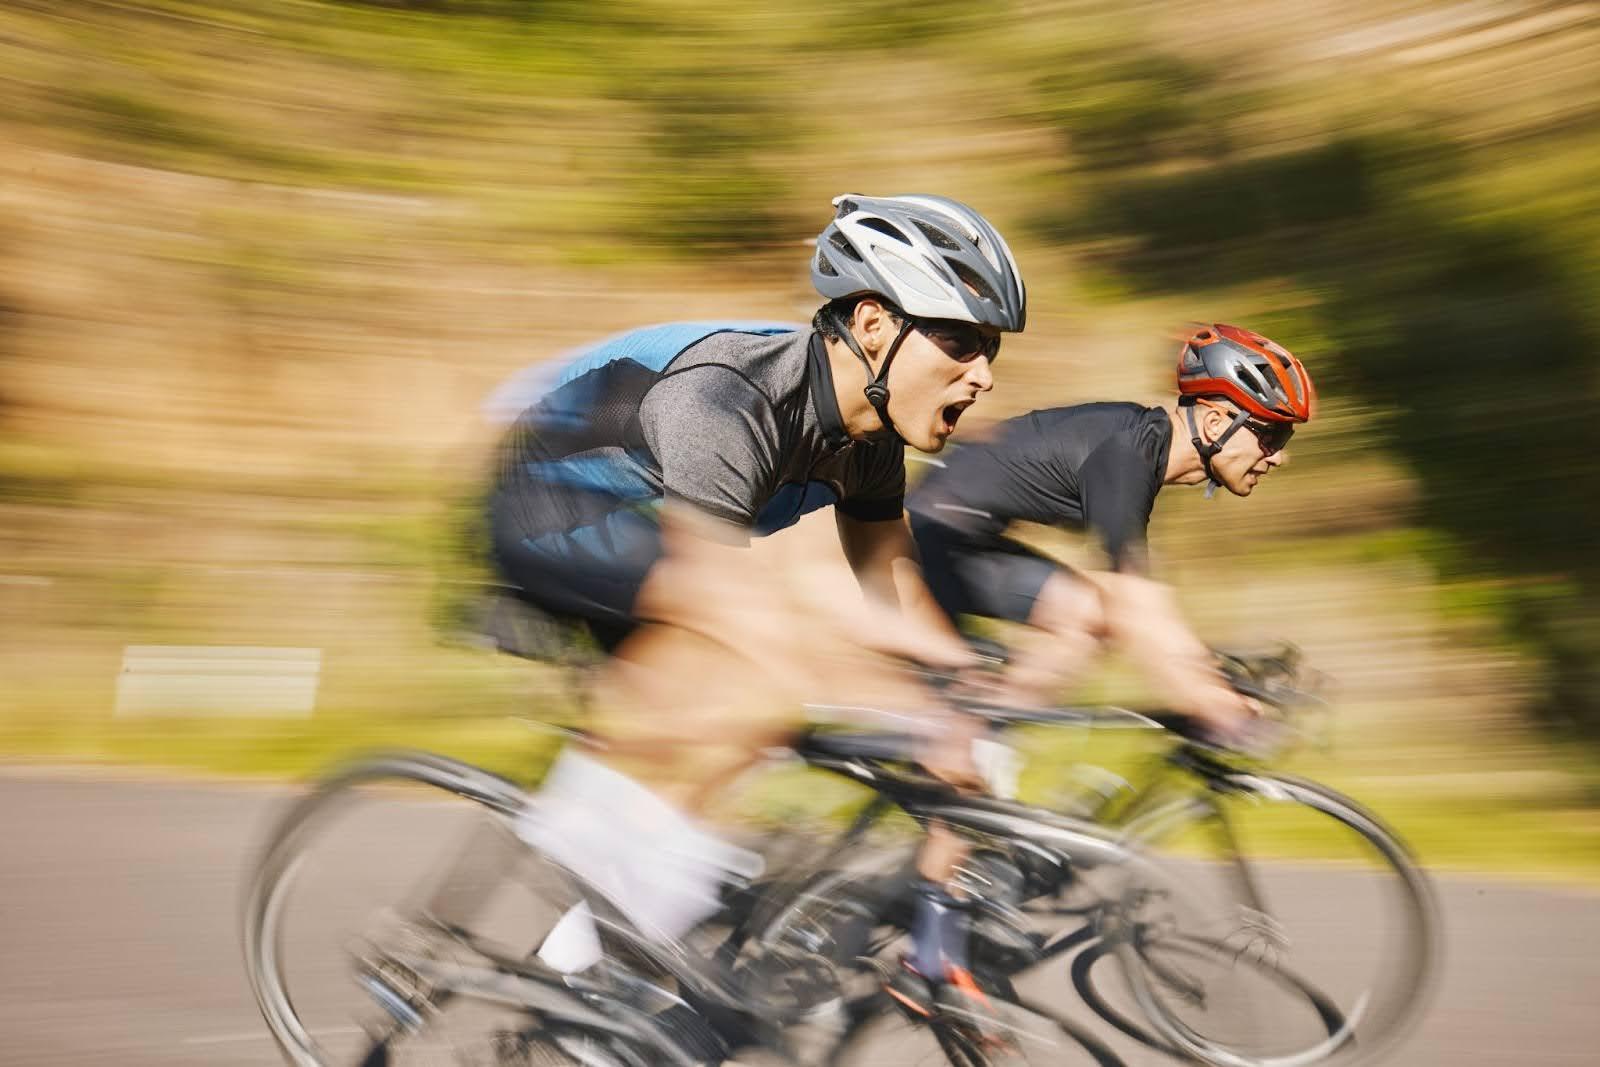
2. Helps control effort and nerves
Breathing is also one of your best effort regulators.
Smooth, rhythmic breathing tells your nervous system: “We’re working hard, but we’re OK.” Jerky, panicked breathing says, “We’re under attack, shut everything down.”
When breathing falls apart:
- Heart rate often spikes faster than it needs to.
- Perceived effort shoots up.
- Decision-making goes downhill – you stop thinking and just suffer.
When it stays under control:
- You feel more in charge of the effort, not just hanging on.
- It’s easier to pace long climbs, intervals, and races.
- You can still make basic tactical decisions instead of staring at your handlebar stem waiting for it to be over.
There’s a nice crossover here with psychology: controlled, rhythmic breathing is used in many sports to down-regulate anxiety and keep athletes composed under pressure. You’re essentially using your lungs to talk your brain out of panicking.
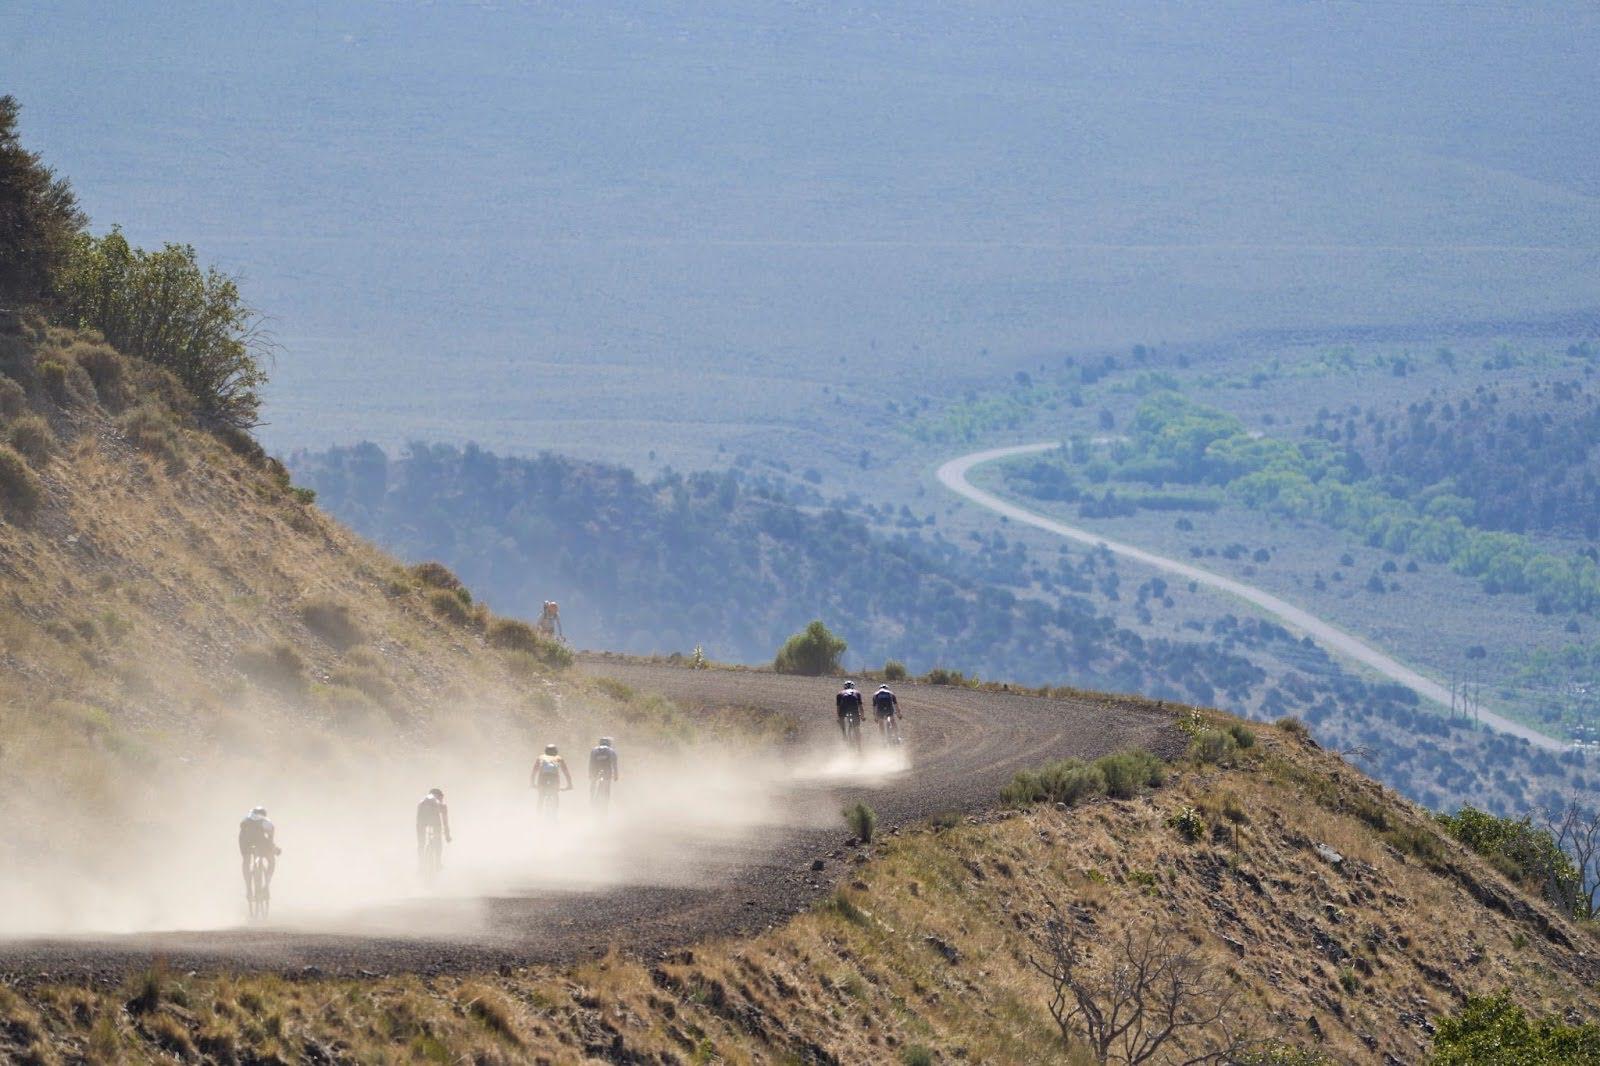
I saw this play out clearly with one rider I coach who spent a big chunk of the season riding in the mountains. The routes were brutal: long, steady climbs suddenly broken by steep ramps, hairpins, and little “kicks” that blew his breathing to pieces. He had the fitness, but every pace change turned into a mini crisis. We didn’t change his FTP. We changed his breathing.
On the longer climbs, we built a simple rule:
- On the steady sections: calm, slightly deeper breaths matched to cadence.
- As the road kicked up: focus on strong, deliberate exhalations over the steepest parts, then re-establish rhythm as soon as it eased.
Within a few weeks, he went from “blowing to bits every time the gradient jumps” to being able to ride the same climbs faster while sounding calmer and more controlled. Same legs, better breathing strategy.
3. Supports posture and core stability
This is the bit most riders don’t think about. Breathing and core stability are joined at the hip. Your diaphragm, deep core muscles, and ribcage all work together. When that system is doing its job:
- Your upper body stays stable.
- Your hands, arms, and shoulders aren’t doing unnecessary work.
- Power from your legs gets to the pedals more cleanly.
When breathing is poor – tight chest, shrugged shoulders, shallow upper-chest breaths – everything starts to wobble:
- You rock side to side on the saddle.
- The bars move more than they should.
- Energy that should go into the chain disappears into movement.
Some research on “locomotor–respiratory coupling” hints at this link: when breathing and movement are in a sensible rhythm, runners and cyclists often show greater efficiency and less wasted motion. You don’t need to memorise the science, but it’s useful to know there’s more going on here than just air in, air out.
Good “core stability breathing” doesn’t mean turning every ride into a Pilates class. It just means your breathing isn’t fighting your posture – it’s helping you hold a strong, efficient position.
Think of efficient breathing as invisible free speed. You’re probably not going to gain 50 watts just by breathing differently. But you might finally access the watts you already have, hold them for longer, and arrive at the top of the climb feeling like a bike rider – not someone who’s just tried to out-sprint a bus in flip-flops.
Understanding cycling breathing basics
Let’s keep the physiology simple.
- When you breathe in, your diaphragm contracts and drops down, your ribs expand, and air flows into your lungs.
- Oxygen enters the bloodstream, is delivered to your muscles, and helps produce energy.
- You breathe out, clearing carbon dioxide and making room for the next breath.
That’s the boring version. On the bike, a few extra details matter:
Shallow vs deep breathing
Shallow, upper-chest breathing - Fast, small breaths. Your shoulders rise, your chest lifts, but your lower ribs and belly barely move. This often appears when riders get tense or anxious. It’s inefficient: lots of effort, not much air.
Deeper, diaphragmatic breathing - Slower, fuller breaths. Your lower ribs and belly expand slightly as the diaphragm does more of the work. This spreads the effort across more muscle and pulls more air per breath.
You don’t need giant theatrical breaths. The goal is simply a bit deeper and calmer than your default panic pattern.
How breathing changes with intensity
At low intensities, you can usually chat, breathe through your nose if you want, and keep breathing relatively relaxed.
As effort rises:
- Breathing rate increases.
- Breaths naturally become a bit shallower and more frequent.
- You shift from nose-only to nose + mouth, then mostly mouth.
The aim isn’t to fight this, but to guide it, so breathing stays controlled instead of frantic.
Diaphragmatic breathing for cyclists
You’ll see this described as diaphragmatic breathing, belly breathing, or just ‘using your diaphragm properly’. For diaphragmatic breathing in cycling, it’s less about spiritual enlightenment and more about functioning like a well-tuned engine.
Why diaphragmatic breathing helps
- Takes the load off the small neck and shoulder muscles.
- Moves more air per breath with less effort.
- Helps keep the torso stable, which improves power transfer.
- Can lower perceived effort at a given power.
- Often makes riders feel less “panicky” at threshold and above.
For endurance, that translates to being able to sit on a strong tempo or sweetspot effort without sounding like you’re sprinting for the town sign.
How to practise off the bike
Do this lying down first – it’s much easier.
- Lie on your back with knees bent, one hand on your chest, one on your belly.
- Breathe in through your nose for 3–4 seconds, aiming to gently expand your lower ribs and belly into your hand.
- Breathe out for 4–6 seconds, letting everything fall back.
- Chest hand should stay relatively quiet; belly hand rises and falls.

Do 1–2 sets of 8–10 breaths a few times a week. It’s not glamorous, but it teaches your body what deep breathing techniques feel like.
Bringing it onto the bike
Start with easy rides:
- In a low-stress section, place one hand briefly on your lower ribs (if it’s safe) or just focus your attention there.
- Over 5–10 breaths, imagine breathing “wide” into your lower ribs rather than “up” into your shoulders.
- Keep the upper body relaxed, elbows soft, jaw loose.
You’re not trying to ride around inflating your stomach like a balloon. Just shift the emphasis slightly lower, so your diaphragm does more, and your shoulders do less.
Matching breathing rhythm to cadence
One of the simplest ways to improve breathing efficiency is to sync your breath with your pedal strokes. Think of it as cadence and breathing rhythm working together instead of fighting each other. Matching breath and cadence is one of the simplest ways to improve breathing efficiency on the bike.
Why rhythm helps
- Gives you a simple focus when efforts get hard.
- Encourages full exhalations (most riders cut these short).
- Helps prevent random gasping and breath-holding.
Practical Patterns to Try
At endurance/tempo:
- Try 2–3 pedal strokes in, 3–4 out
- Example at 90 rpm:
- Inhale for 2–3 strokes (about 1.5–2 seconds)
- Exhale for 3–4 strokes (slightly longer out-breath)
At threshold/hard efforts:
- You may end up closer to 2 in, two out or even 1 in, one out in very hard work. That’s fine.
- The cue here is: fast but still controlled, no “snatching” at the air.
At recovery:
- Slow everything down: 3–4 in, 4–6 out
- Use those sections to reset posture, drop your shoulders, and re-establish calm.
You don’t need to count every second of the ride. Pick one segment – a 10-minute sweetspot block or a steady climb – and deliberately practise matching breath and cadence. Over time, efficient breathing cycling becomes automatic.
Nasal vs mouth breathing: What should cyclists use?
This one can get weirdly emotional online. Let’s keep it sensible and look at nasal vs mouth breathing cycling practically.
Nasal breathing: Pros and cons
Pros
- Encourages slower, deeper breaths at low intensities.
- Naturally limits effort – hard to go full gas breathing only through the nose.
- Warms and humidifies the air, which some riders find more comfortable.
- Can help keep you relaxed on easy rides.
Cons
- Airflow is limited – at higher efforts, it becomes the breathing version of riding with the brakes on.
- Can feel restrictive or stressful if you force it when the intensity is too high.
Mouth breathing: Pros and cons
Pros
- Allows much higher airflow – essential for hard work.
- Lets you match ventilation to demand during climbs, efforts, and sprints.
- More comfortable once intensity rises above steady endurance.
Cons
- Easier to drift into shallow, upper-chest gasping.
- It can dry the mouth and throat more quickly, especially indoors.
So, which should you use?
Here’s a simple rule of thumb for how to breathe while cycling:
- Easy / recovery / very steady endurance → Try mostly nasal or nose-dominant breathing, especially on flat, relaxed rides. This can train calmer patterns and better diaphragmatic use.
- Normal endurance/tempo → Mix nose and mouth. In through the nose, out through the mouth is a nice midpoint if it feels natural.
- Hard efforts, climbs, race pace, intervals → Go with mouth breathing. Don’t handcuff your performance to prove a point about purity of technique.
Use nasal breathing as a tool, not a religion. If you’re fighting for air on a climb, open your mouth and breathe. That’s not failure; that’s just being a functioning cyclist.
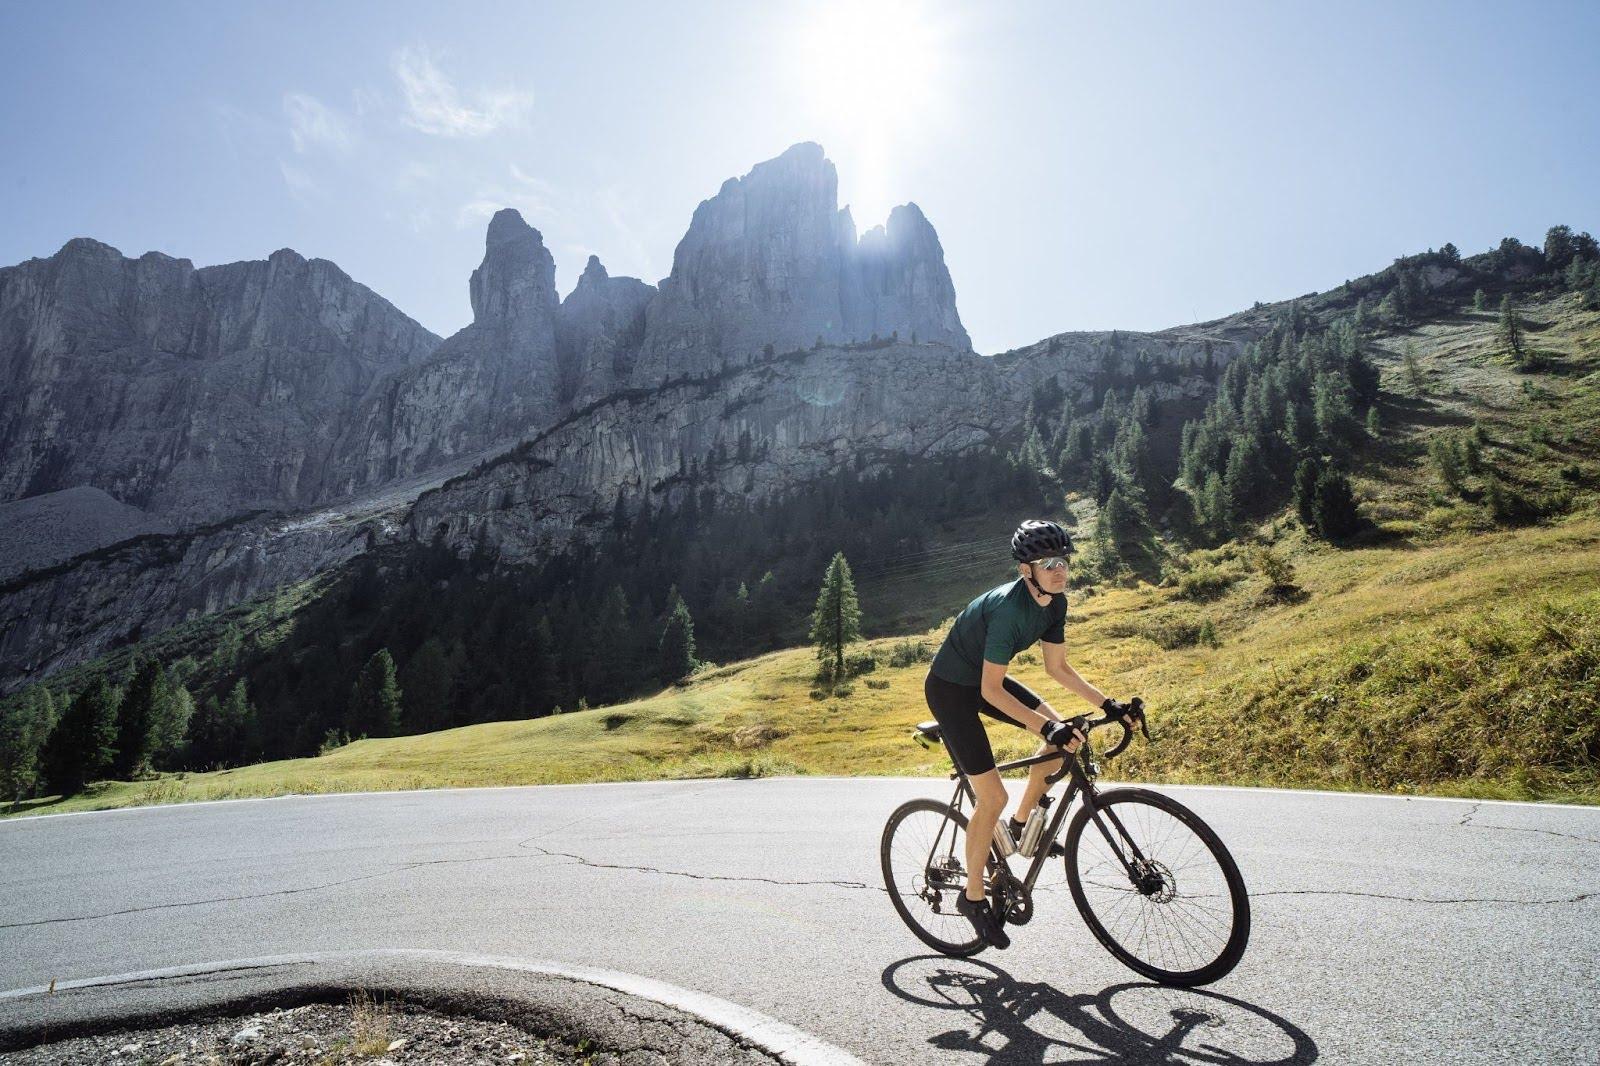
Breathing techniques for climbing
Climbs are where dodgy breathing gets exposed. You’re working hard, speed is lower, and there’s nowhere to hide.
Long, steady climbs
Focus on three things:
1. Posture
- Keep the chest open: slight bend in the elbows, shoulders away from your ears.
- Avoid folding over the bars and compressing your ribcage.
2. Rhythm
- Use that cadence–breathing pairing: for example, 2–3 strokes in, 3–4 out.
- Let breathing set the tone. If it’s getting ragged, you’re probably a bit over your sustainable pace.
3. Relaxation
- Scan for tension: jaw, shoulders, hands.
- Every couple of minutes, deliberately loosen your grip for a few seconds and soften the face.
A good on-bike cue: “Quiet upper body, strong legs, calm breathing.”
Short, sharp hills
Different game: higher intensity, shorter duration.
- Accept that breathing will be faster and louder. That’s normal.
- Focus on forceful but controlled exhalations – blow the air out, don’t just sip it.
- If you’re standing, keep the torso stable so you’re not bouncing; think “floating head, anchored ribs”.
A handy cue here: “Blow out hard at the steepest bit, then tidy the breathing as the gradient eases.”
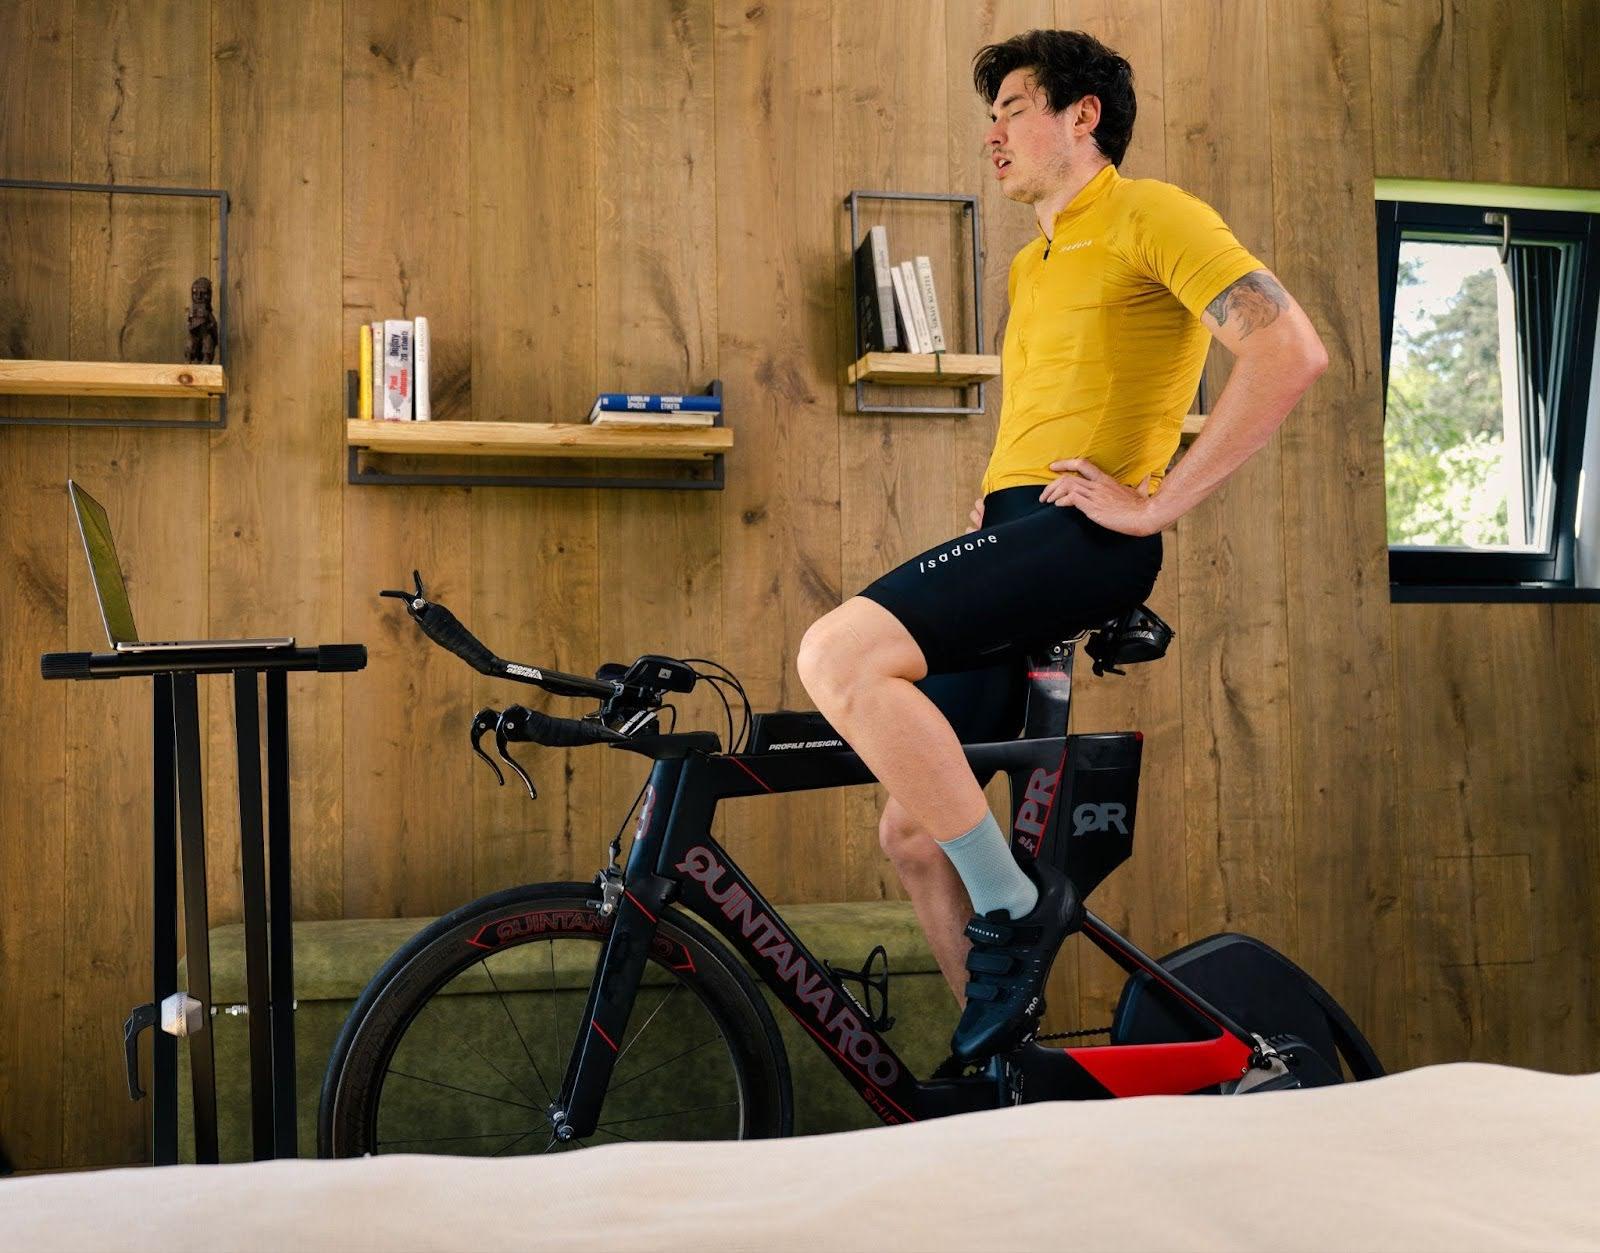
Breathing tips for indoor cycling
Indoor sessions – especially on ROUVY – are brilliant for experimenting with cycling breathing techniques because everything is controllable: power, route, temperature (mostly), and session structure.
They also punish sloppy breathing because:
- Heat builds up faster.
- There’s less natural airflow.
- You’re often riding close to threshold in shorter, punchier sessions.
Practical indoor breathing tips
1. Sort the environment first
- One or two fans aimed at your torso and face.
- Reasonable room temperature.
- A towel handy so you’re not distracted by sweat in your eyes.
2. Use the warm-up to “switch on” good breathing
- During the first 10 minutes, consciously practise diaphragmatic breathing.
- Inhale “wide” into the lower ribs; exhale fully and smoothly.
3. Link breathing to the workout structure
- For sweetspot blocks: choose a breathing rhythm (e.g. 2 in, 3 out) and stick with it.
- For VO2 intervals: focus on a strong, steady exhale, then let the inhale take care of itself.
4. Use the easy bits properly
- Between intervals, deliberately slow the breathing: 3–4 seconds in, 4–6 seconds out.
- This helps you recover more effectively than random panting.
Indoor rides are ideal for testing breathing efficiency: same session, same power, but better breathing and lower perceived effort are clear signs you’re on the right track.
Common breathing mistakes to avoid
Most riders don’t need to add 20 new tricks. They just need to stop doing a few unhelpful things.
1. Holding your breath when it gets hard
You’d be amazed at how many riders half-hold their breath when attacking, standing, or cornering. Every mini breath-hold is a little drop in oxygen supply and a rise in tension.
Fix: Pick one ride and make this your mission: “No breath-holding on surges.” Even just noticing it is half the battle.
2. Breathing only from the chest
If your shoulders are doing more travelling than your legs, you’re wasting energy.
Fix: Regularly remind yourself: “Breathe into the ribcage, not up into the shoulders.” Drop the shoulders, lengthen the back of the neck slightly, and imagine your lower ribs widening with each breath.
3. Over-focusing until you’re stressed
Ironically, you can over-analyse breathing so much that you end up more tense.
Fix: Use breathing cues in short doses: one climb, one interval, one 10-minute block. Then let things run on autopilot for a while.
4. Ignoring breathing off the bike
If you spend all day hunched over a laptop, chest tight and shallow breathing, don’t expect to magically switch to Olympian breathing under pressure.
Fix: Sprinkle in quick resets during the day: 5–6 slow diaphragmatic breaths before rides. A few deep breathing techniques when you feel wound up.
Drills and simple breathing exercises
Here are practical cycling breathing tips you can start using this week.
A. Off-bike drills (5–10 minutes each)
1. Crocodile breathing (prone diaphragmatic)
Great for teaching the diaphragm to work properly.
- Lie on your stomach, forehead on your hands.
- Breathe in through the nose, aiming to push your belly gently into the floor.
- Exhale slowly through the mouth.
- 1–2 sets of 8–10 breaths.

2. Box breathing (calming pattern) Good before races, tough sessions, or when anxious.
- Inhale for 4 seconds
- Hold for 4
- Exhale for 4
- Hold for 4
- Repeat for 1–3 minutes
It trains control without needing to think about cadences or watts.
3. Seated rib expansion
- Sit tall, hands on the sides of your lower ribcage.
- Breathe in and feel the ribs move outwards into your hands.
- Long, relaxed exhale.
- 1–2 sets of 8–10 breaths.
This strengthens the link between breathing and core stability.
B. On-bike drills (during easy rides)
1. 10-minute breathing focus block
During a Zone 2 ride:
- For 10 minutes, focus on slightly deeper, slower breaths.
- Use 2–3 pedal strokes in, 3–4 out.
- Keep the face and shoulders relaxed.
Then ride normally. That small block is enough stimulus without turning the whole ride into a mindfulness retreat.
2. Climb control drill
On a familiar moderate climb:
- Start conservatively for the first third: aim for calm breathing and good posture.
- In the middle third, gently increase power but keep the same breathing rhythm.
- In the final third, allow breathing to speed up – but keep exhalations controlled and deliberate.
The goal is to raise effort while keeping breathing as tidy as possible, not to stay dainty and under-paced.
3. Interval exhale drill
During threshold or sweetspot intervals:
- Choose a short cue such as “strong out”.
- For 1–2 minutes within the effort, focus on firm, complete exhalations.
- Don’t force inhaling – just let it happen after the exhale.
This helps clear CO₂ and prevents the shallow “half-breaths” that creep in under fatigue.

C. Indoor session template with breathing focus
A simple ROUVY-style session integrating breathing techniques for cycling:
- 10 min easy warm-up
- Last 5 min: diaphragmatic focus, 3 in / 4 out
- 3 × 8 min sweetspot (3 min easy between)
- Aim for 2–3 pedal strokes in, 3–4 out
- Relax your shoulders every couple of minutes
- 10 min cool-down
- Back to slower breathing, 3–4 in / 4–6 out
Do this once a week for a month and notice whether your breathing on other rides starts to “tidy itself up” with less conscious effort.
Final advice for better breathing
You don’t need to transform yourself into a breathing guru. To get 90% of the benefit from efficient breathing cycling, you only really need to:
- Use your diaphragm a bit more, your shoulders a bit less.
- Sync breathing and cadence sometimes, instead of never.
- Let nasal breathing rule the easy stuff, and mouth breathing rule the hard stuff.
- Avoid breath-holding, panic gasping, and permanent laptop posture.
- Practise in low-stress rides so it’s there when you need it under pressure.
On your next ride – indoors or outside – don’t try to fix everything. Pick one cue:
- “Breathe into the ribs, not the shoulders.”
- “Two strokes in, three out.”
- “Strong exhale over the steep bits.”
Run that for a climb, an interval, or a 10-minute block. That’s it.
Do that consistently and, over time, your breathing becomes another quiet strength in your riding toolkit – helping you stay calmer, ride faster, and hold form when everyone around you sounds like they’re breathing through a paper bag.
And if you want the perfect testing ground?