Why Pedalling Efficiency Matters
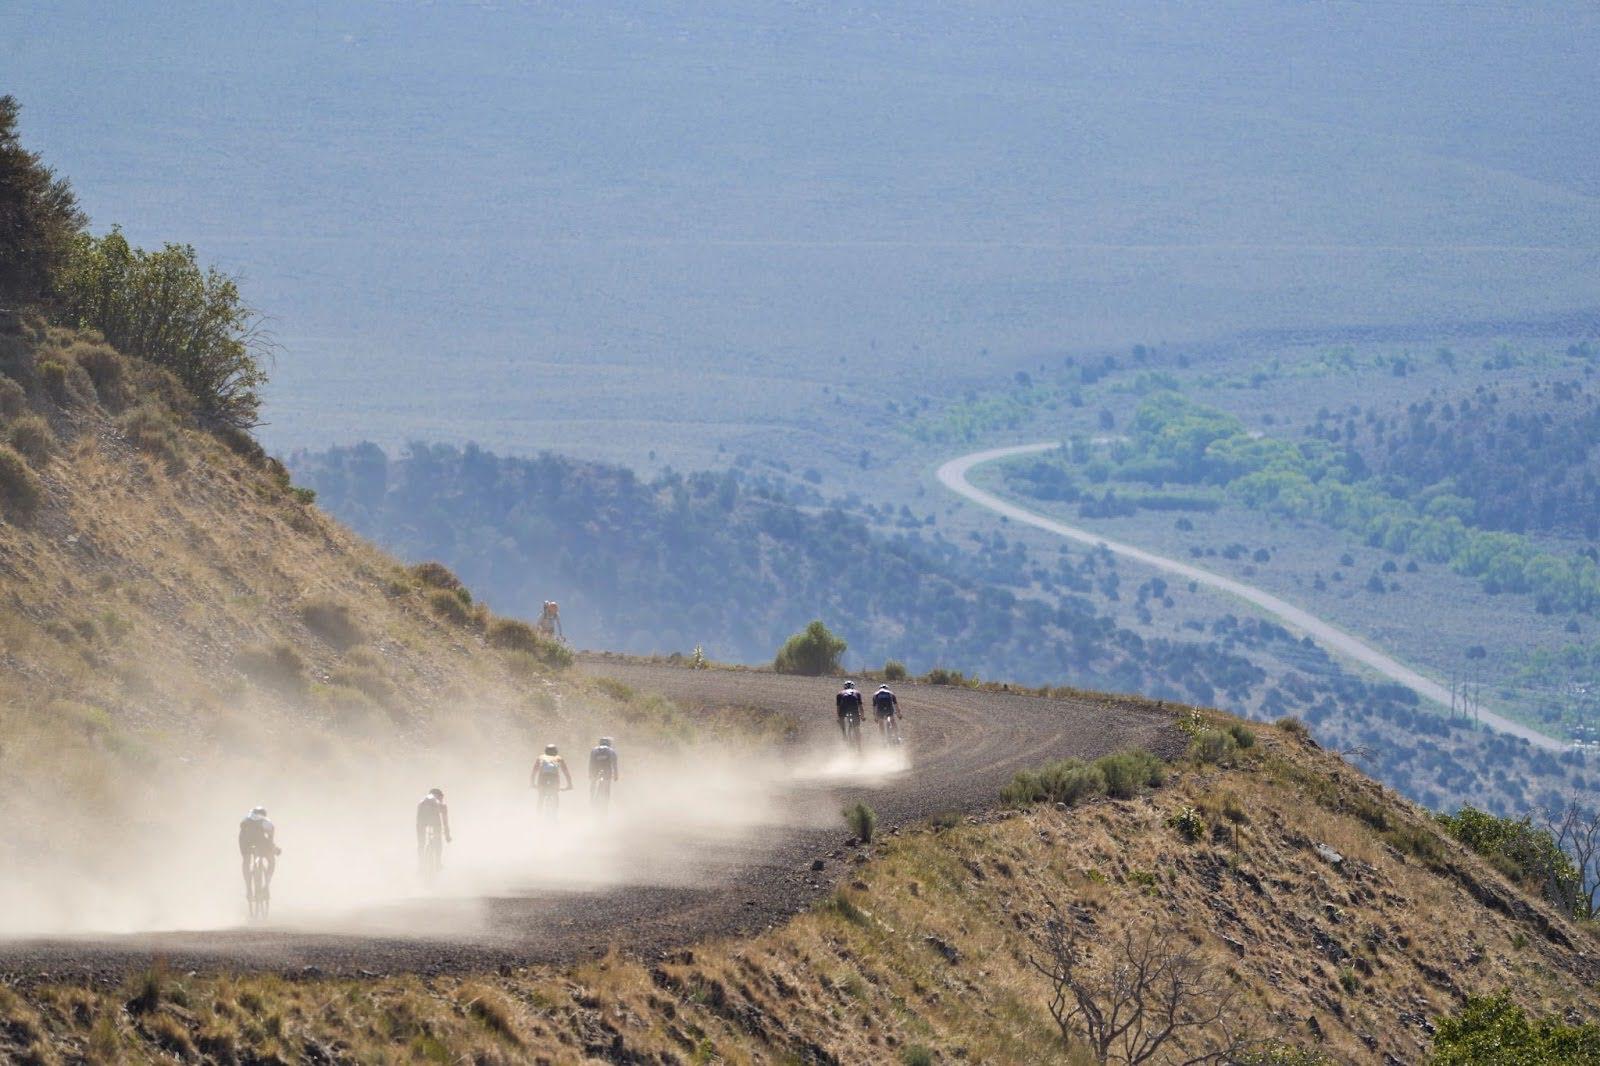
Most riders think “ride more” long before they think “ride better”. It’s why you see people smashing out big weeks… and still pedalling like they’re trying to stamp potatoes.
Pedalling efficiency is the quiet upgrade that makes every kilometre feel smoother, easier, and faster. A cleaner pedal stroke means:
Less wasted energy rocking the bike or thumping the pedals.
Lower fatigue in hips, knees, and lower back – fewer mystery aches after steady rides.
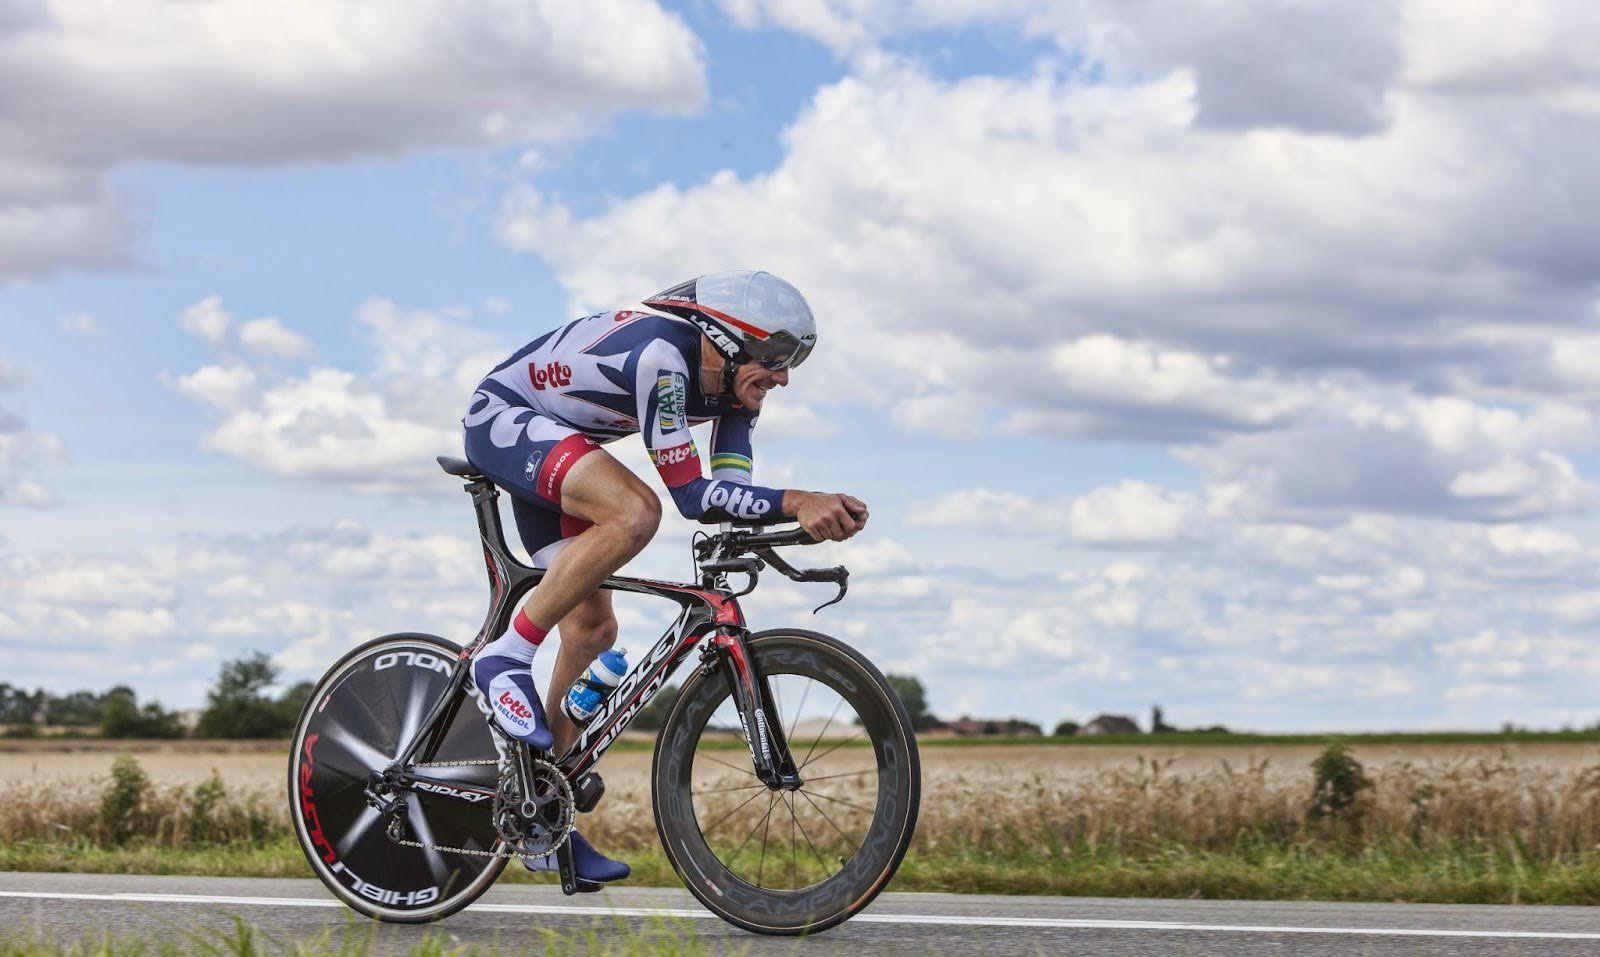
More speed for the same effort on group rides, climbs, and long events.
Get this right, and suddenly you’re not fighting the bike on every rise, or spinning out like a washing machine on the flat. You’re just changing gear, holding your line, and letting a smooth cadence do the work.
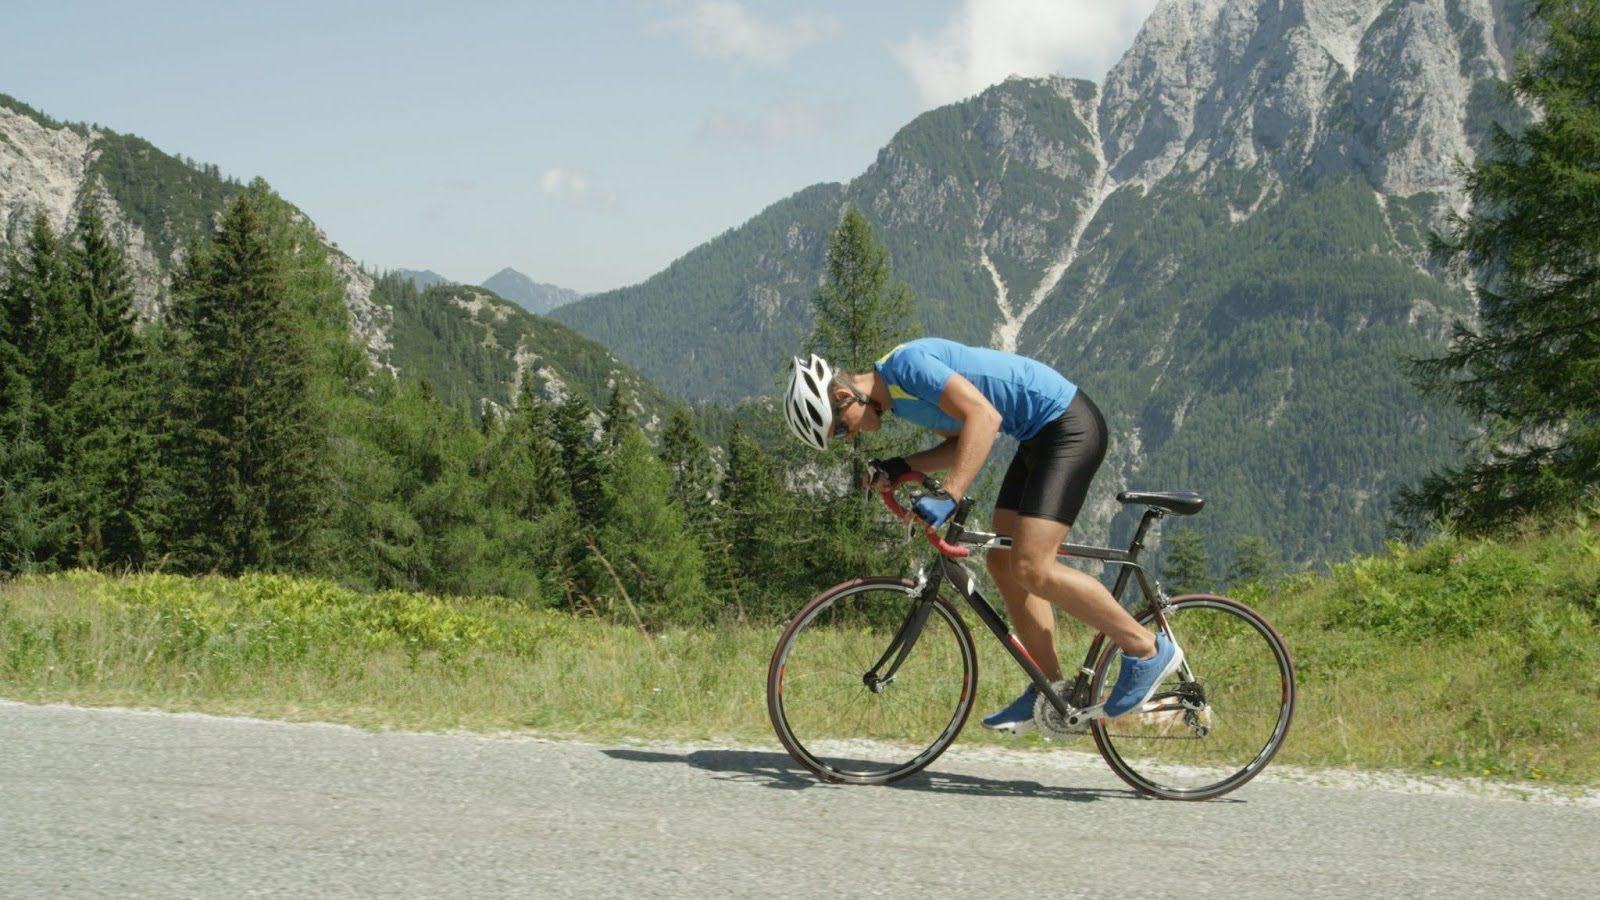
For beginners and fitness riders, efficient pedalling is basically free speed and free comfort. It helps prevent overuse niggles, makes indoor sessions on the trainer feel less like a punishment, and gives you a bigger “cruising gear” before you drift into the red. Over time, your easy pace quietly gets quicker – without you needing a new bike or a heroic training plan.
And the good news? You don’t need lab tests or a biomechanics degree. A bit of focus and a few simple cadence drills, dropped into rides you’re already doing, are enough to start rewiring how you pedal.
Another drill I use with riders is the “football kick” stroke. I’ll ask the rider to imagine that the top of the pedal stroke is like kicking a football forward – a smooth kick through 11–1 o’clock rather than just stamping straight down. That simple picture helps them start the power phase earlier and shrink the dead spot over the top of the stroke, which lab studies often highlight in less experienced riders. Research on pedalling mechanics shows that better-timed, smoother muscle activation around the circle is linked with a more even power distribution and, in some cases, improved metabolic economy, especially in newer cyclists.
How Cadence Drills Improve Pedalling Technique
Cadence drills turn technique into something you can feel, not just vaguely “I hope it improves eventually”. Instead of thinking, “I should probably pedal better” for the 400th time, you give yourself a clear target – 80 rpm, 95 rpm, smooth transitions between the two – and get instant feedback every second.
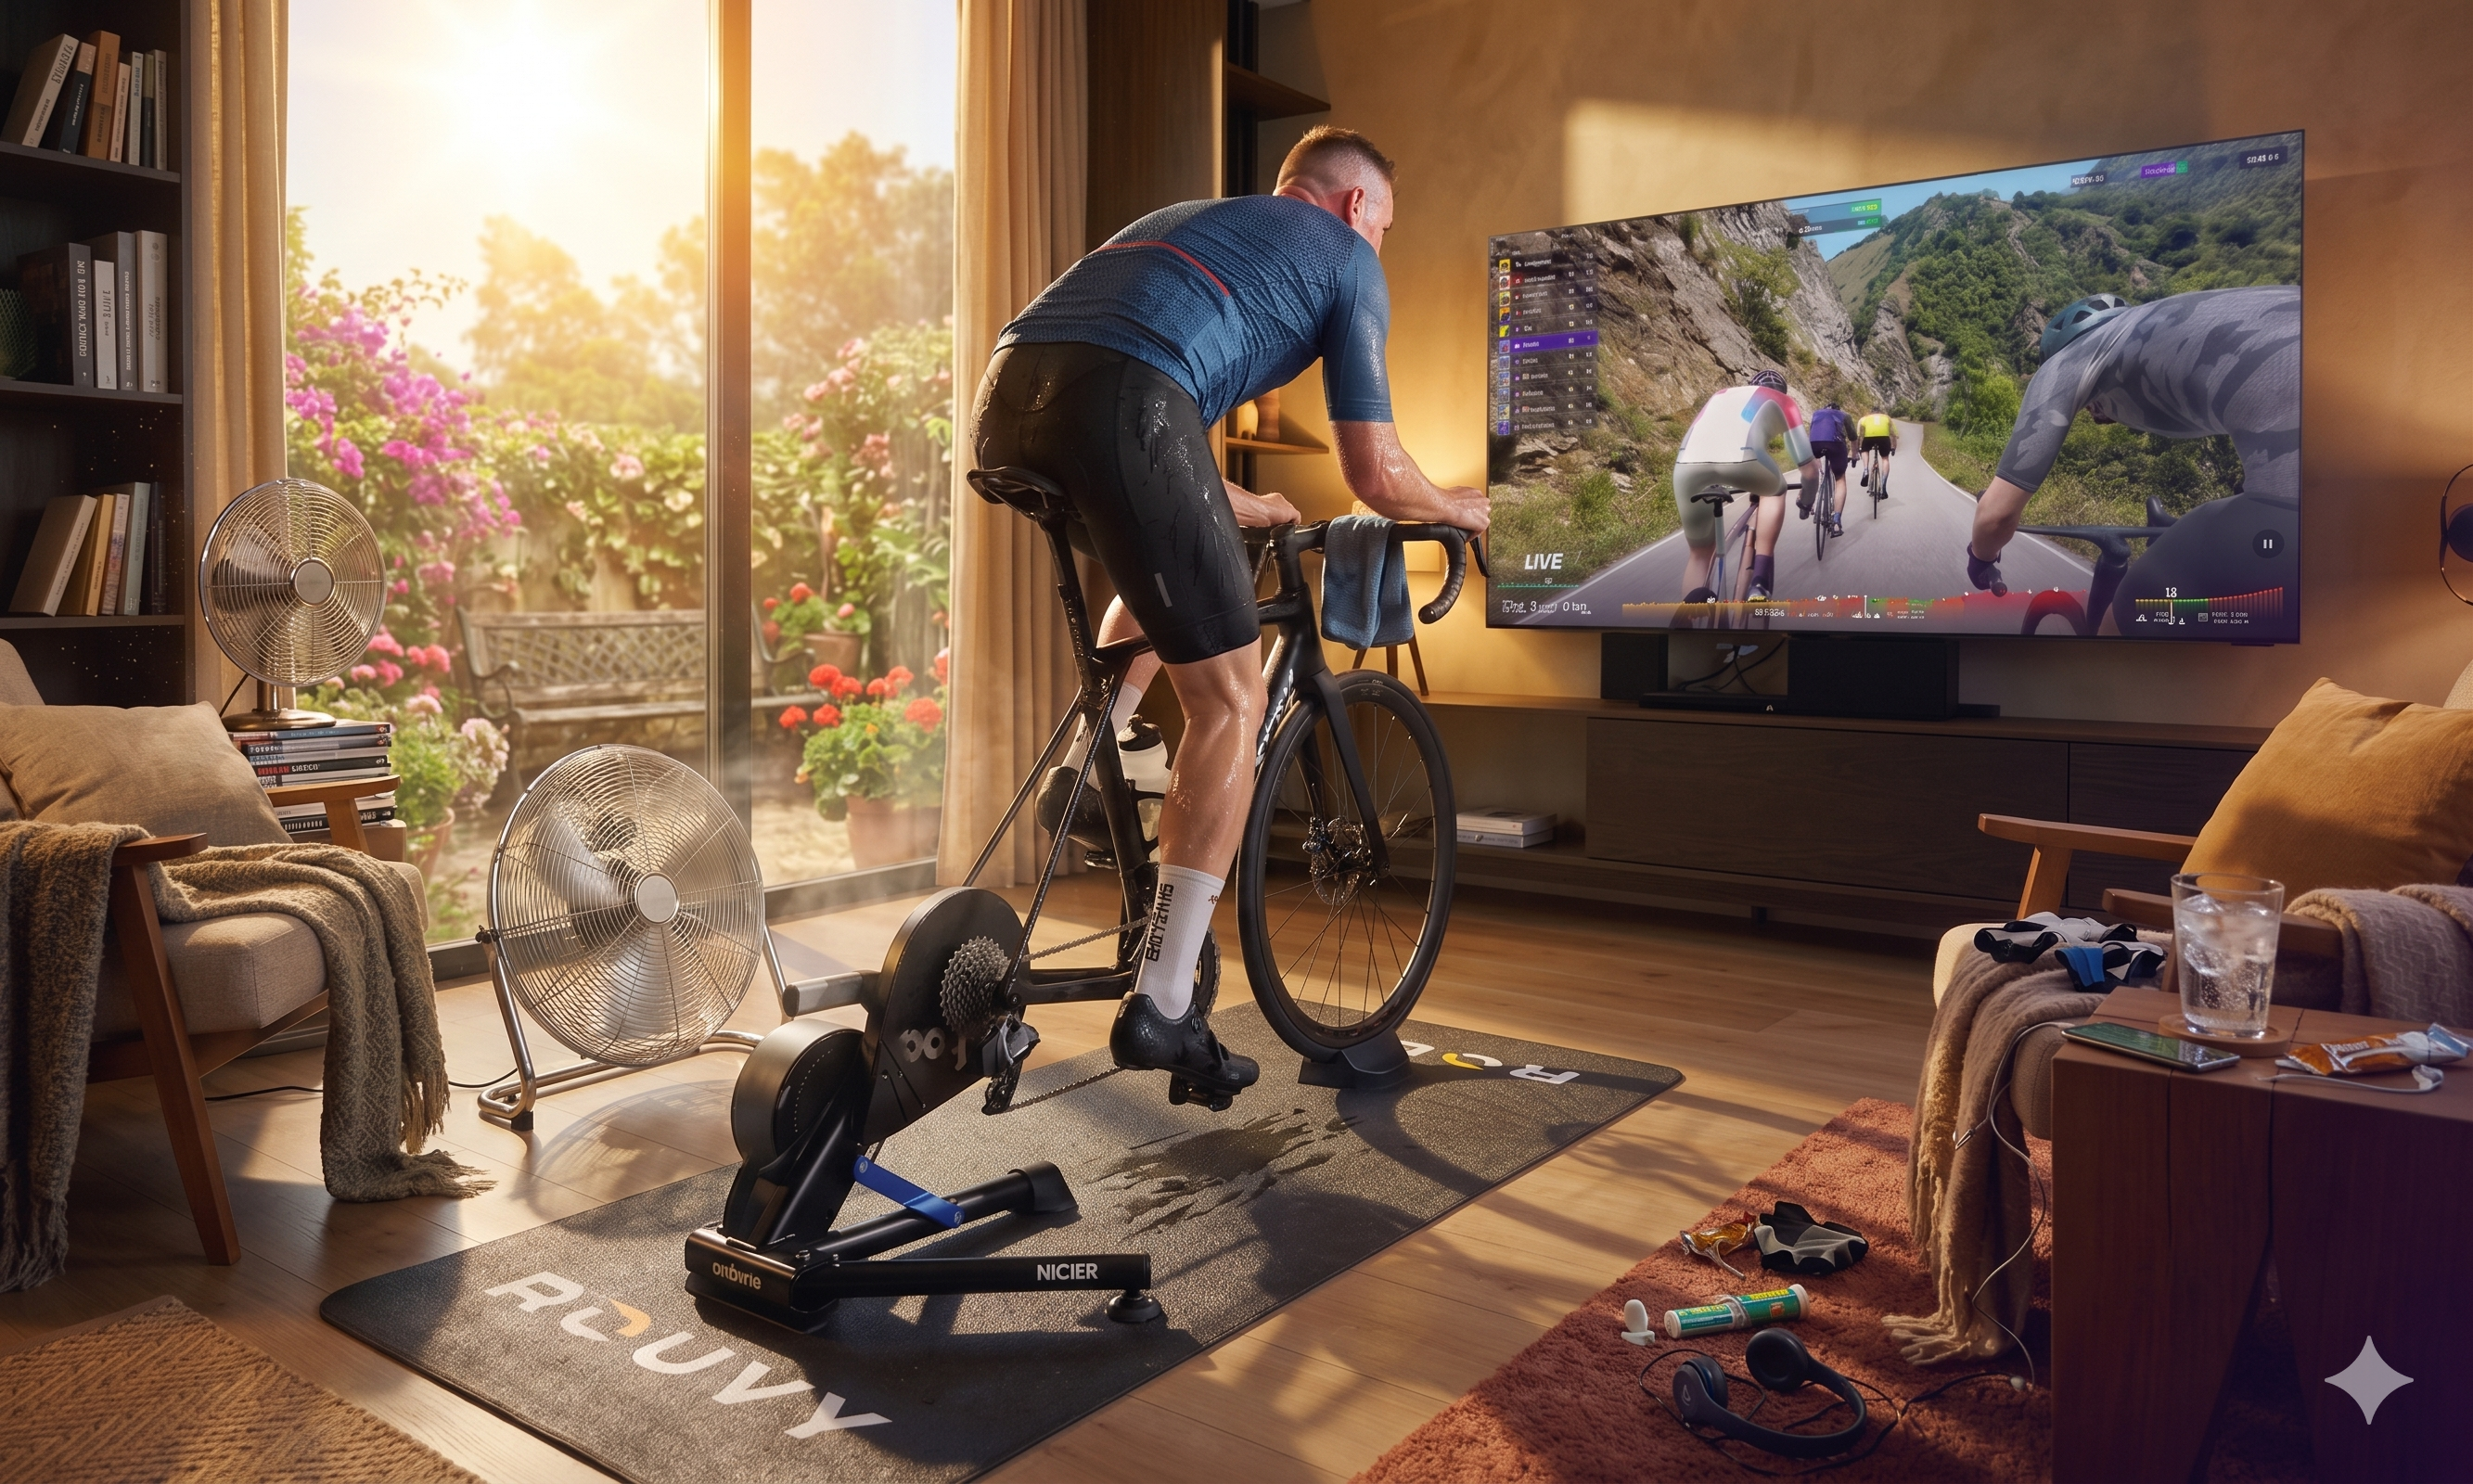
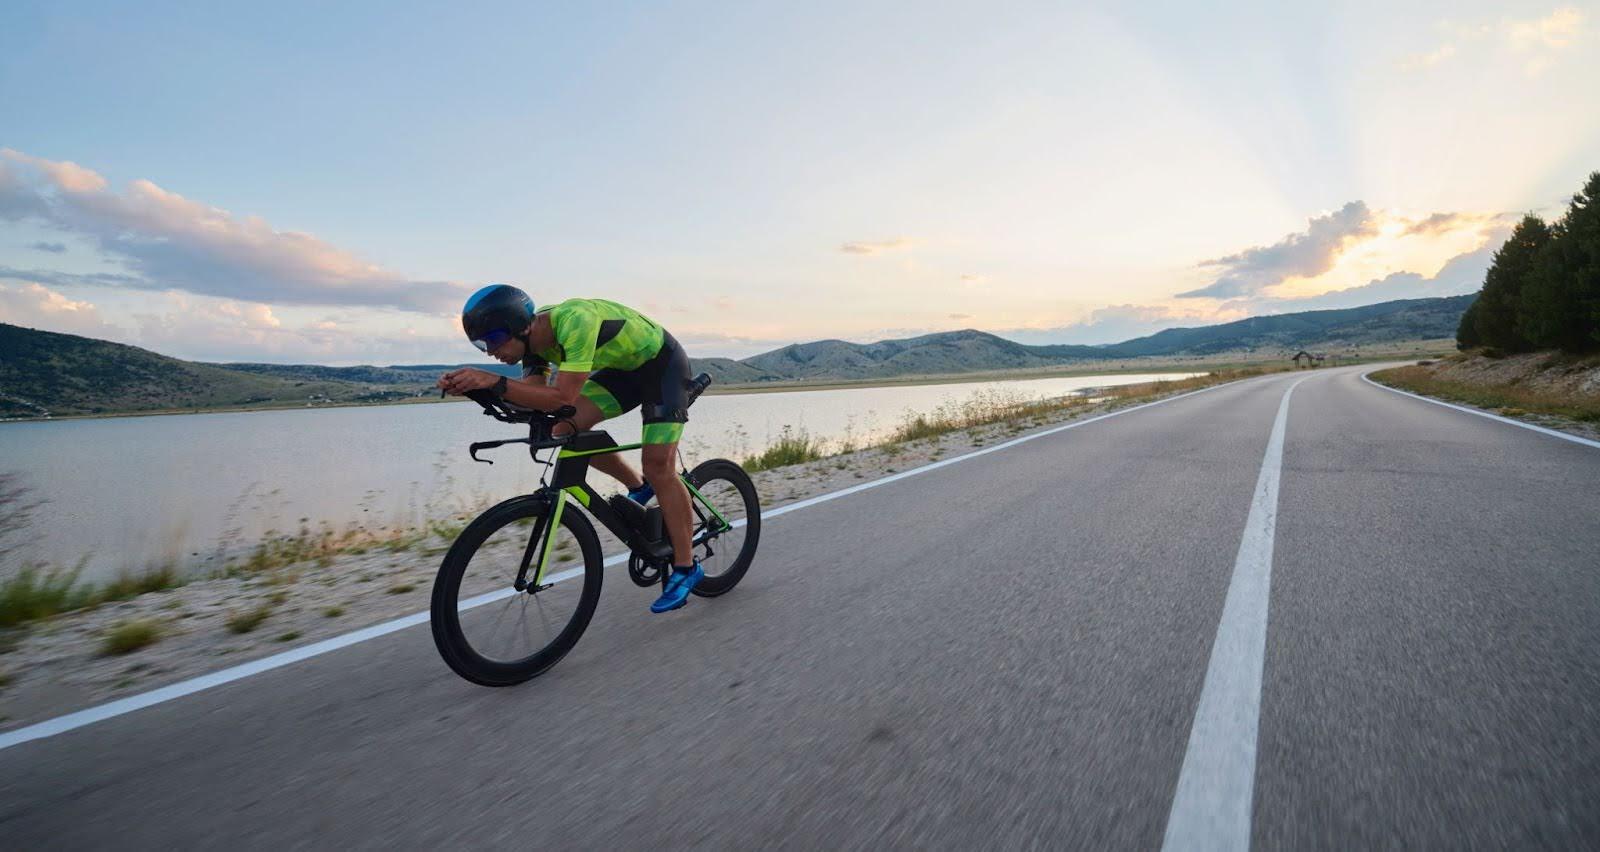
Having coached elite racer Richie Barry for a number of years, it’s obvious how crucial cadence is for him. Richie is a two-time e-sports national champion and an elite cyclocross rider, happily living in both the virtual world and muddy fields. As he puts it:
“Cadence in the virtual environment is just as individual as it is outdoors, but I’ve found there’s a real benefit to pushing a slightly bigger gear in hard indoor races or training efforts. Because the bike is fixed, keeping the flywheel turning smoothly is crucial. If my cadence is too high, I start bobbing on the bike, and that movement robs power from the pedals.
Outside, my natural cadence is around 95–100 rpm. Indoors, in a race or hard effort, I’m more in the 85–95 range, usually about 90. I’m naturally a high-cadence rider, so that drop might not look huge on paper, but I really feel the difference. Some of my teammates go even lower indoors – 70–75 rpm – while still spinning much faster outside.
The upside of that slightly harder gear is a more stable upper body and better engagement of the quads, glutes, and hamstrings throughout the pedal stroke. For me, that translates back to the road as well – I feel more efficient, and I’m making better use of the power I have, rather than letting it leak away in excess movement.”
That’s exactly what good cadence drills do: they help you find the cadence and gearing that keep you stable, controlled and efficient – whether you’re racing on ROUVY, riding outside, or just trying not to pedal like a clunky washing machine.
Play with cadence, and a few good things happen under the bonnet:
Your wiring gets sharper. Short blocks at different cadences teach your nervous system to fire the right muscles at the right time. After a few weeks, that “baby giraffe on a bike” feeling at higher revs starts to fade as coordination quietly improves.
You stop confusing “fast legs” with “death effort”. Most newer riders think spinning faster automatically means suffering more, so they just grind. Cadence drills prove you can ride the same power at very different cadences simply by using your gears properly – gold dust on climbs, in headwinds and on fast group rides.
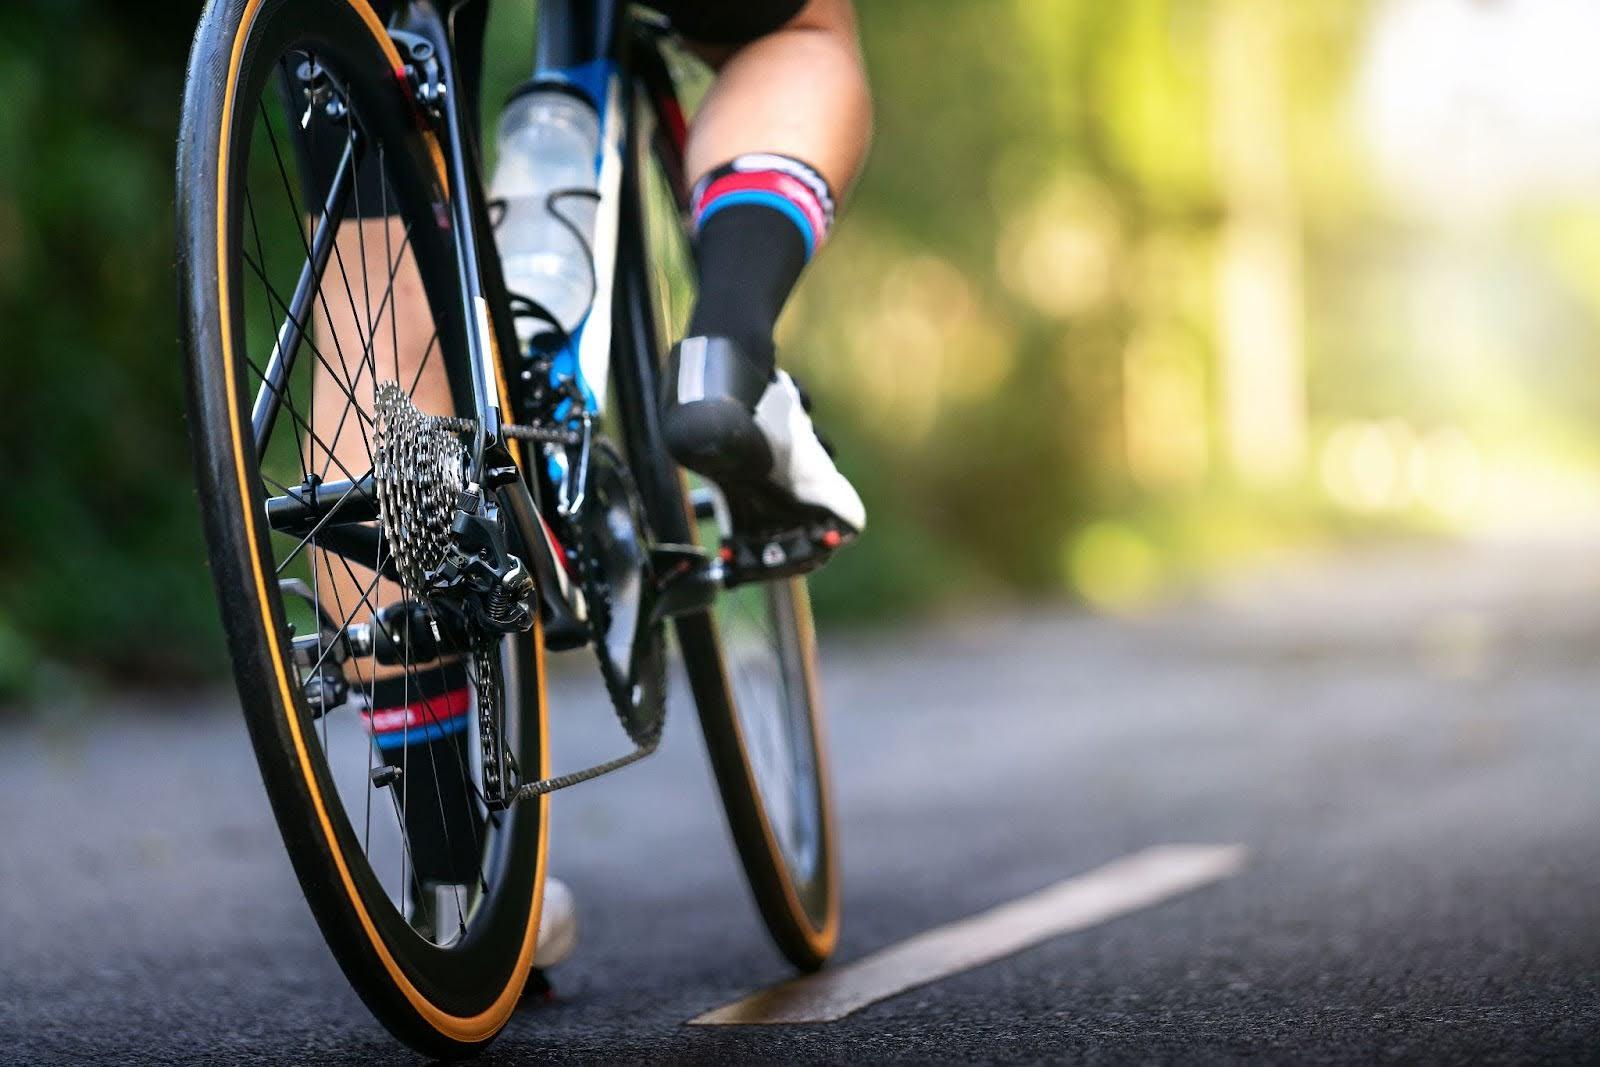
You iron out the clunks. Holding a steady cadence keeps continuous pressure on the pedals rather than a stomp–pause–stomp pattern. The dead spots shrink, the stroke feels more circular, and the bike stops lurching like a drunk shopping trolley.
You build a bigger “comfort zone” of cadences. The aim isn’t one magic number; it’s being happy anywhere from, say, 70–100 rpm. That flexibility makes it much easier to respond to hills, pace changes or virtual terrain shifts on ROUVY without your heart rate spiking into panic mode.
For newer and recreational riders, even a couple of 5–10 minute cadence drills per ride can noticeably change how smooth and controlled things feel. From the outside, you’re just “out for a spin” – but underneath, every little cadence task is quietly rewiring your pedal stroke to be calmer, cleaner and more efficient.
Examples of Cadence Drills
1. Cadence Match Drill
- Pick a cadence target, say 85 rpm, and hold it steady for 2–3 minutes.
Try this:
- Ride 2–3 minutes at 85 rpm on a flat road or flatter ROUVY route, using gears to keep cadence within ±2 rpm.
**Indoor/outdoor: **any ride with cadence visible or a simple 15-second foot count. Scale: beginners use ±5 rpm; advanced users change the target every minute.
2. Low–High Cadence Challenge
- Alternate between slow and fast cadence blocks to teach leg speed without bouncing.
Try this:
- Ride 1 minute at 70–75 rpm, then 1 minute at 95–100 rpm, keeping effort similar by changing gear, not pushing harder.
Indoor/outdoor: works well in ERG-mode ROUVY workouts or on quiet roads.
Scale: beginners use 30 seconds low / 30 seconds high; advanced extend to 2 minutes and briefly touch 110+ rpm smoothly.
Examples of Smooth Pedal Stroke Drills
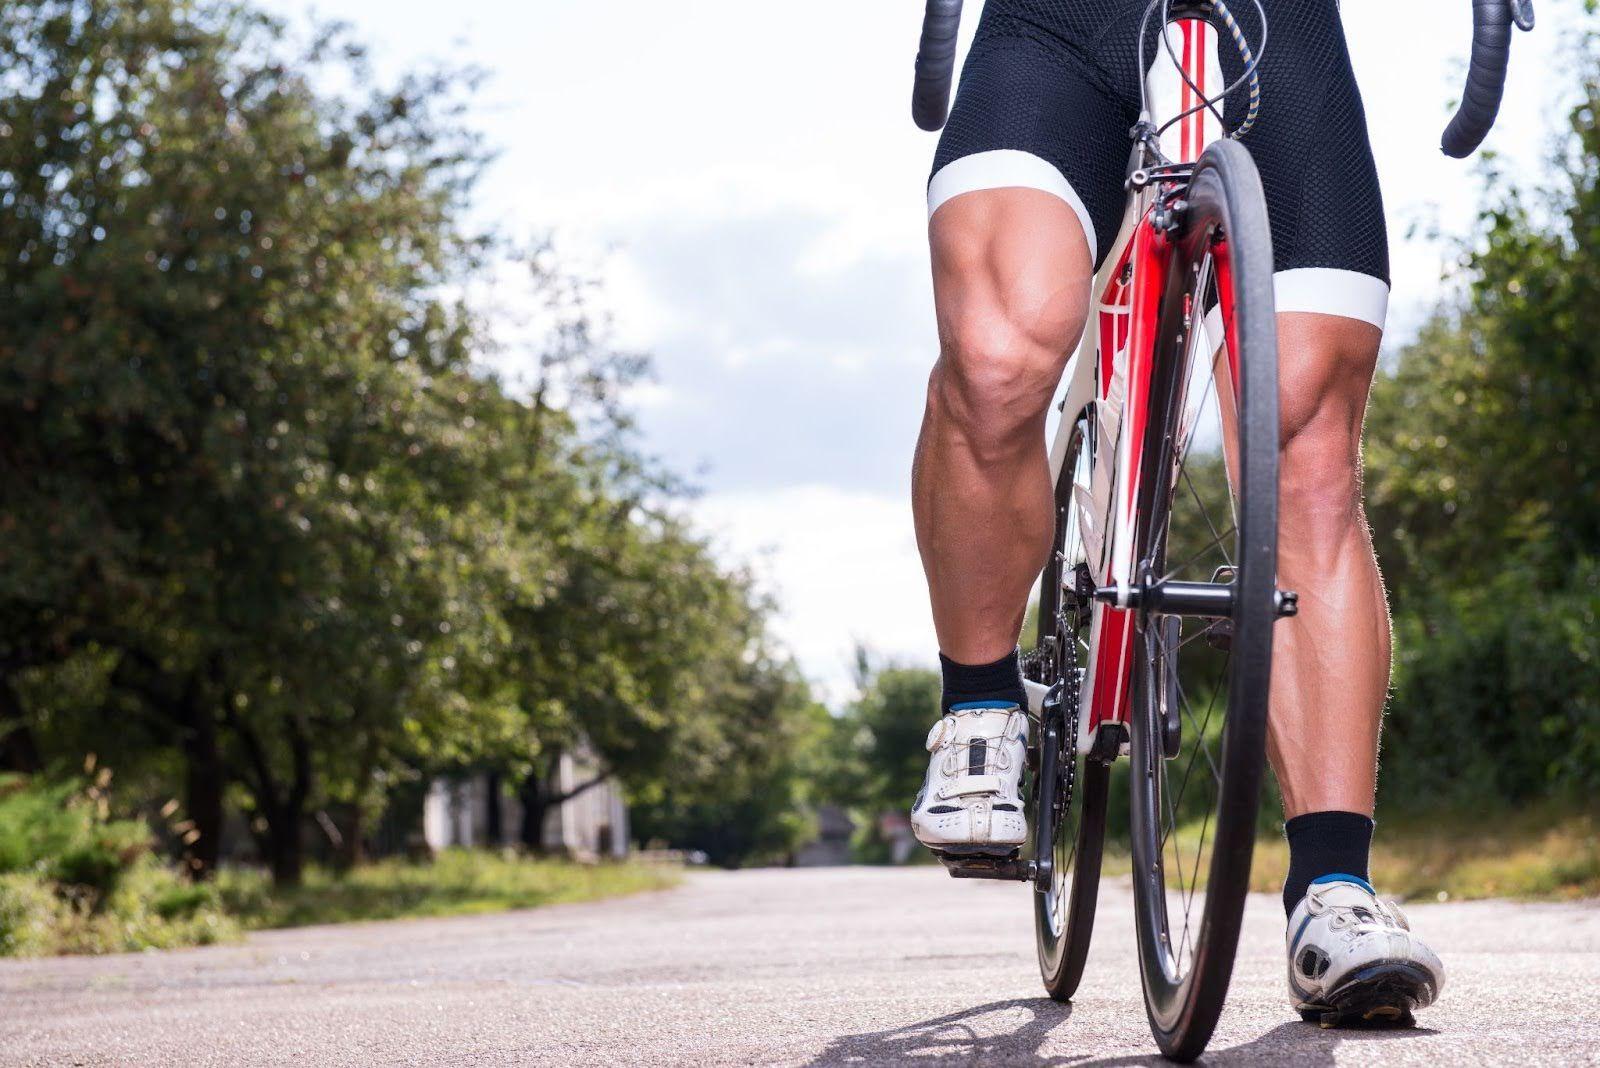
3. Circle Drawing Drill
- Imagine you’re drawing perfect circles with your shoes to remove any “clunks” in the stroke.
Try this:
- Focus on one leg for 30–60 seconds on gentle terrain, thinking “light over the top, smooth through the bottom”, then swap legs.
Indoor/outdoor: light gear on ROUVY, or quiet roads and steady climbs.
Scale: beginners stay seated and relaxed; advanced add short standing sections without losing smoothness.
4. One-Leg Pedal Drill
Single-leg pedalling is brutally honest. The moment you unclip one foot, every dead spot in your pedal stroke appears instantly – there’s no hiding behind the other leg. I use this a lot with riders because it forces them to apply constant, even pressure all the way around the circle rather than just stamping the downstroke.
It also exposes left–right imbalances very quickly. Most riders discover one leg that feels clunky, weak, or “square”. Once you know which side is lagging, you can target it with a few extra single-leg blocks each week and gradually bring that balance closer to 50/50. Studies on pedalling asymmetry suggest that large left–right differences can increase local fatigue and may be linked with a higher risk of overuse issues, especially under load – another good reason to tidy it up rather than ignore it.
Used in short, controlled bursts on the turbo or smart trainer, this drill is one of the simplest ways to upgrade both coordination and efficiency without changing anything else about your training.
Try this:
- On a turbo or smart trainer, unclip one foot and rest it safely, pedal with the other for 20–40 seconds, ensuring there is at least some tension in the stroke, then swap.
Indoor/outdoor: safest on a trainer or on a gentle climb, with the free foot hovering above the pedal.
Scale: beginners use very short intervals with plenty of recovery; advanced build to 60 seconds at moderate power.
Examples of Strength & Endurance Pedalling Drills
5. Gear Shift Bingo
- Here, you use gears to build strength and gear awareness.
Try this:
- Pick three “bingo gears” – easy, medium, harder – and every time you pass a landmark (lamp post, junction, ROUVY marker), change to the next gear while keeping cadence smooth.
Indoor/outdoor: use ROUVY distance markers or roadside features as triggers.
Scale: beginners keep the gear range small; advanced include a genuinely hard gear for 20–30-second strength efforts.
6. Resistance Ladder Drill
- Climb an imaginary ladder by increasing resistance step by step, then come back down.
Try this:
- Start in an easy gear for 1 minute, then each minute click one gear harder while holding 80–90 rpm; after 3–5 steps, reverse back to easy.
Indoor/outdoor: in ROUVY use a steady climb; outside choose a long, gentle hill or straight road.
Scale: beginners use short ladders; advanced add more steps or longer blocks to build muscular endurance.
Examples of Coordination & Balance Drills
7. Slow-Go Balance Drill
- Balancing slowly is harder than riding quickly – and brilliant for control.
Try this:
- On a quiet path or straight, empty quiet road, ride as slowly as possible without putting a foot down, looking ahead and using tiny steering corrections.
Indoor/outdoor: on ROUVY, mimic the same feeling with very low power and ultra-smooth cadence; outside, mark a 20–30 metre stretch and see how long it takes to ride it.
Scale: beginners allow tiny track-stands between strokes; advanced add gentle corners or ride with one hand on the bars.
8. Line-Ride Challenge
This tidies up your steering and body stability.
Try this:
- Choose a painted line, road edge, or clear line beside a verge and ride along it for 20–60 seconds, keeping your wheel close and your upper body quiet.
Indoor/outdoor: on ROUVY, imagine a line you must follow through every curve; outside, use cycle paths or quiet lanes.
Scale: beginners ride only straight sections; advanced riders add bends or ride in the drops to challenge stability.