Remember that the higher the average speeds of your rides, the brighter the beam must be at a longer distance to give you enough time to respond to things like potholes or road debris.
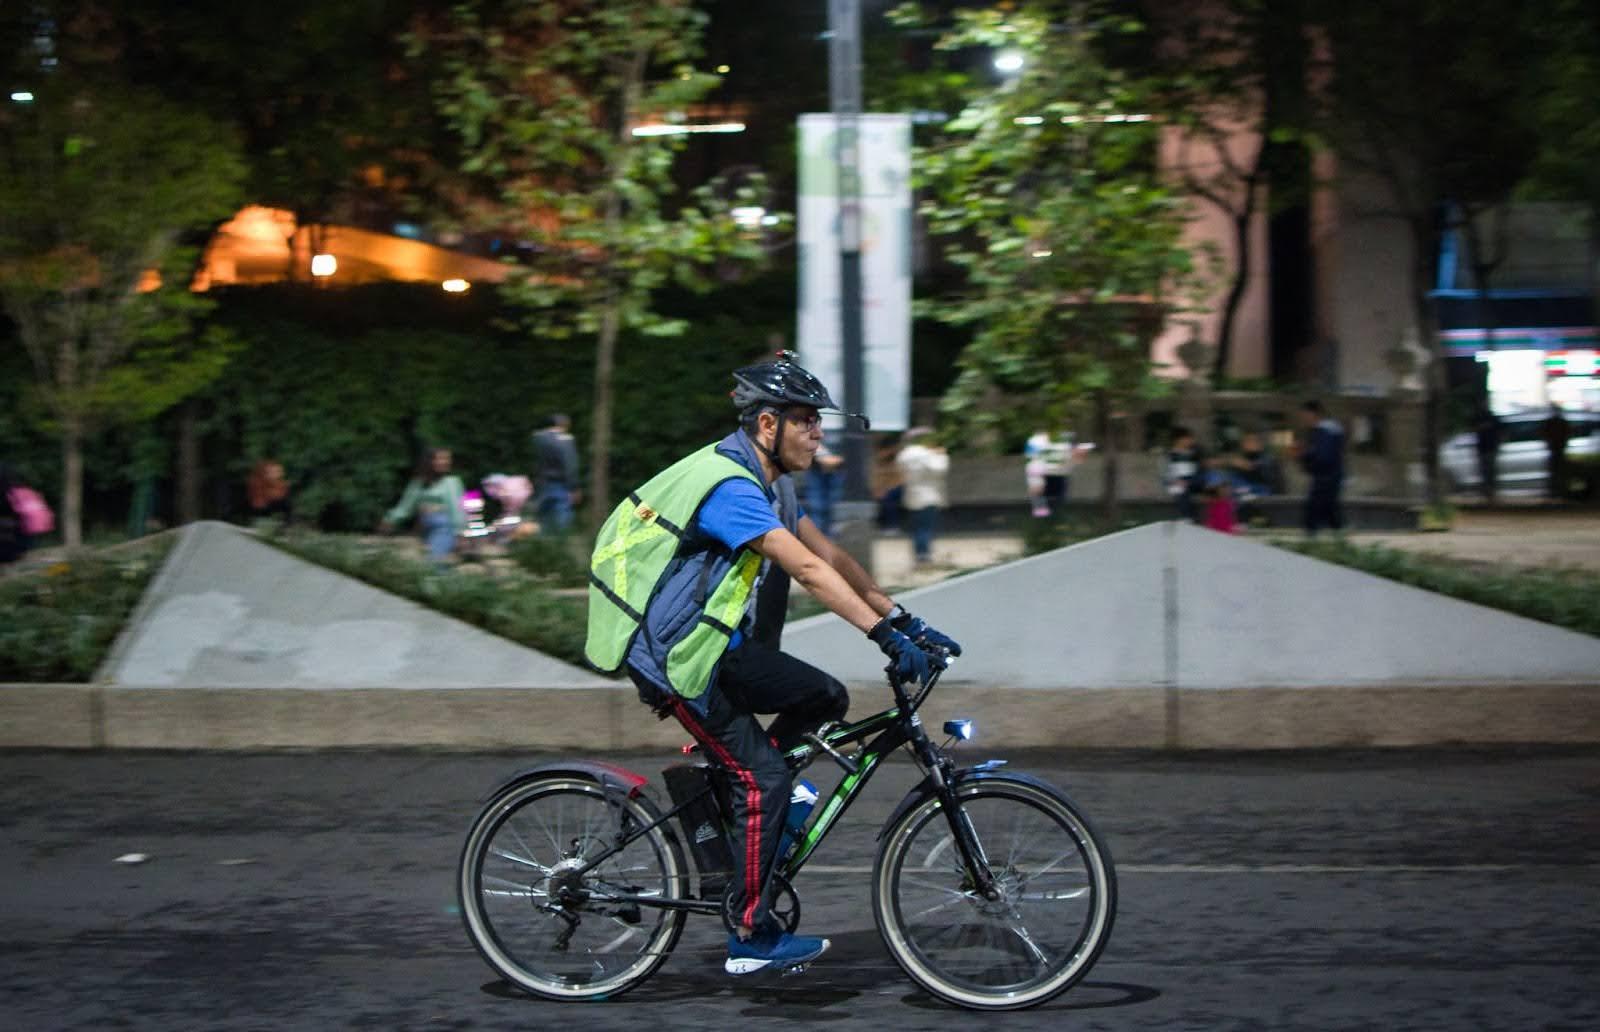
Daytime riding
Using lights during the day is an extremely effective way to be seen earlier by other road users, making your rides safer.
A rough estimate of lumens needed to be seen clearly during the day are:
Flashing modes are excellent for daytime riding, as they catch the eye better than steady lights. A flashing mode that uses an on/off pattern helps preserve battery during the day. In contrast, a high/low flashing pattern is better at night, as this ensures your position is always visible.
Some countries, such as Germany, don’t permit flashing bike lights, so check your local laws before using a flashing pattern.
Key features to look for
In this section, we’ll highlight the main features shared by the best bike lights, so you know what to look for and what to avoid.
Battery life and charging
The runtimes of each mode a given light has are – after price and lumen output – the most important consideration for most riders. Nobody wants to have to charge their light after every ride. Most manufacturers provide a chart of the estimated runtimes under ideal conditions.
If you have a short urban commute in the dark, it’s easy to find a light that will last a full week of riding. However, if you need 90 minutes at 700 lumens for your rural road rides at night, you’ll probably need to charge it after every one or two rides.
Riding in very cold temperatures, below 5°C (41°F), will have a noticeable effect on runtimes, and, as all mobile phone users know too well, battery capacity reduces over time, and some batteries degrade faster than others.
Runtimes aren’t always directly linked to the lumen output and battery size; some lights are more efficient than others. Also, longer battery life isn’t always better because more battery capacity means a heavier light.
All of the top brands sell rechargeable bike lights, most of which should have USB-C charging. In some cases, cheaper, low-power lights use small, disposable button batteries.
Battery indicator or low battery warning
For safety’s sake, you do not want to be stuck mid-ride without any battery, so the best bicycle lights have a mechanism for determining battery life or warning the user of low charge.
This feature is quite rudimentary on most lights, which use a red LED to indicate that the battery is below 10 or 20 percent, for example.
Usability (toggling modes, gloves)
Any product’s ease of use is relative to the individual. For example, some riders may dislike having to toggle through multiple modes to get to their desired one, whereas others appreciate having the choice of different modes for different scenarios, and don’t mind toggling through them.
Buttons that are adequately sized, easy to push, and in an easy-to-reach position make a light much easier to use. If you regularly wear thick winter gloves or any full-finger gloves, this is even more important.
Mode memory is another simple feature that most people don’t notice until they use a light that doesn’t have it. The best bike lights remember the last mode used when they’re turned off and on again.
Finally, some premium lights allow you to programme individual modes or add or remove modes to the light’s programming via a companion app.
Beam pattern
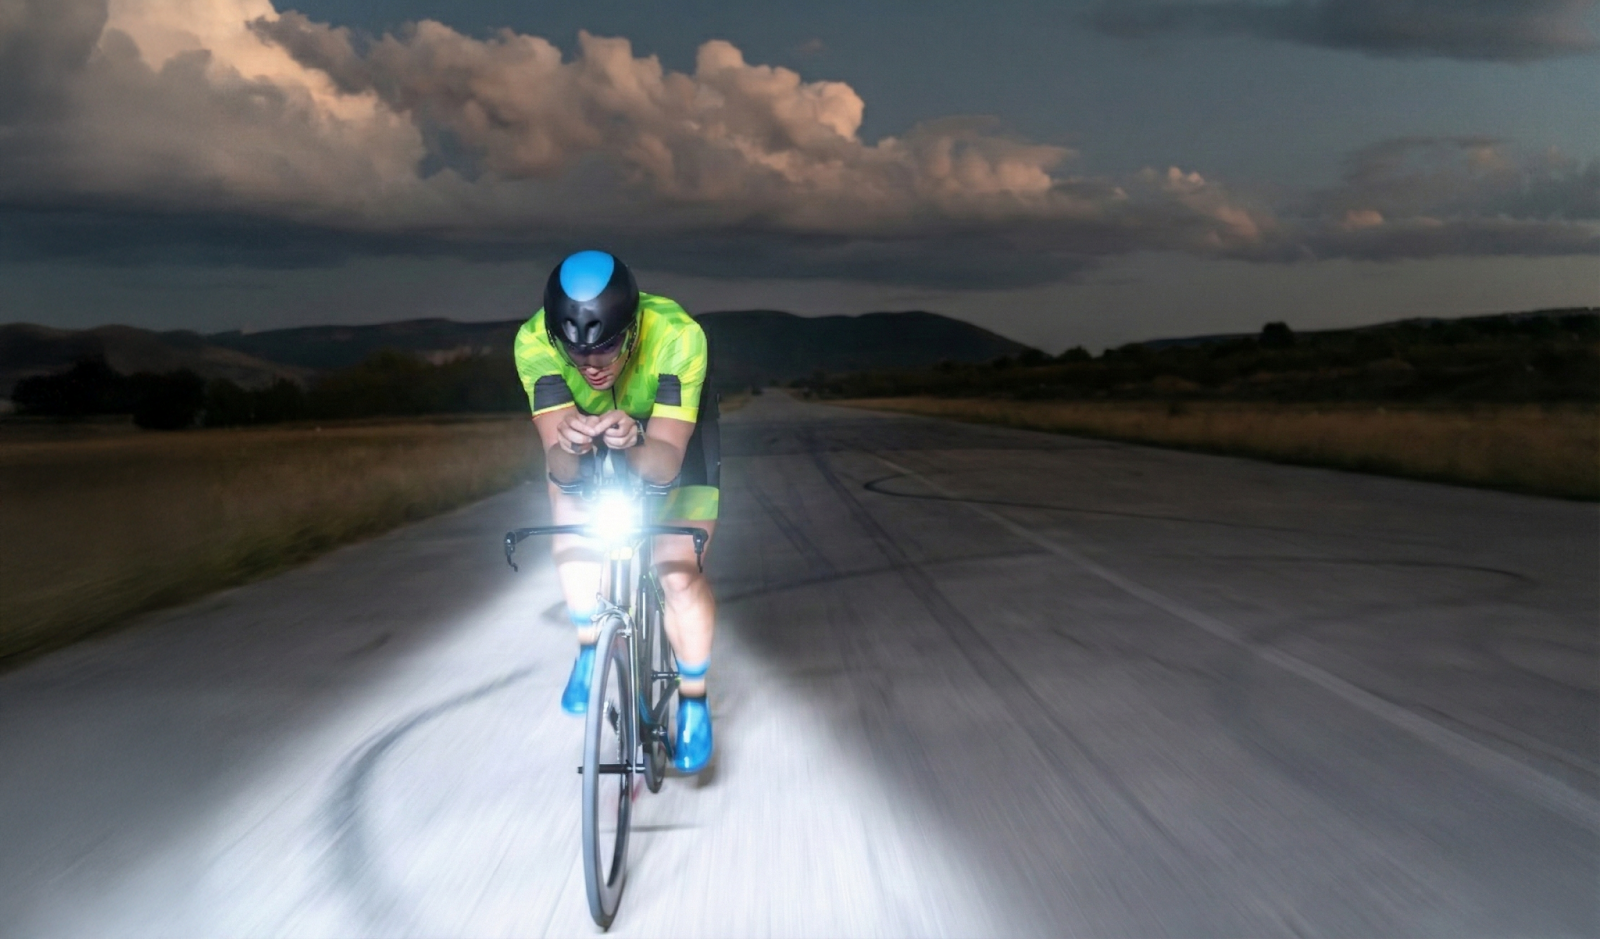
We’ve described how a front light’s beam pattern is an important factor in how effective it is in different environments. The brightest bike lights, in terms of lumens, aren’t always the best.
Riding dark roads requires a light that’s both bright enough and has enough beam reach to match your speed.
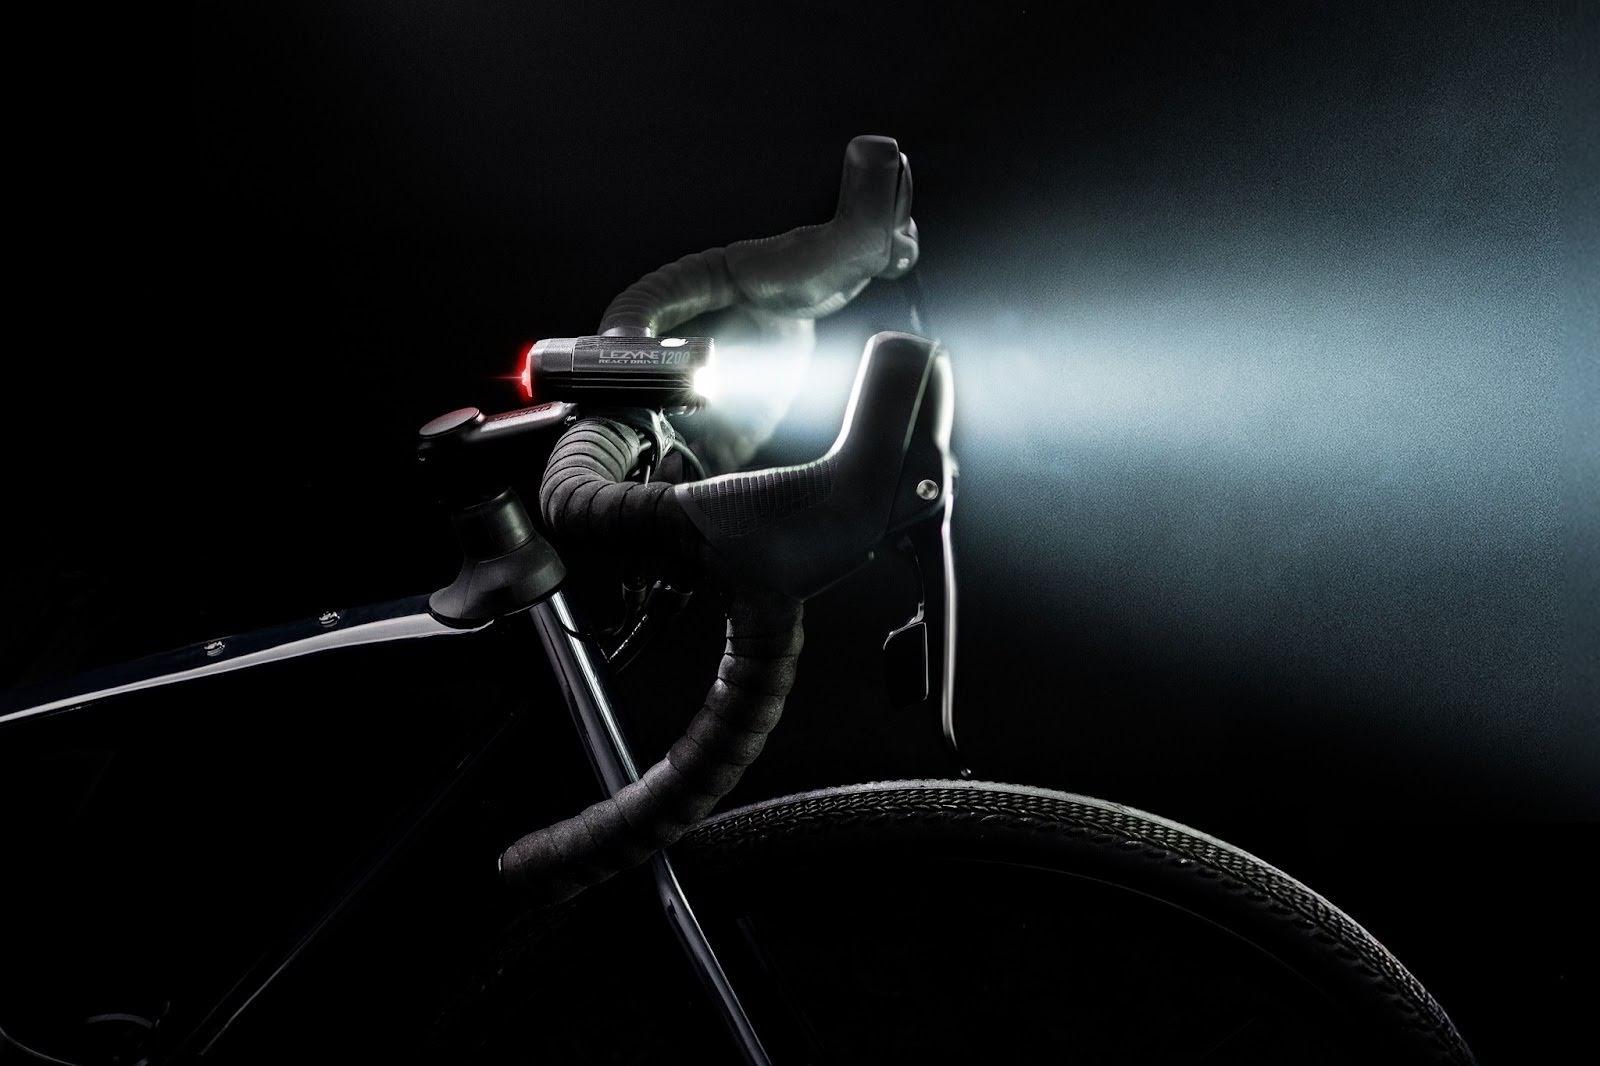
Beam cut-off is another essential feature that helps prevent blinding oncoming road users by directing the beam at the ground. Like with a car, this reduces the visibility ahead, so road cycling lights should offer one mode with and another without a cut-off, whereas bike lights for urban cycling should be cut off in all modes, so you don’t have to switch between modes continuously.
Two other features that increase how visible you are to other road users are flashing modes and light casings with cut-outs in the light’s casing that expose the lens for improved side-on visibility.
Compliance with local laws
Be sure to check your local bicycle regulations to determine whether flashing bike lights are permitted and whether your light must comply with specific design restrictions. In Germany, all bike lights must be StVZO-compliant. This means they have a beam cut-off, and they can’t have any flashing modes. In contrast, flashing patterns are permitted in the UK and many other EU countries.
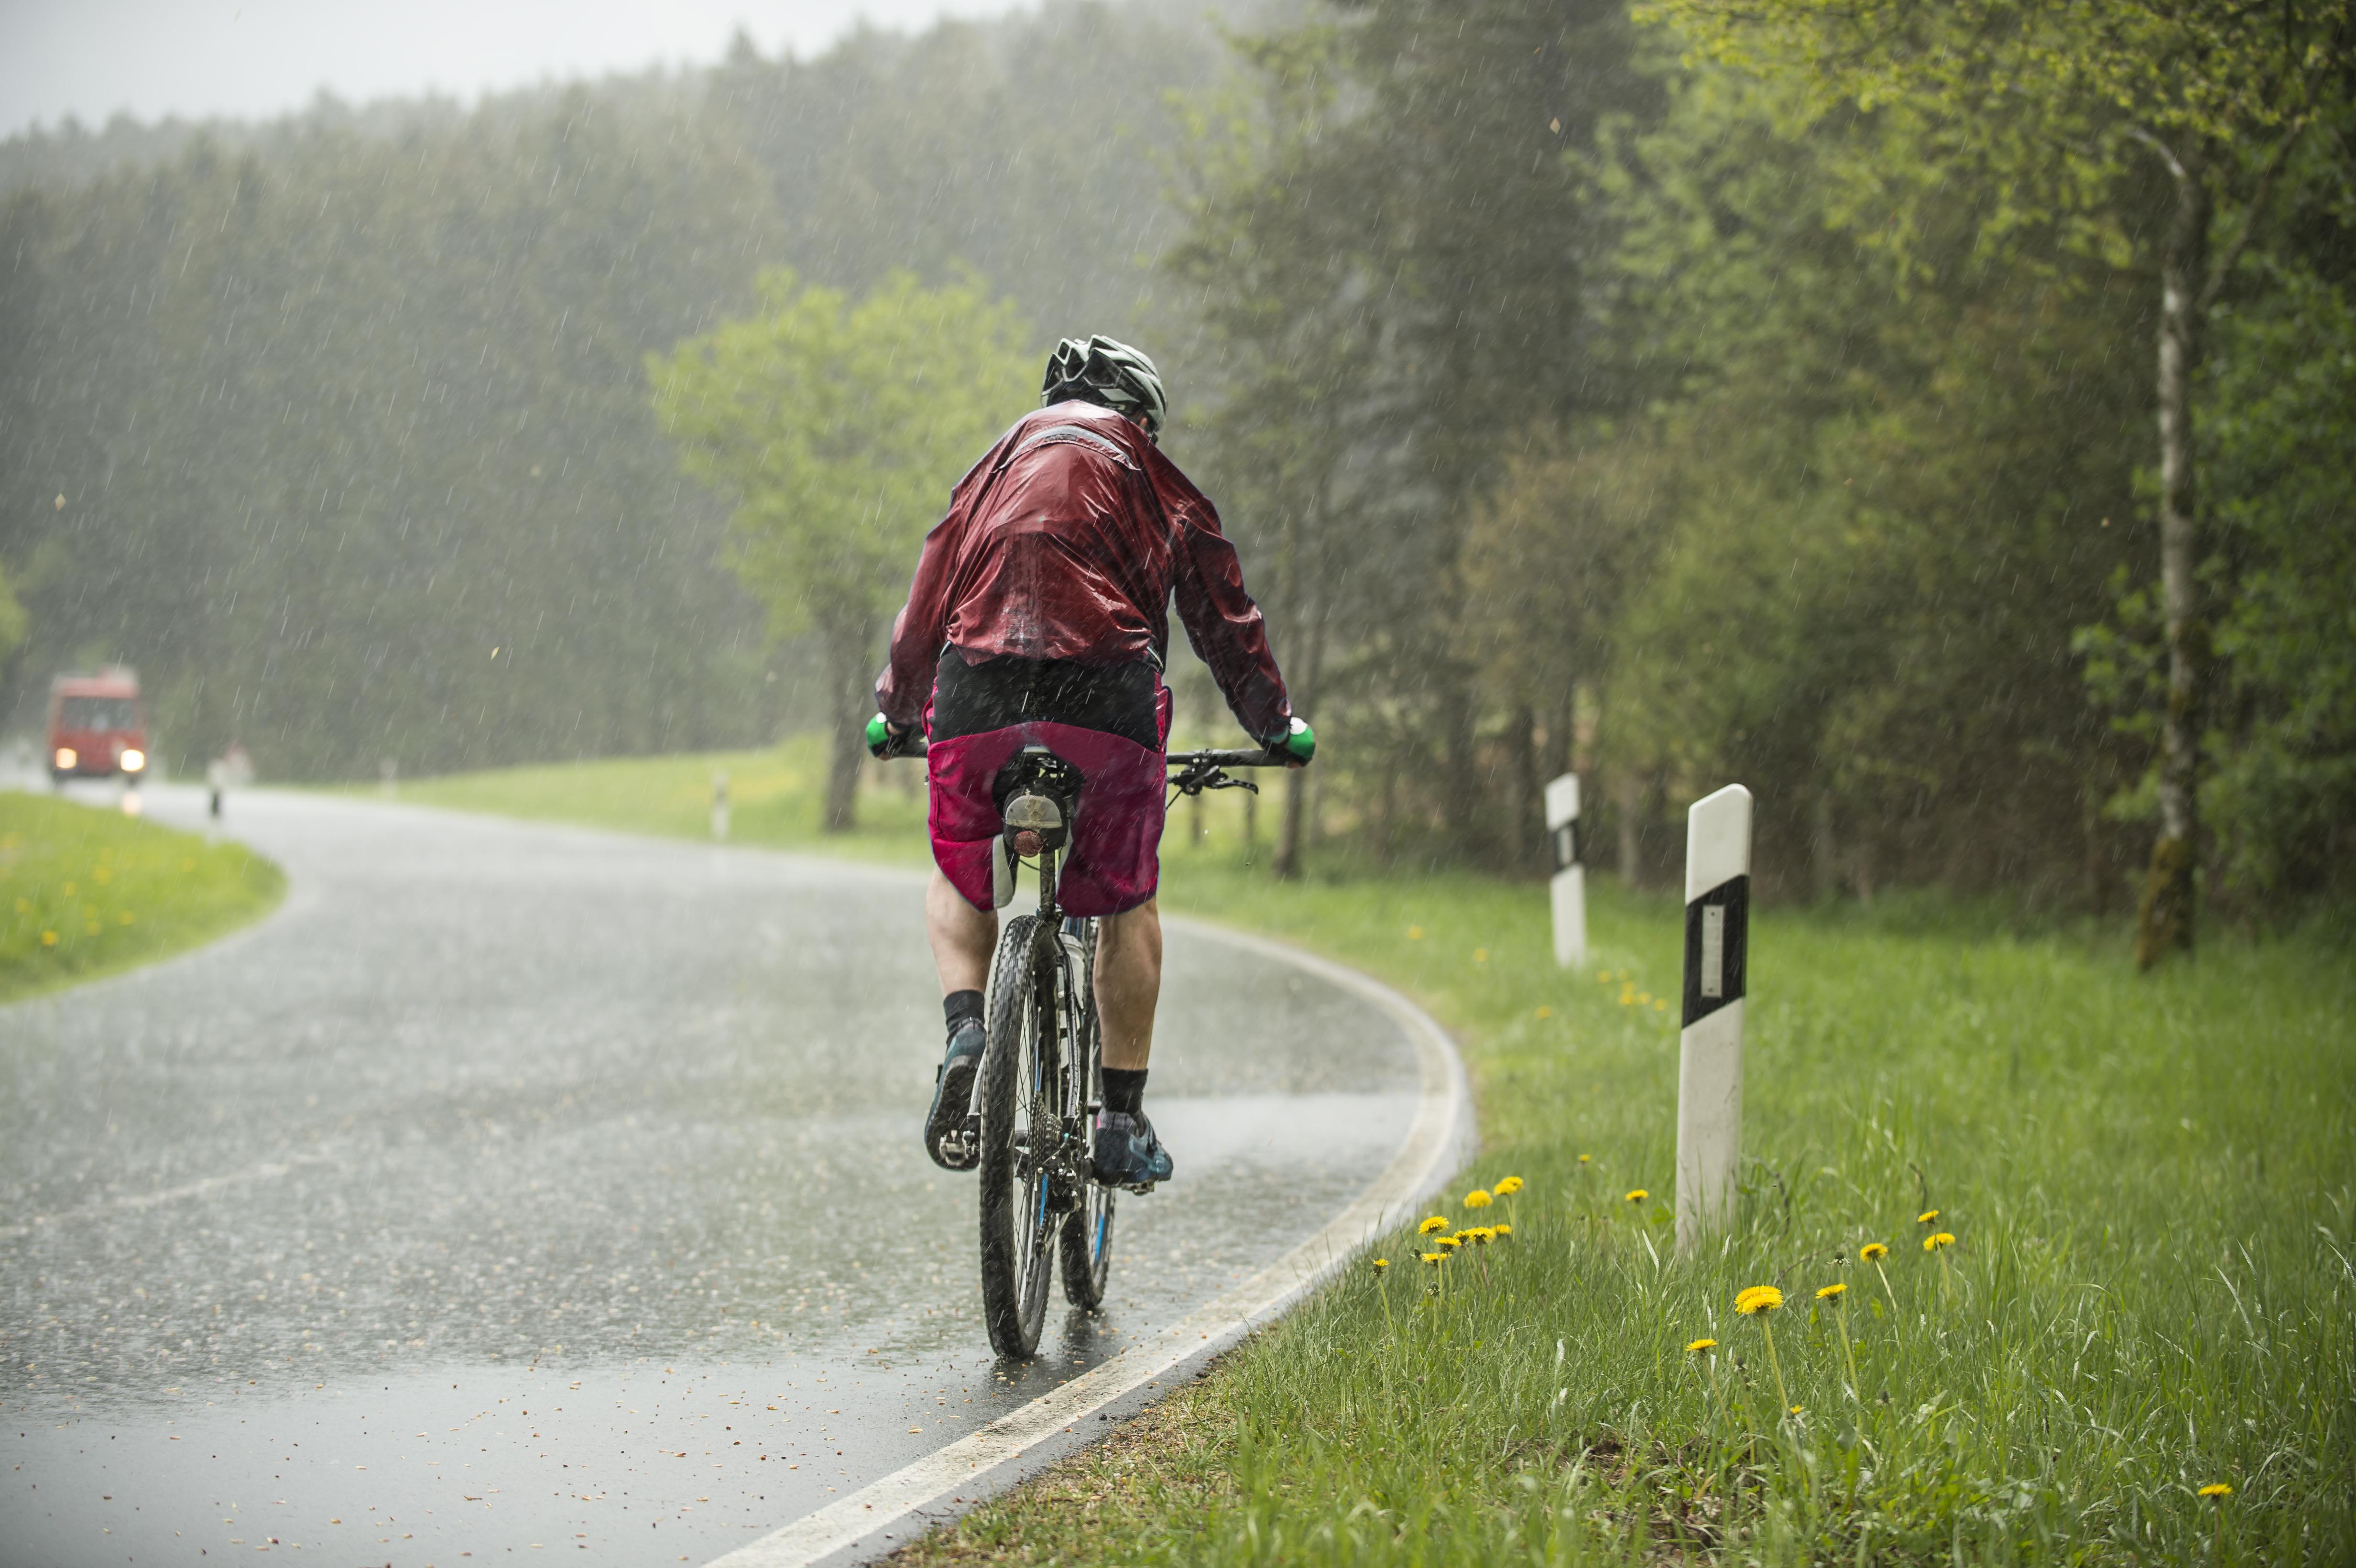
Waterproof bike lights
Lastly, you should only choose bike lights that have been tested to confirm their water resistance. This is indicated by an “IPXX” rating for protection against dust and water ingress.
At a minimum, a light should have a rating of IPX4, though continuous cycling in the rain may be risky at this level. Ideally, choose a light with IPX5 or higher, which protects against “sustained, low-pressure water jets from any direction,” meaning the light is essentially waterproof unless you plan to go swimming with it.
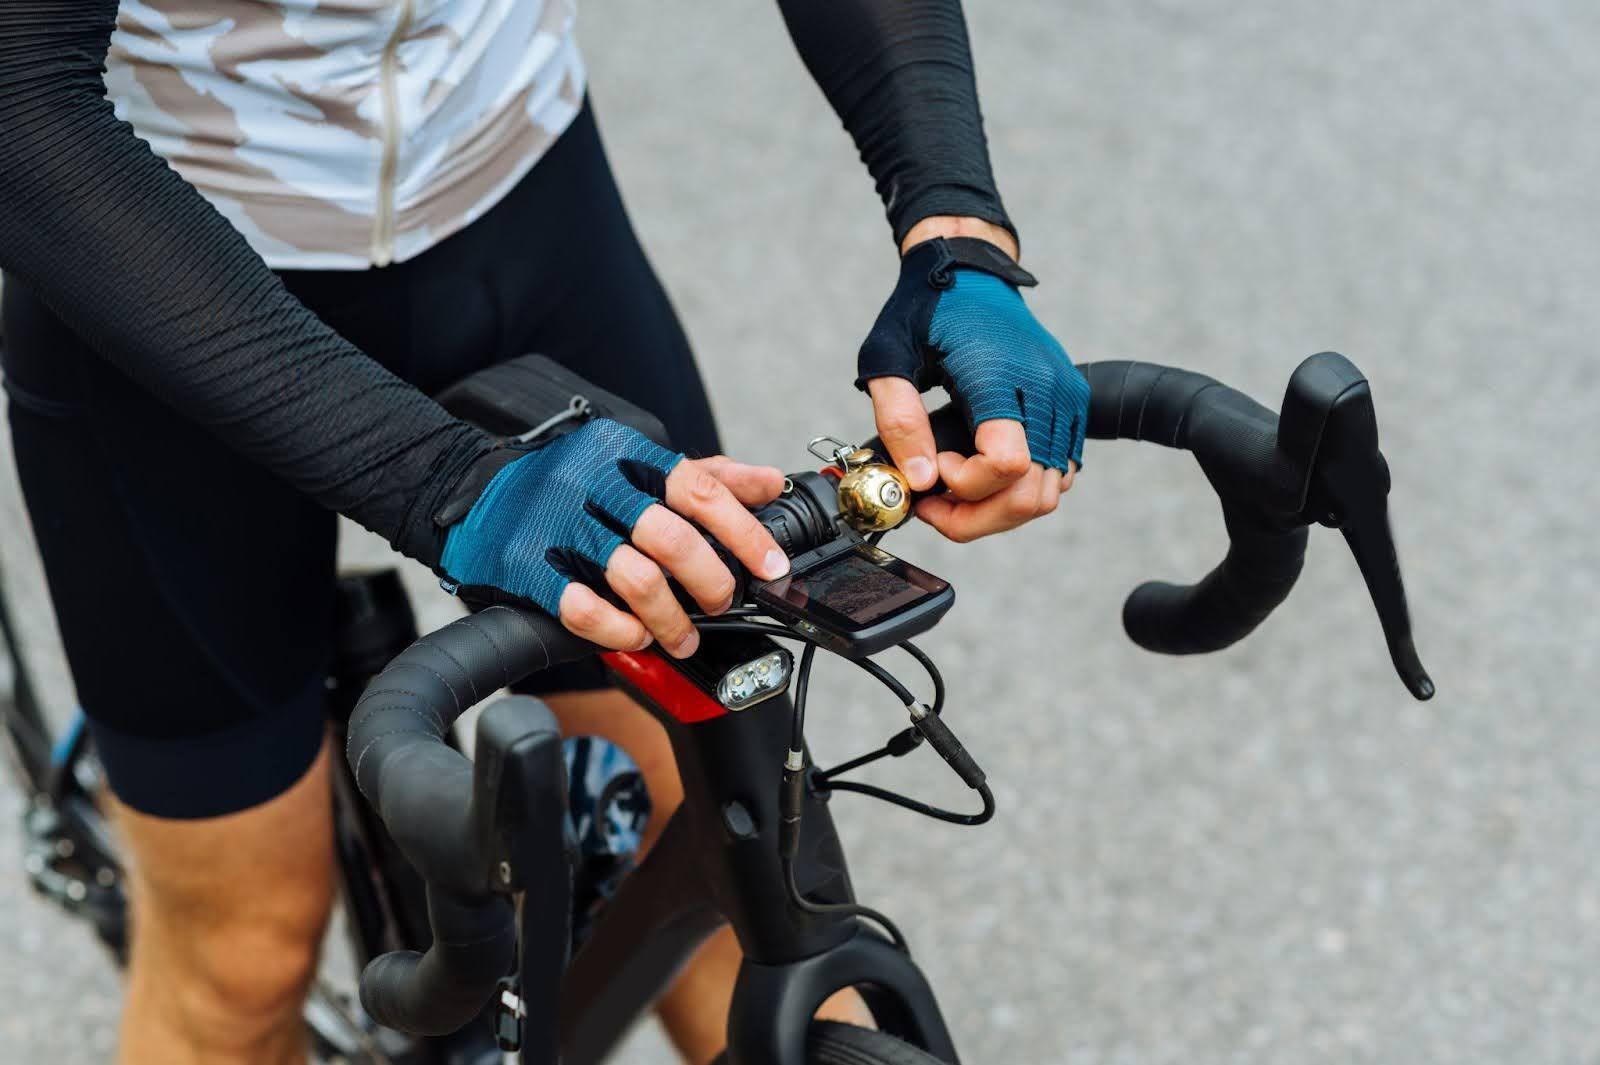
Mounting and compatibility
Light manufacturers usually provide one or two mounts that fit most of the bikes they’re intended to be used with or for different positions on the bike, such as one for the saddle rails and one for the seatpost with rear lights.
Light-duty rubber mounts are ideal for rear lights and smaller front lights, but a sturdy, hard-plastic mount is necessary for heavier front lights to prevent them from moving around on bumpy roads. Hard plastic usually lasts longer than rubber straps, too.
Road cycling lights require more flexible mounts to ensure compatibility because road bike handlebars and seatposts can have non-standard tube shapes for aerodynamics.
One exception is aero handlebars that don’t have a rounded area in the centre – like many one-piece integrated stem and bars. In this case, your only option may be to attach the light to an out-front bike computer mount such as those from Garmin, Wahoo and Hammerhead, so check compatibility with your head unit mount before purchase.
A key feature of commuting bike lights is quick-release attachment. This typically means the mount lives on the bike, but the light itself can be twisted or slid on and off the mount quickly when you’re locking the bike up outside. Alternatively, a one-piece light and mount with a rubber strap can be easily attached and detached.