The ongoing mission of the ROUVY indoor cycling app is to connect the outdoors and indoors and help riders to become better cyclists.
We are now one step closer to this goal with the ROUVY Route Creator.
With ROUVY Route Creator, every rider can create their own routes in the same quality as ROUVY official routes and then ride them on ROUVY and share with others without any extensive technical knowledge.
Whether you want to train on a race route you're preparing for, or simply experience a favourite local ride at home whenever you want, with ROUVY Route Creator you can easily convert your personal video recording into a virtual route and ride it on ROUVY in just a few simple steps.
But recording high-quality footage that meets ROUVY’s standards is easier if you have a basic understanding of what is required beforehand and will result in a better virtual ride.
Luckily, we’ve collected years of know-how, insider tips, and route-recording wisdom and are sharing it here to help you nail it. This guide will walk you through everything - from prep to final tips - so your footage is ride-ready and in the ideal state to be processed with ROUVY's AR–powered technology. A companion article explains how to process your recorded footage to create finished augmented reality routes.
Before you hit record: The key to a great route is preparation
Preparation is everything The better you’re prepared, the smoother the actual filming will go.
- Plan your route — study the map, especially start points, tricky junctions, or areas with limited access.
- Identify potential issues — such as one-way streets, detours, or roadworks.
- Make sure your vehicle has a full tank of fuel.
Recording a perfect top quality route is much more than simply pressing the ‘record’ button. It starts with thoughtful planning to ensure you avoid any potential pitfalls like technical hiccups, weather issues, or poor visibility. There's no such thing as being too prepared. Here's what you need to think about first before you start.
Choose the right day and time
The weather is important. ROUVY routes need clear visibility, and raindrops or fog on the lens can really spoil the experience. Plan to shoot on a dry day with either sunny or slightly overcast skies. Avoid filming if rain is in the forecast - even damp roads can splash the lens and ruin your footage.
Plan ahead. Study a map to familiarize yourself with the planned route, especially start points, tricky junctions, or areas with limited access. Try to identify potential problem areas such as one-way streets, detours, or roadworks.
Lighting is key. Early to mid-morning offers ideal lighting and soft shadows. Midday can also work, but try to avoid late afternoons when the sun is low, especially if it's directly in your shot - you'll lose image definition with fluctuating contrast as well as potential lens flare.
Avoid rush hour. Heavy traffic clutters the view and makes it harder to keep the recommended minimum 80m distance between your vehicle and others. Weekday mornings or weekend early hours are best- especially in more populated areas.
Remember to fully charge all your equipment - including action cameras, power banks, and external GPS devices - before heading out.
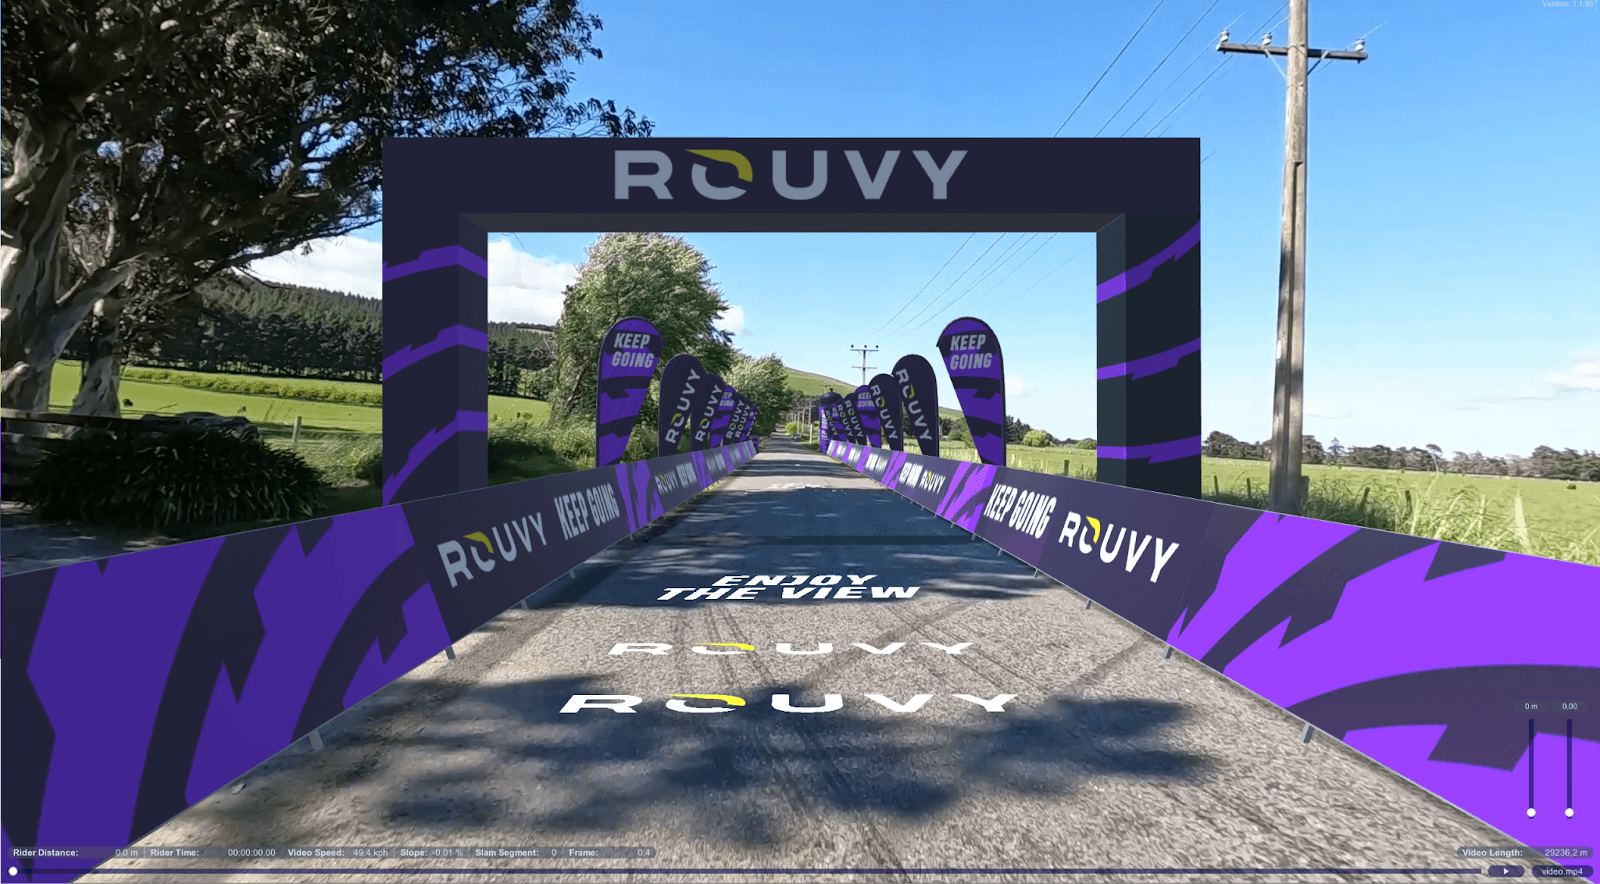
Select a good start and finish
To integrate the start point or finish point assets in your route, you’ll need a 100-metre-long, ideally straight stretch of road to begin and end your route. Avoid areas with lots of parked cars, billboards, or visual clutter. It's best to record 100m before the planned starting point and 100m after the planned finish point - this helps with route positioning and transitions.
Try to find a scenic, open view to make a strong first impression.
🚨 Remember that currently, the minimum length of a recorded video is 5min and maximum 1 hour. ☝️
Selecting Your Equipment: Camera, GPS & Power Setup
Now let’s talk camera gear. While there are multiple ways to record a route, there’s only one setup we recommend if you want to meet ROUVY’s technical standards.
Camera Requirements
You’ll need a GoPro camera with GPS. The most reliable models are the GoPro Hero 13 or 11, which include Hypersmooth stabilization. Older models (like Hero 7, 8, 9) are not recommended due to quality limitations. GoPro 12 doesn't have GPS so should not be used.
Settings to use:
Resolution: 4K (3840x2160)
Frame rate: 60 FPS minimum
FOV: Linear + horizon lock
Stabilization: HyperSmooth ON
Color: Natural
ISO: Auto
Sharpness: Low or Medium
Important note: Do not use the SuperVide or UltraVide field of view. It might look cool but it won't work when processed. Using the "wide" setting is OK, as the curvatures are detected in the system and extra corrections are automatically made. But if you use Ultra/Super-wide, it is not possible to compensate. Distorted real-world footage does not work in principle with a linear AR 3D world.
💡 Tip: Use ND filters to reduce sun flares and avoid overexposure on bright days.
Storage and Power
A 32GB microSD card will only give you less than 1 hour of recording at 4K. For longer rides, go with a 128GB+ card and make sure it's a GoPro-recommended model with high write speed.
Pro tip: Carry an external power bank if your ride is over 75 minutes. Here’s a basic guide:
Ride Duration
- 1 hour
- 2–3 hours
- 4+ hours
MicroSD Card
- 32GB
- 64–96GB
- 128GB+
Power Requirement
- Internal battery
- 3500–5250mAh external
- 7000mAh+ external battery
QR code hack
Just turn on your video camera and show it this QR code:

The camera will confirm on the display that it has accepted the settings.
- Tip: We recommend to take a picture of this code with your phone and use it before each shoot.
Note: The camera must have GoPro Labs firmware installed. GoPro Labs firmware
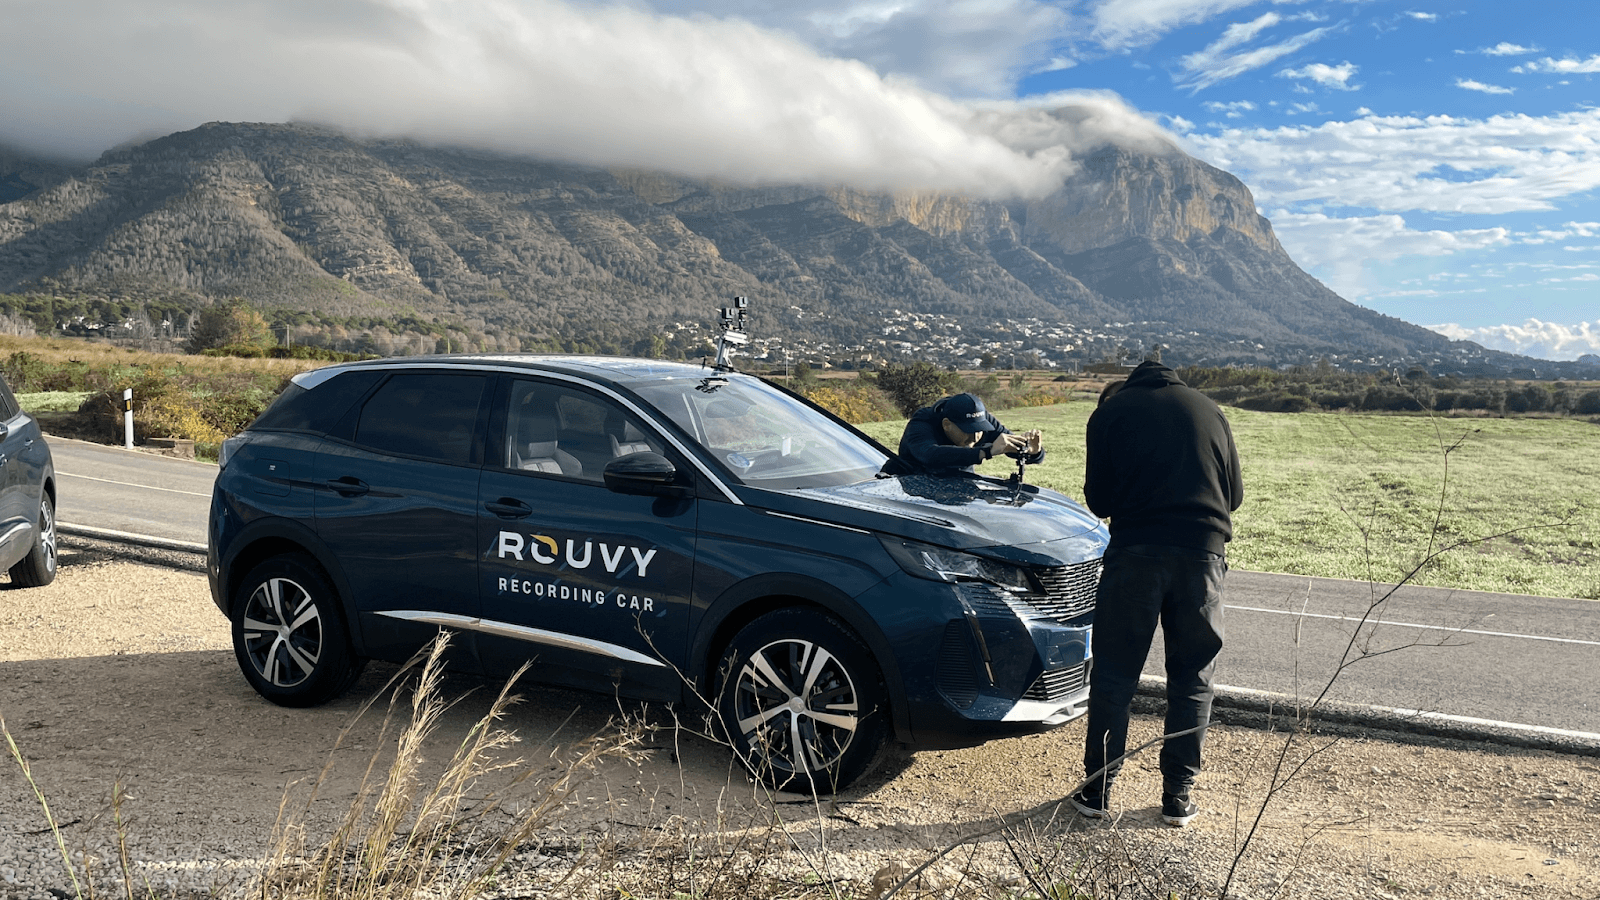
Which vehicle should you film from?
Although the temptation might be to record your route on a bike to 'keep it real’, a bike is actually the least recommended mode of transport for recording as it is more unstable and harder to keep a smooth trajectory as you shake while pedalling. Stability and control are the two key factors so we recommend a car as the best vehicle for recording, then a motorbike, then an e-bike and lastly a regular bike. Make sure your vehicle has a full tank of fuel before setting out.
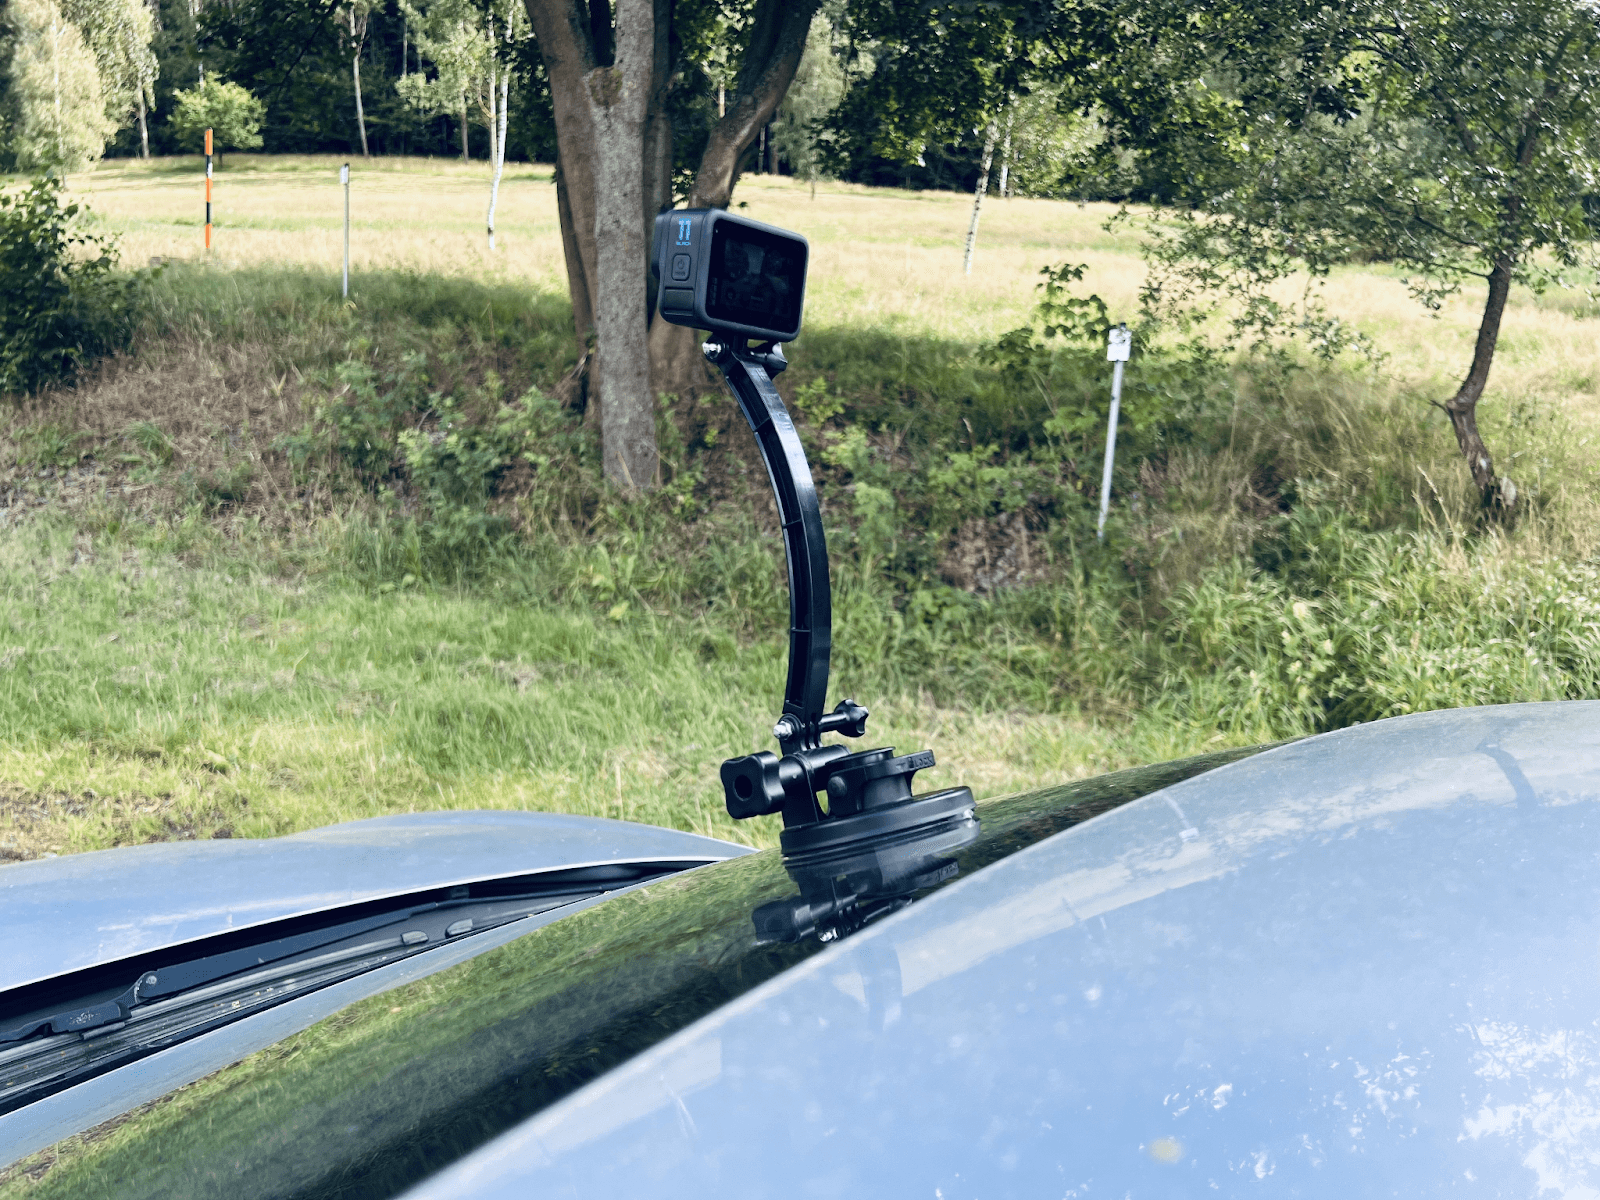
Mounting the Camera: Framing for Perfection
Recommended mounting equipment
If you’re just starting out, we recommend using a universal action camera kit that includes mounts, clamps, and accessories for different conditions. One affordable and flexible option is the Neewer 50-in-1 Action Kit, compatible with GoPro and other cameras.
Camera Mounting Guidelines
Proper camera placement is essential for clean, immersive footage. Whatever vehicle you use, these rules all apply:
Camera height: Mount the camera 140–160cm (ideally 150cm) above the road, simulating a rider's eye level.
Positioning: Centre it on your vehicle and point it straight forward.
Framing: Keep the horizon level, and split the frame 50:50 between sky and road.
Always be sure to tighten all securing screws with a tool (not just by hand) to maximize stability.
After your camera is fastened and aligned, double-check it again to make absolutely sure it is correct.
When filming from a car: position the camera where no part of the car is in the camera's view. e.g. in the middle of the front window at the top or on the car’s hood. A suction cup with extension is ideal.
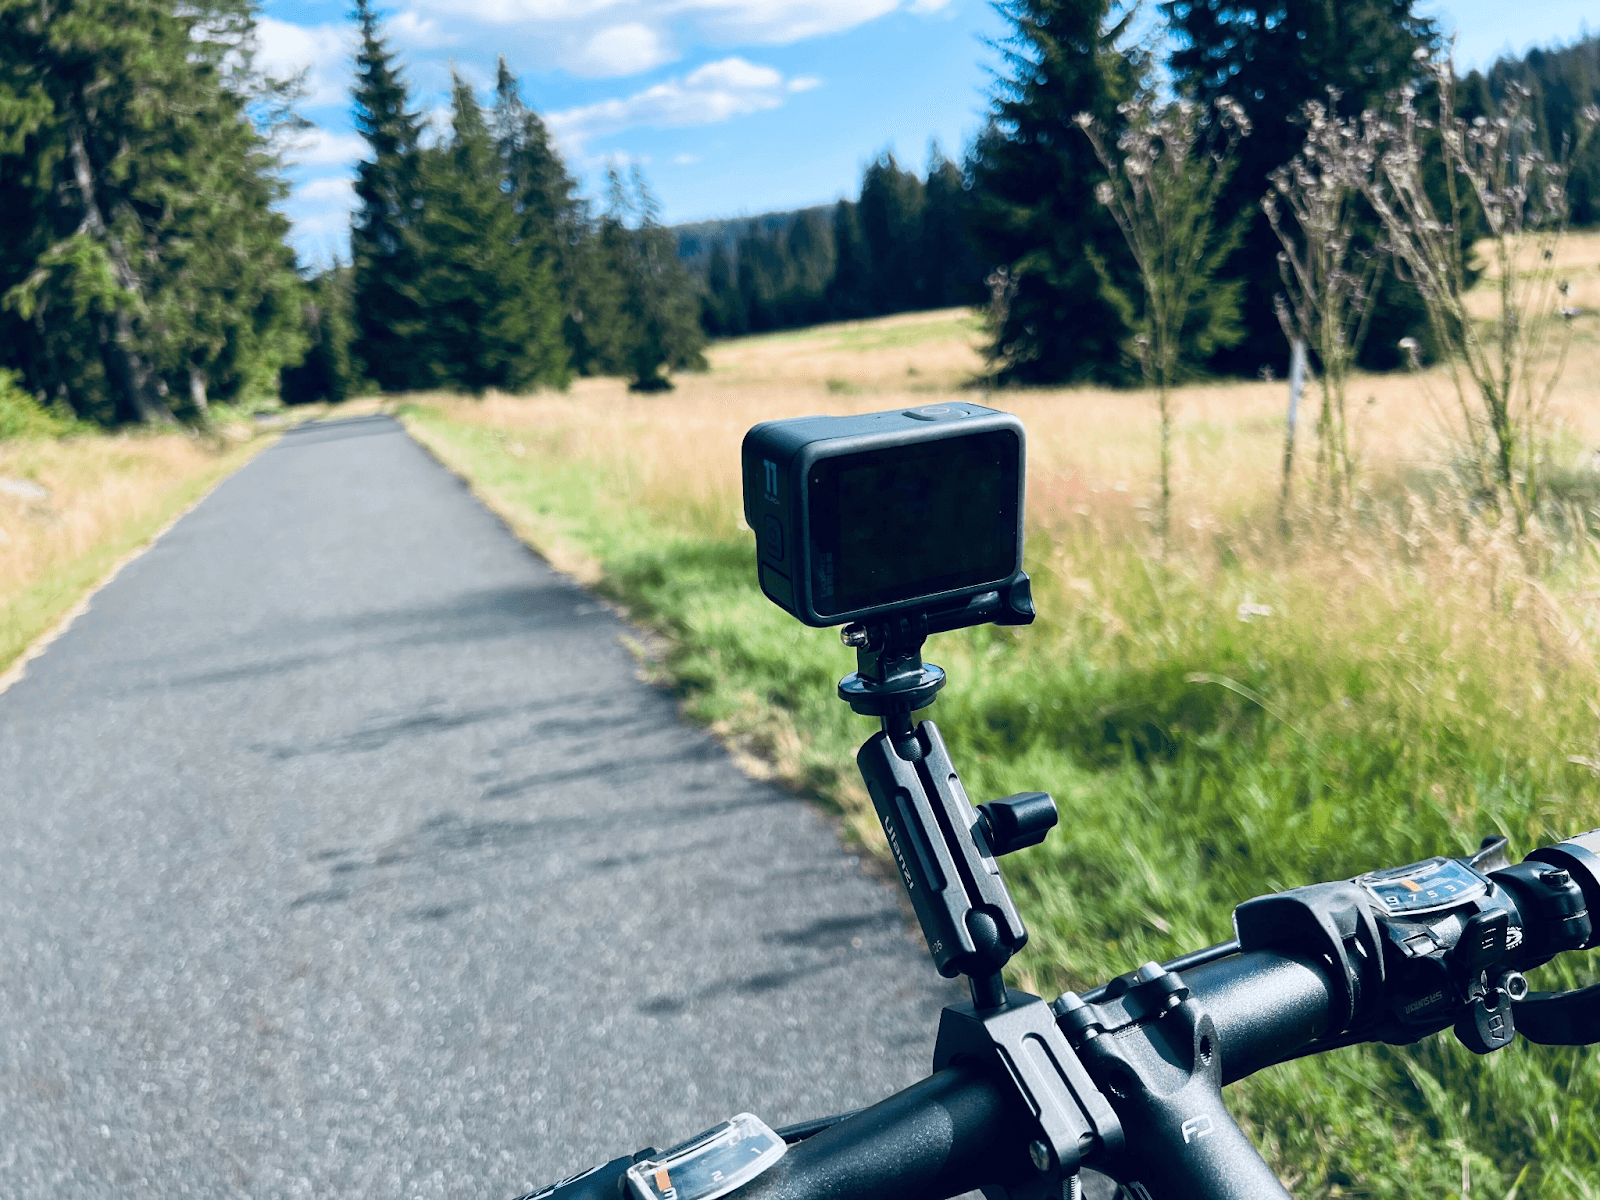
When filming on a bike, e-bike or motorcycle: adjust the mount so that the handlebars are not in the camera's view.
Avoid:
Tilted horizons
Off-centre shots
Driving tips for flawless route footage
Do a test shoot
Before filming your full route, it’s smart to do a quick test.
Use a flat area like a parking lot with visible poles or buildings nearby - this helps set a proper horizon.
Review the test footage - confirm that it meets ROUVY’s technical requirements and that the horizon is level (especially important for motorcycle setups).
Keep it smooth and clean
When the camera is rolling, everything matters — from your speed to your steering. Think like a cyclist, but move like a film director.
Distance: Maintain at least 80 metres from any car ahead of you - being stuck behind a vehicle will spoil the experience, just like in real life! It also allows clear space ahead of your avatar on the virtual route for other 3D objects like ghost riders.
Speed: In general, ride faster than a bike, but adapt to your environment naturally and realistically - slower uphill, faster downhill. Maintaining authentic and consistent speed helps keep the virtual experience smooth and accurate:
Suggested filming speeds:
- Uphill sections: Around 30 km/h
- Flat roads: Around 50 km/h
- Downhill sections: Up to 70 km/h
- Average target speed: Around 40 km/h is ideal overall
Always ride according to local traffic laws and adjust your speed to match the terrain and road conditions.
- Line: Stay centred in your lane (even if you are on a bike or ebike) and keep a consistent lateral position.
Leave space and navigate smart
If road conditions aren’t good (e.g. heavy traffic), it might be frustrating but it's best to pause and try filming again at a quieter time.
Use good navigation - preloaded maps will help keep you on course, especially at complex intersections.
Avoid these common mistakes
Don’t zigzag or swerve - this creates unnecessary movement.
Don’t brake or accelerate suddenly - keep things smooth and fluid.
Avoid tunnels and dark areas - most aren’t lit well enough and can spoil your footage.
Don’t stop recording mid-ride if possible. If you realize you've made a mistake, or something happens which might spoil the video such as an object blocking the road ahead, leave the camera running and go back to the last good spot and carry on filming. It is possible to edit out spoiled sections of footage during processing to create one seamless shot for the final version. Always leave at least 100 meters of overlap on both sides of the section you’re redoing. Match your previous speed and stay in the same lane to keep the footage consistent. Try to identify a distinctive marker on or by the road so you can seamlessly realign the video when processing. Don’t hesitate to reshoot sections if necessary - just be sure to include enough overlap.
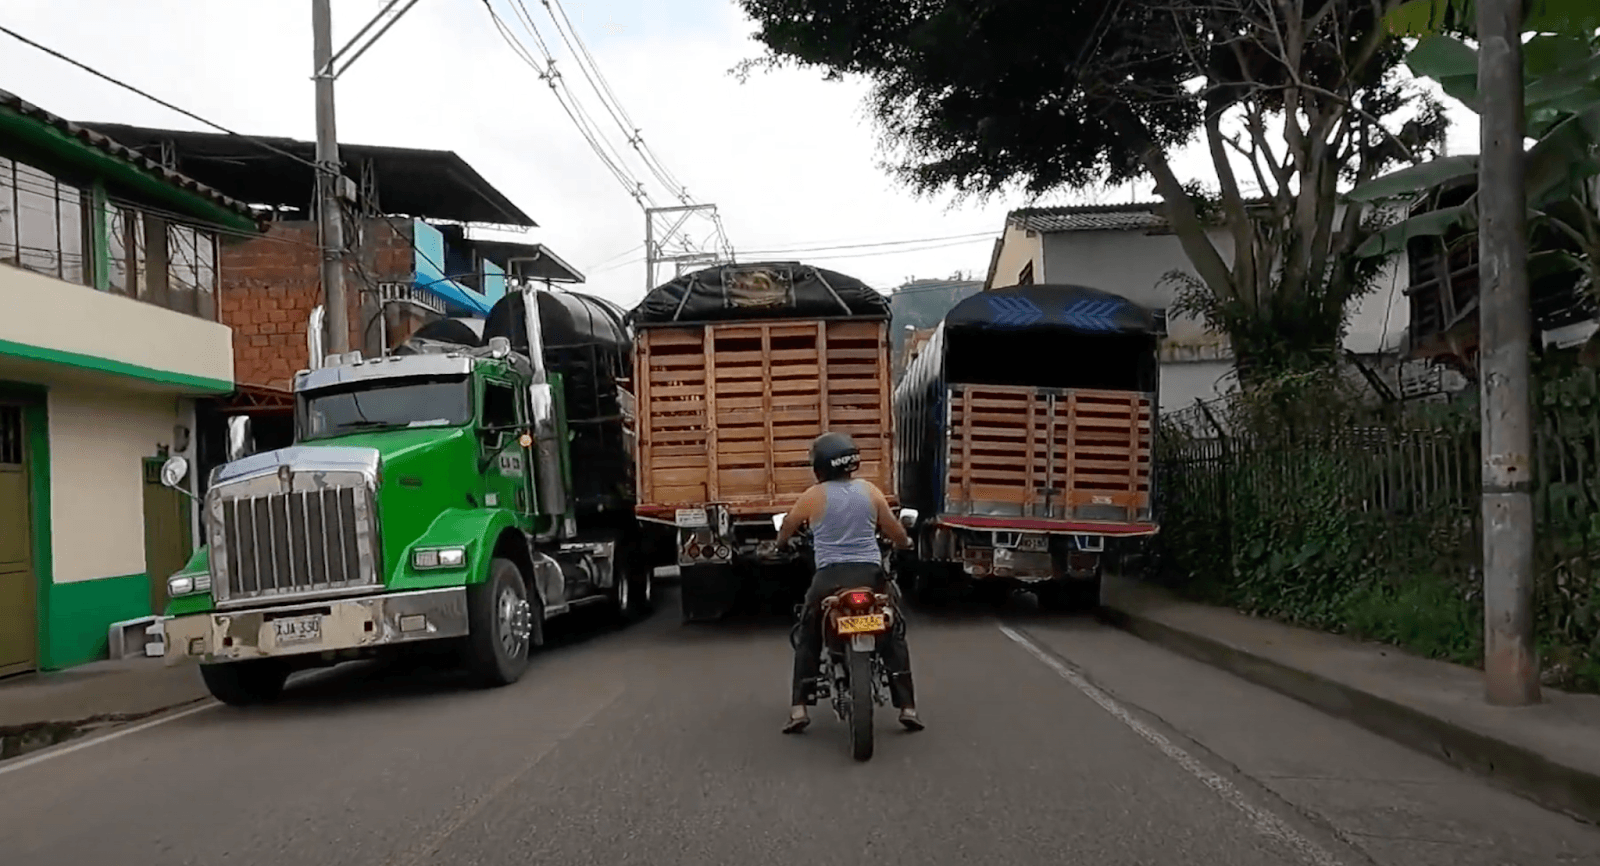
Handling real world traffic situations
You need to be flexible in traffic scenarios - staying calm is key. Here’s how to deal with common situations:
Pedestrian at a crossing: Approach slowly, stop before the crosswalk, let them pass, then ease back into filming with a smooth restart.
Roundabouts with traffic: Enter and ride through roundabouts smoothly, predictably, and according to local traffic rules. Maintain a reasonable distance (around 5–10 meters) from other vehicles - enough for safety but not so much that it disrupts traffic or draws unnecessary attention.
Car ahead waiting at a red light: Approach slowly, stop behind the car with about 5–10 meters of space. Once the light turns green, wait for the car ahead to move off, then follow at a steady pace. Larger gaps can cause confusion and lead to overtaking by other drivers.
Dealing with cars behind you: In most cases, you shouldn't need to worry. If necessary, you can move slightly to the side to allow cars to pass, and optionally use a hand signal to indicate your intent.
Smart recording habits to save you time
A few simple habits can make your post-production work much easier.
Before You Start
Wipe your lens! One speck of dust or drop of water can ruin hours of footage. ***
Wait for a GPS lock — the icon should be white, not gray. ***
Use the GoPro Preview App to check your framing before recording.
*** Super-important!!!
Start Small
Begin with short, scenic routes to test your setup and learn a little more from each ride. It’s better to perfect your technique on a 5km loop than mess up an epic 80km coastal road.
File format
Your video should be recorded and uploaded as an MP4 video file (unedited).
Be sure that all videos are recorded in the correct format and settings. Failure to do so will result in your video being rejected for processing.
Examples of best practices
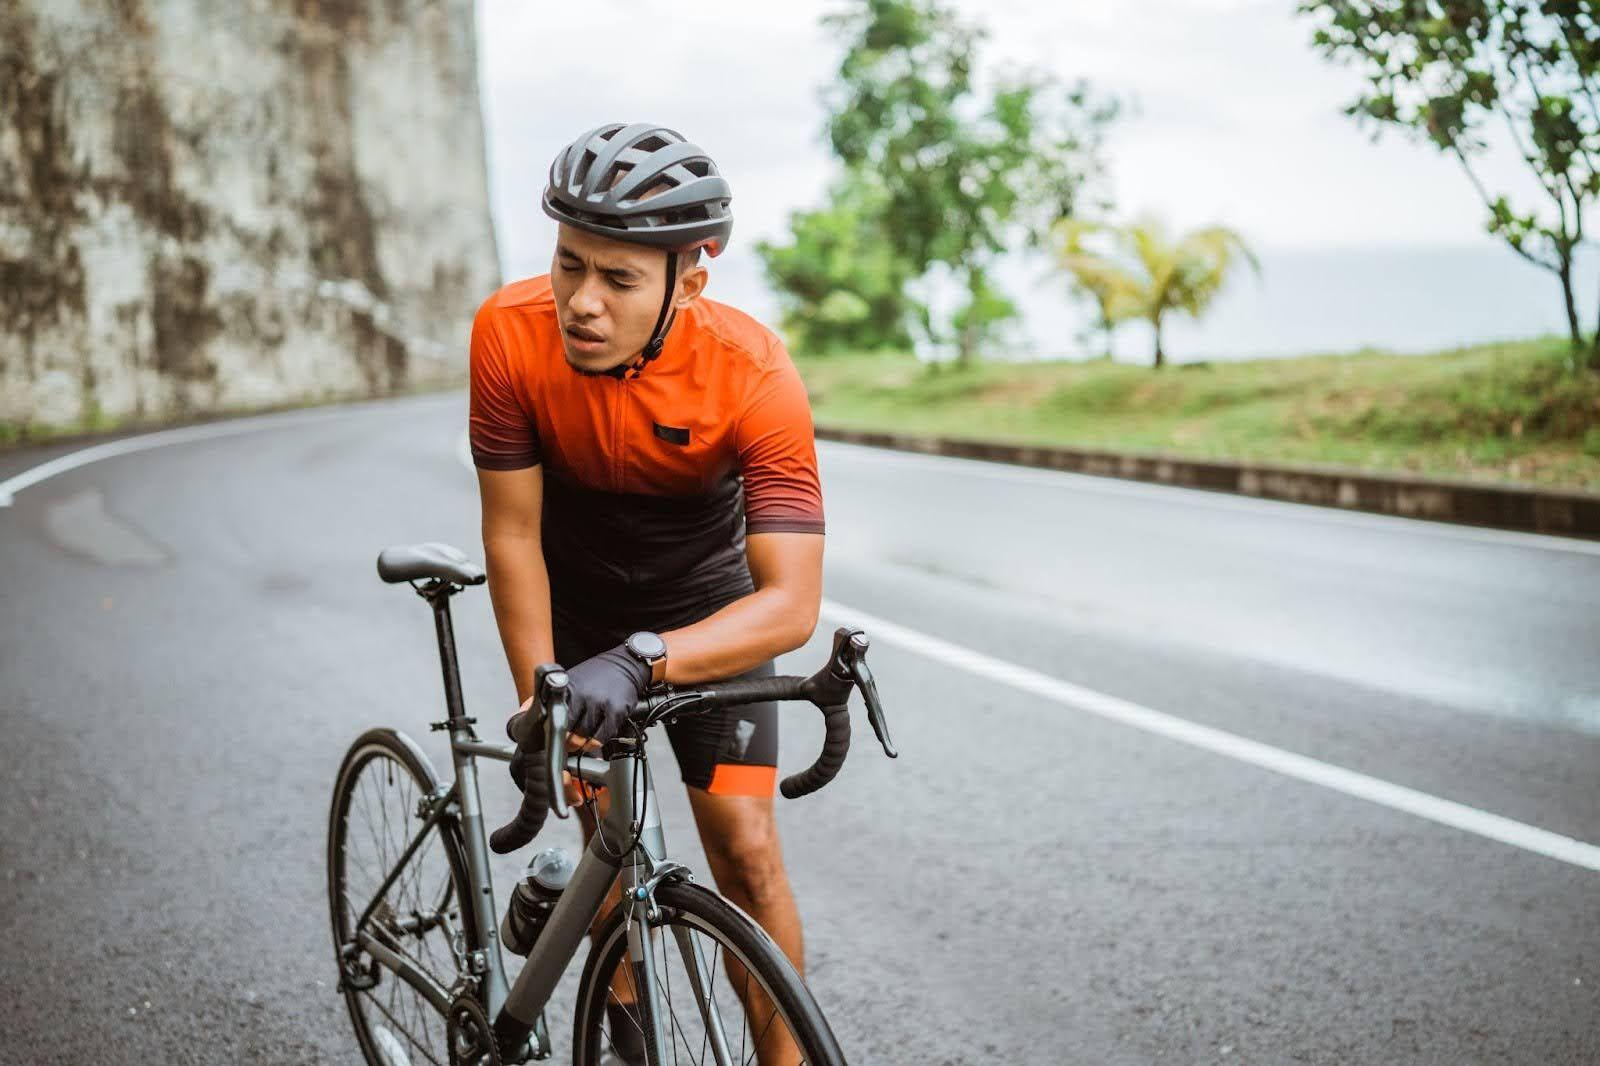
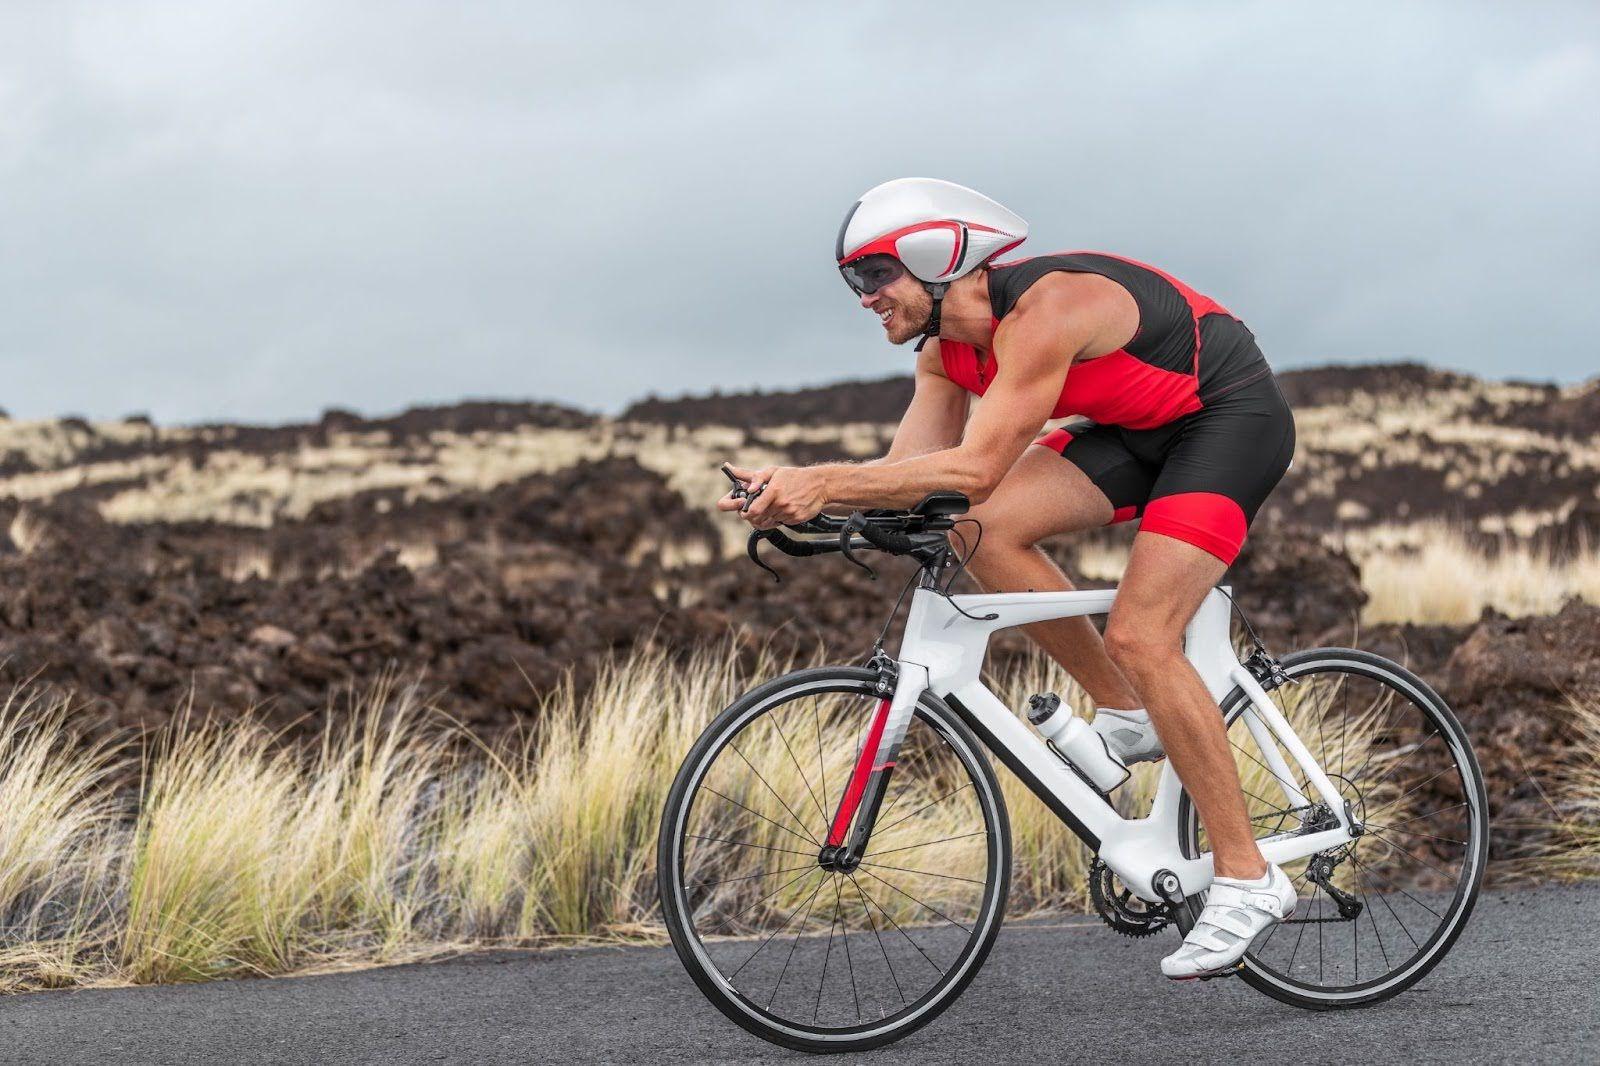
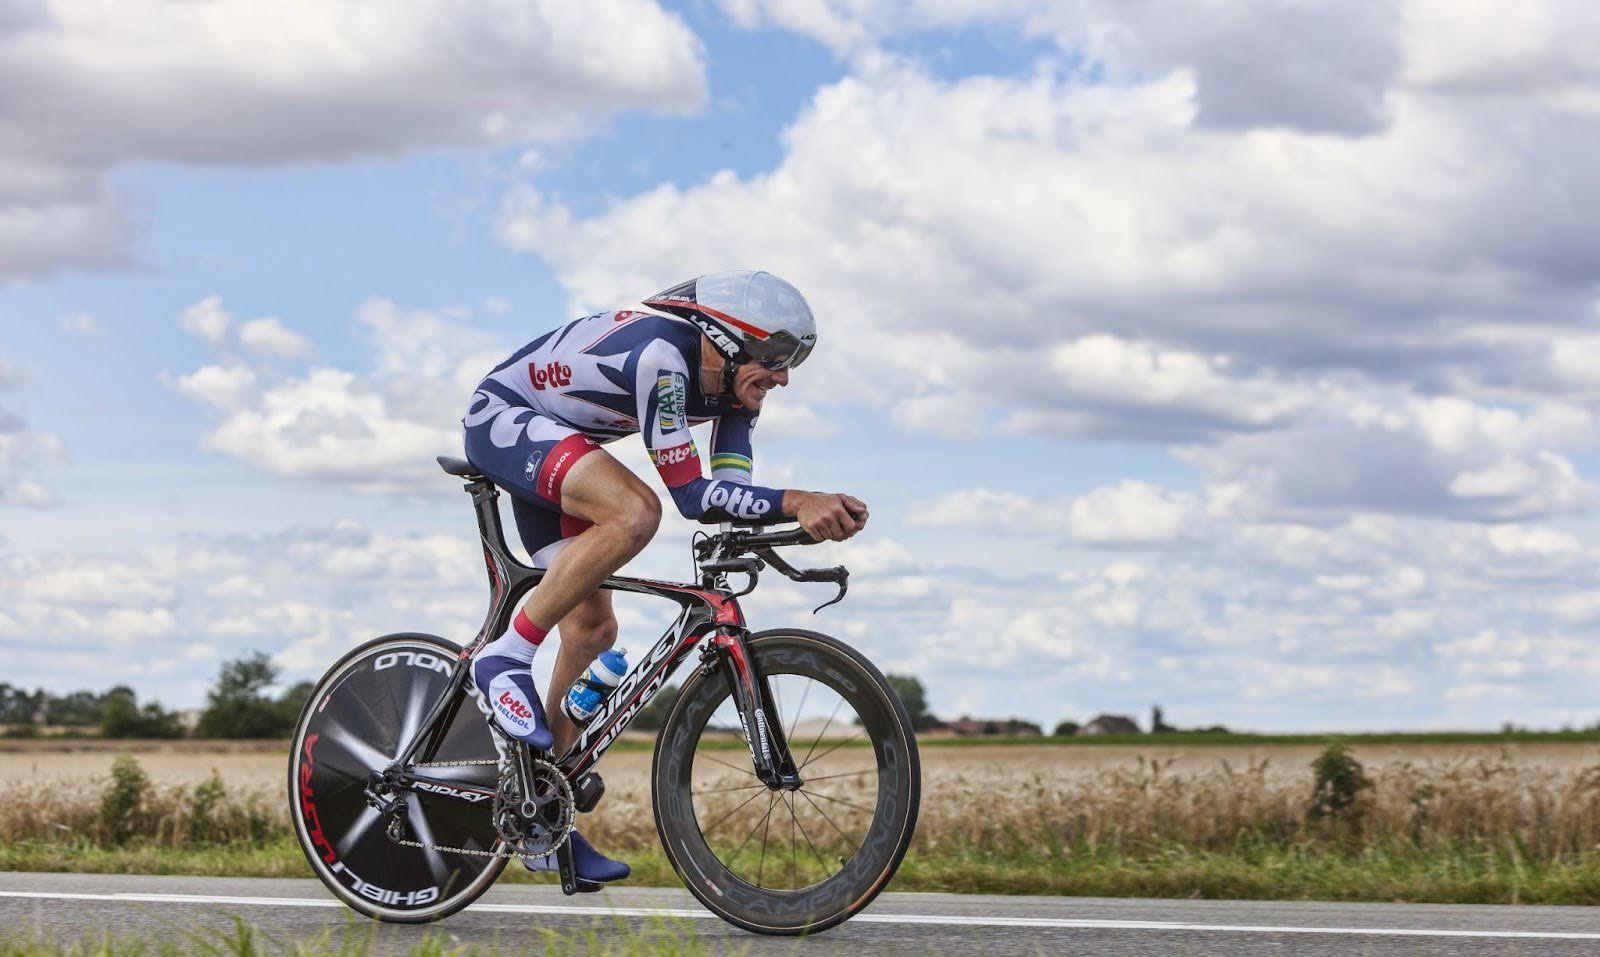
Want to see what a good recording looks like? Here are 4 best practice examples:
These were all shot following the techniques we’ve outlined above - so follow the guidelines and yours can be this good too.
Don't forget…
Creating your own top-quality ROUVY route opens up a whole new world of possibilities - allowing you to create an immersive experience for you and riders around the world to enjoy. By preparing thoroughly, using the right gear, and following best practices, your route can be AR-ready and provide real value to the global cycling community as well as hours of enjoyment for you and your cycling circle.
So grab your GoPro, pick your favourite stretch of road, and show us your world — one smooth, stabilized frame at a time.