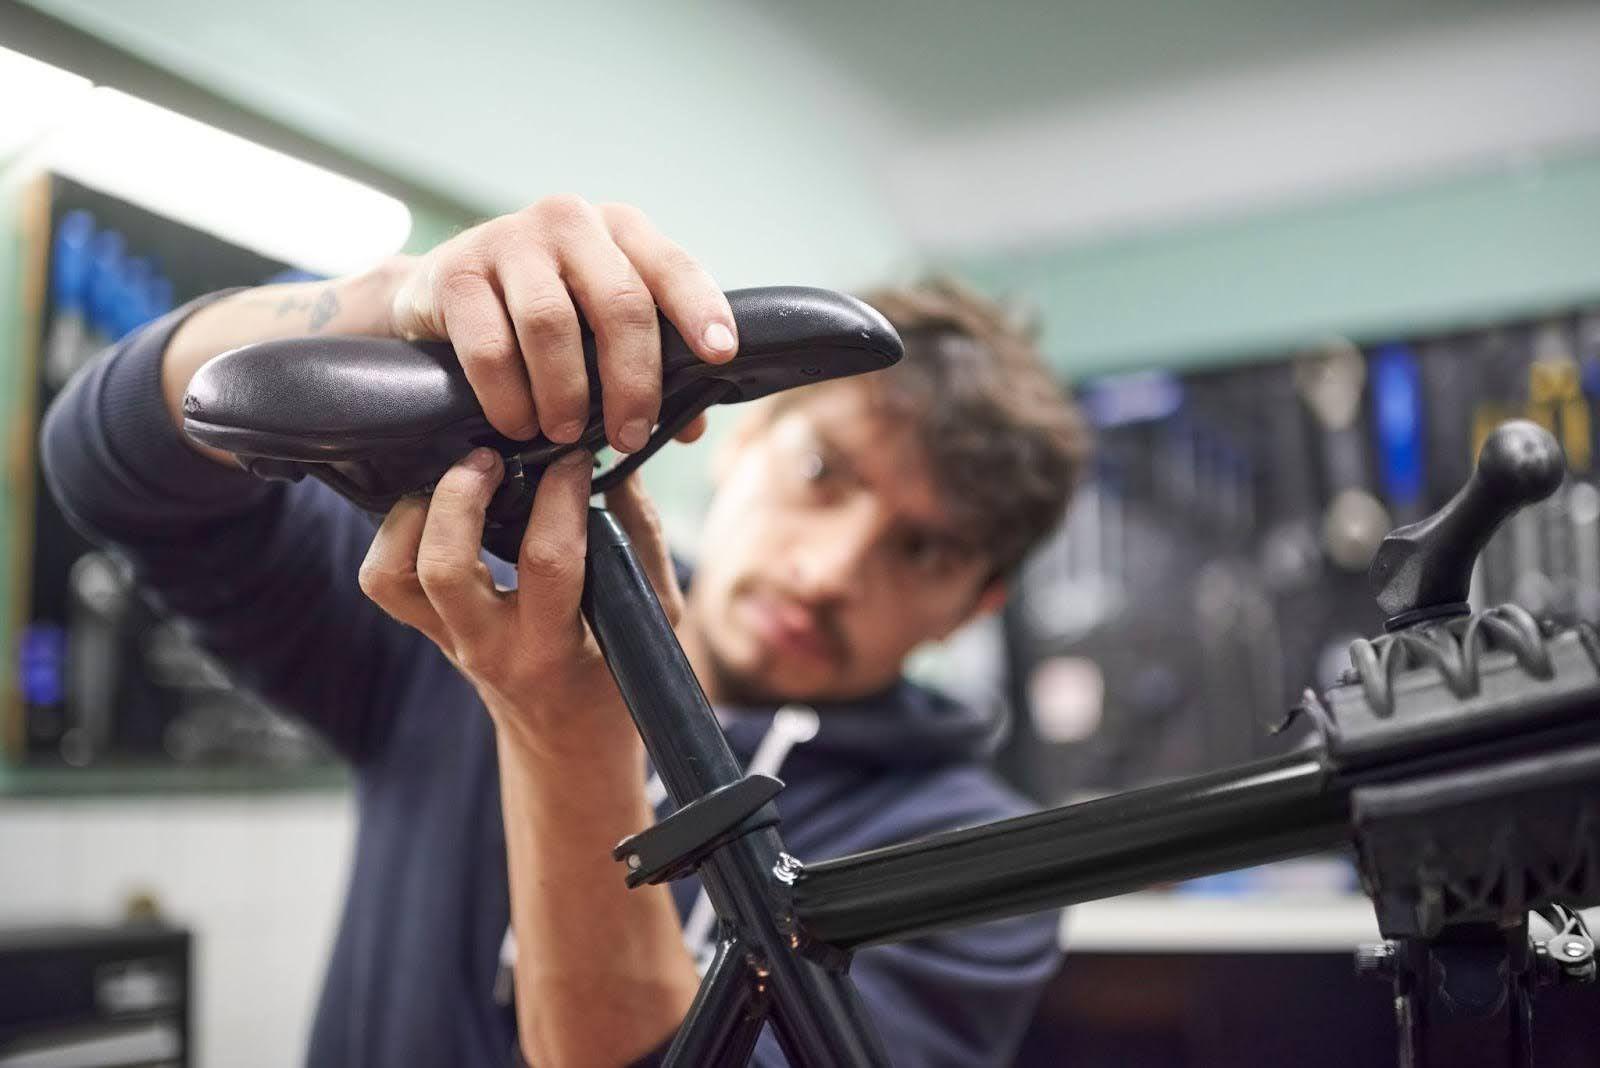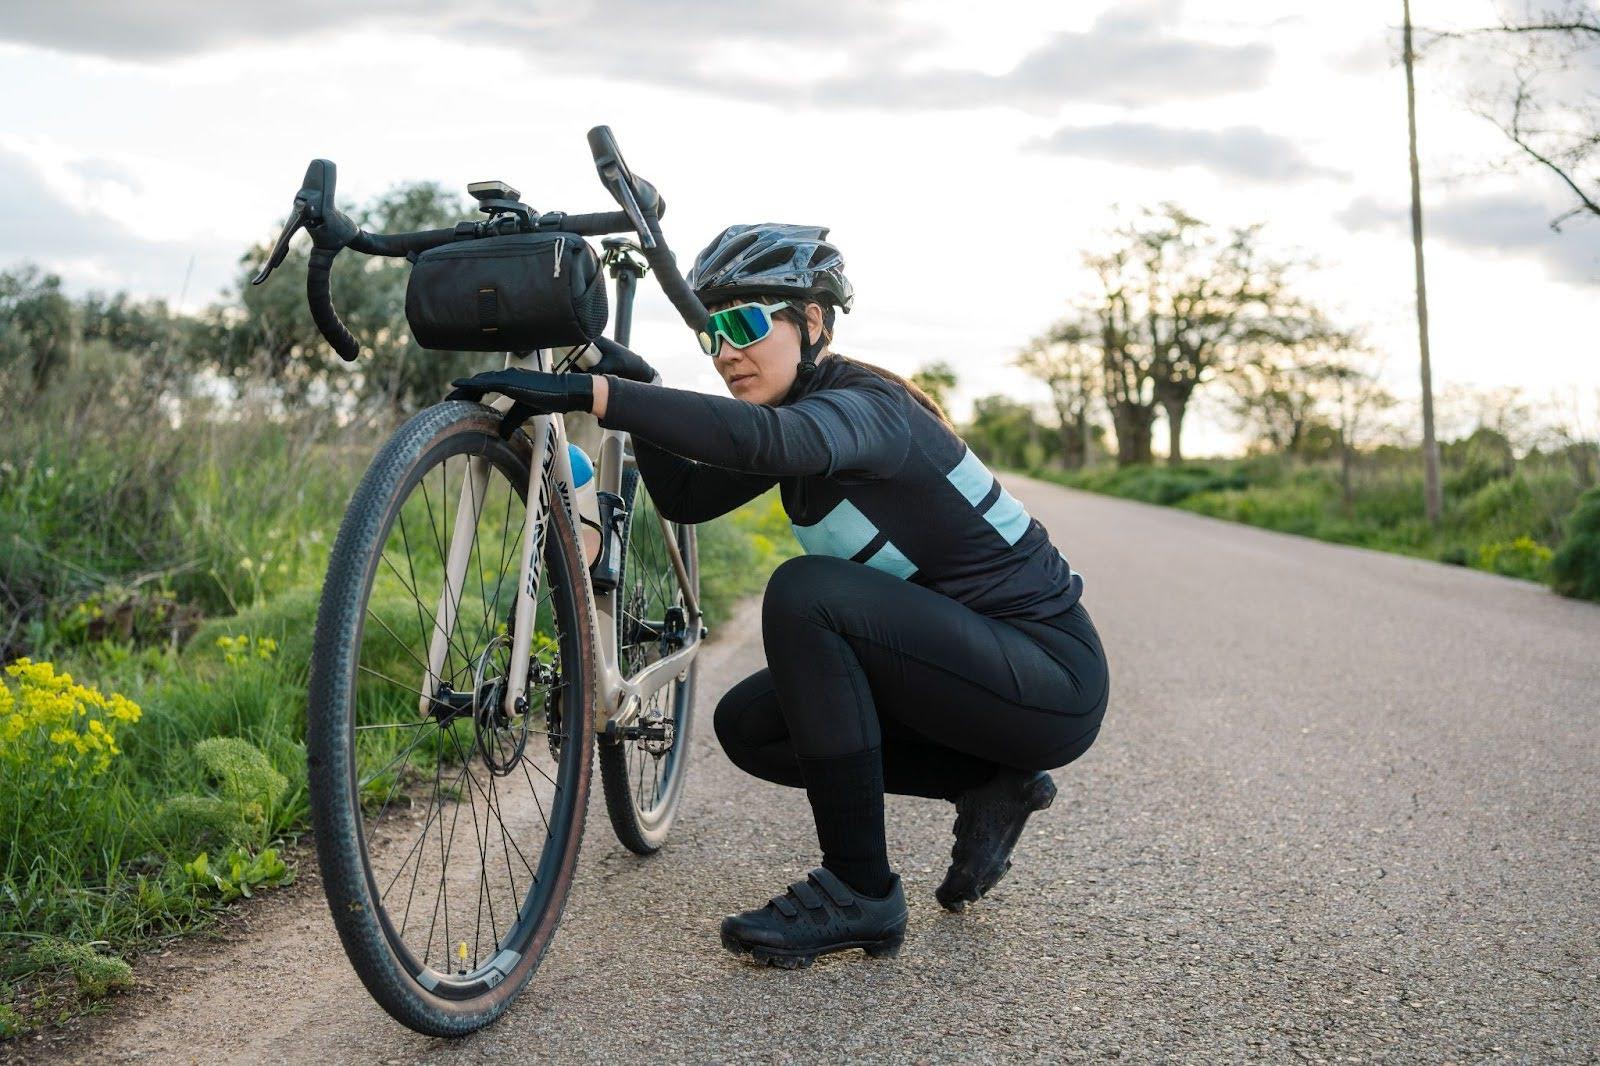
Saddle height is one of the most important adjustments you can make to your bike. Whether you’re riding outdoors or training at home with an indoor-cycling platform like ROUVY, getting your saddle height right has a big impact on your comfort, pedaling efficiency, power output and overall enjoyment. And more importantly, it can prevent injuries from repetitive motion and poor biomechanics.
If your bike saddle adjustment is even slightly off, you’re more likely to get knee pain, lower back strain, numbness or just feel like the ride is harder than it should be. By setting your correct saddle height you’re aligning your body in the optimal cycling position – a position that enhances performance while reducing the risk of overuse injuries.
There’s no one-size-fits-all number for everyone, but understanding the methods behind proper saddle-height measurement and how to fine tune your position is crucial. Whether you’re commuting daily, training for a long ride or grinding through indoor workouts on ROUVY, this guide will show you how to get it right and ride pain free.
Signs your saddle height is wrong
Before we get into numbers and adjustment tools, let’s understand how your body communicates discomfort caused by improper saddle height. Even small misalignments can add up over time and affect both your performance and enjoyment on the bike.
When your saddle is too low your legs never reach full extension during the pedal stroke. This causes excessive knee flexion, especially at the top and bottom of the stroke, and puts extra strain on the quadriceps and front of the knees. Over time this can lead to anterior knee pain or patellar tendinitis. You’ll also find that your hips feel cramped and your pedal stroke feels clumsy. Riders with a low saddle feel like they’re pedaling in squares rather than circles, with reduced efficiency and fatigue during long rides.

On the other hand when your saddle is too high the opposite problem occurs. Your legs overextend and your hips start to rock side to side to reach the bottom of each stroke. This rocking motion wastes energy and puts strain on the lower back, hamstrings and even the Achilles tendons. You’ll feel discomfort behind the knees or tightness in the hamstrings. In some cases cyclists get saddle sores due to uneven pressure distribution as the body shifts excessively on the saddle.
Common signs your bike saddle adjustment is off include:
Pain in the front or back of the knees
Numbness or tingling in the hands, feet or groin
Sore hips or lower back, especially after longer rides
A feeling of instability or awkwardness during pedaling
Saddle sores, even with good bib shorts and chamois cream
Recognize these warning signs early. Don’t adapt to the discomfort. You should view pain and inefficiency as a sign your saddle height needs adjusting. With the right setup you’ll pedal smoother, feel more balanced and reduce the risk of injury on and off the road.
How to measure your saddle height
Measuring your saddle height is a crucial step to an efficient and pain-free bike ride. It may seem like a small detail but the position of your saddle affects your biomechanics, pedaling power and even long-term joint health. Luckily, there are several ways to measure your saddle height, whether you’re new to cycling or looking to fine-tune your setup.
The Heel Method
The heel method is one of the simplest ways to get a good starting point. Place your bike on a stationary trainer or against a wall. Wear your cycling shoes and sit on the saddle and place your heel (not the ball of your foot) on the pedal. Rotate the pedal to its lowest point – around the 6 o’clock position. Your leg should be fully extended with your knee straight but not hyperextended. If your heel loses contact or you have to rock your hips to reach the pedal, your saddle is too high. If your knee is bent your saddle is too low.
Inseam Measurement Method
A more tailored approach is to use your actual leg length. To do this, measure your inseam (from crotch to floor) while standing barefoot on a hard surface with your back against a wall. Multiply this number (in centimetres) by 0.883 which gives you a suggested saddle height from the centre of the bottom bracket to the top of the saddle. This is known as the LeMond formula; popularized by three-time Tour de France winner Greg LeMond. It’s a good baseline for most riders.
Professional Bike Fitting
While both the heel method and the LeMond formula give you a good starting point, the best way to determine your optimal cycling position is through a professional bike fitting. A certified fitter will take into account your unique anatomy, riding style, flexibility and injury history using dynamic assessment tools and motion-capture technology. This is especially valuable for cyclists who are struggling with pain, uneven pedaling or looking for peak performance.
Investing the time to get your saddle height right – whether on your own or with professional help – pays off in comfort, efficiency and confidence on every ride.
