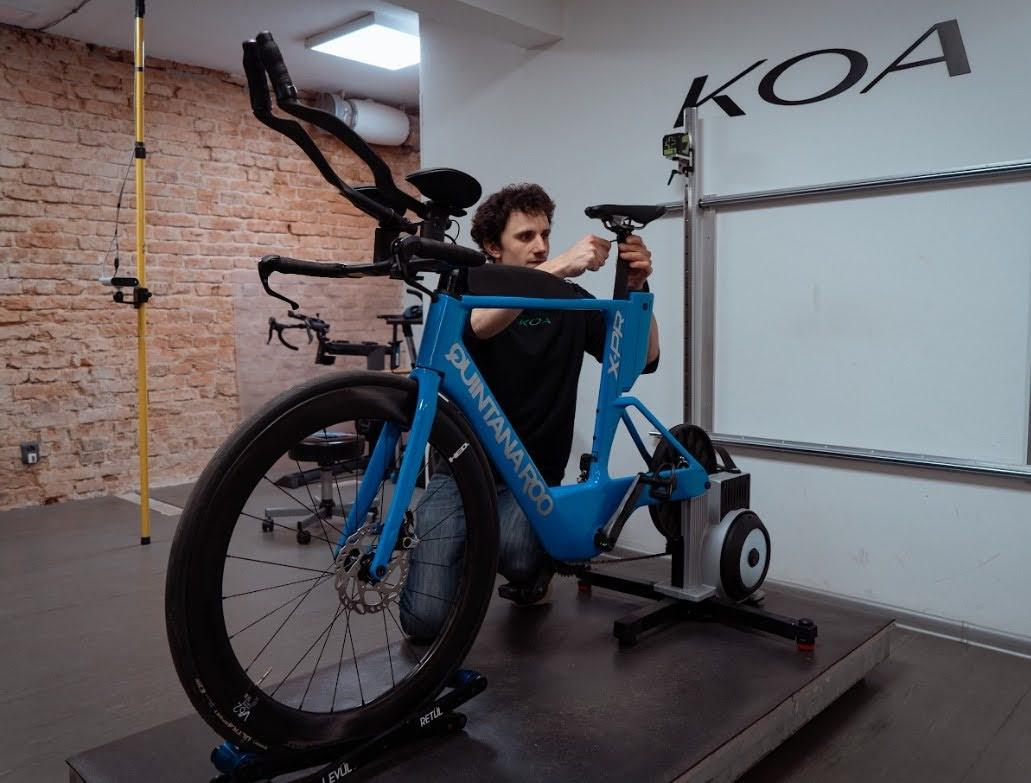
For most recreational riders, a well executed bike fitting will resolve the majority of issues.
The key is understanding the fundamentals – starting with the three contact points.
THE THREE CONTACT POINTS
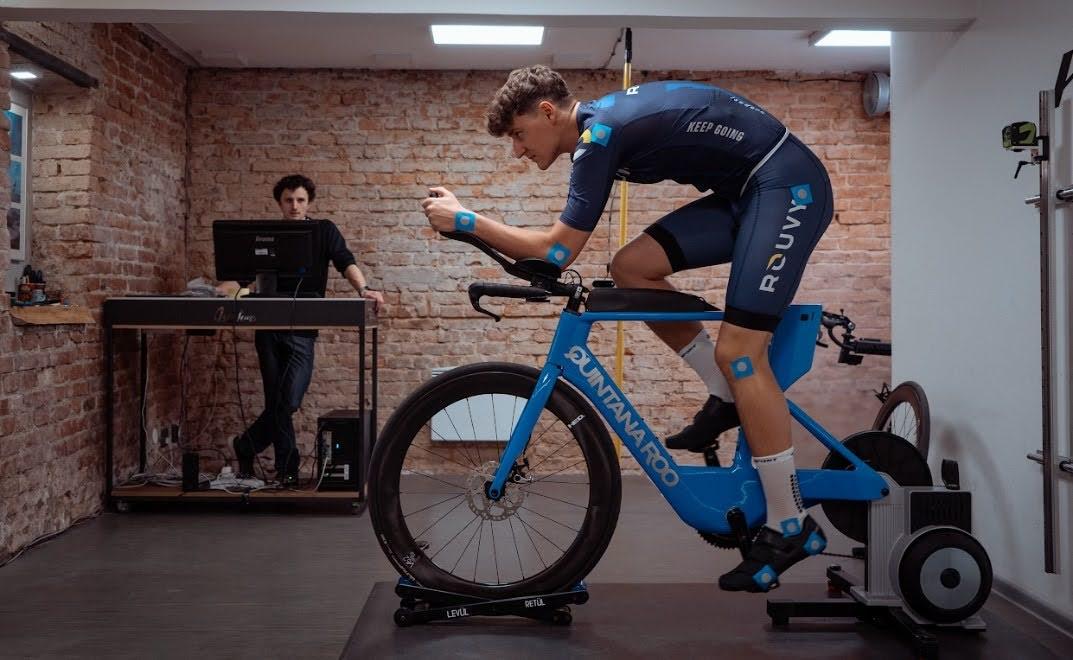
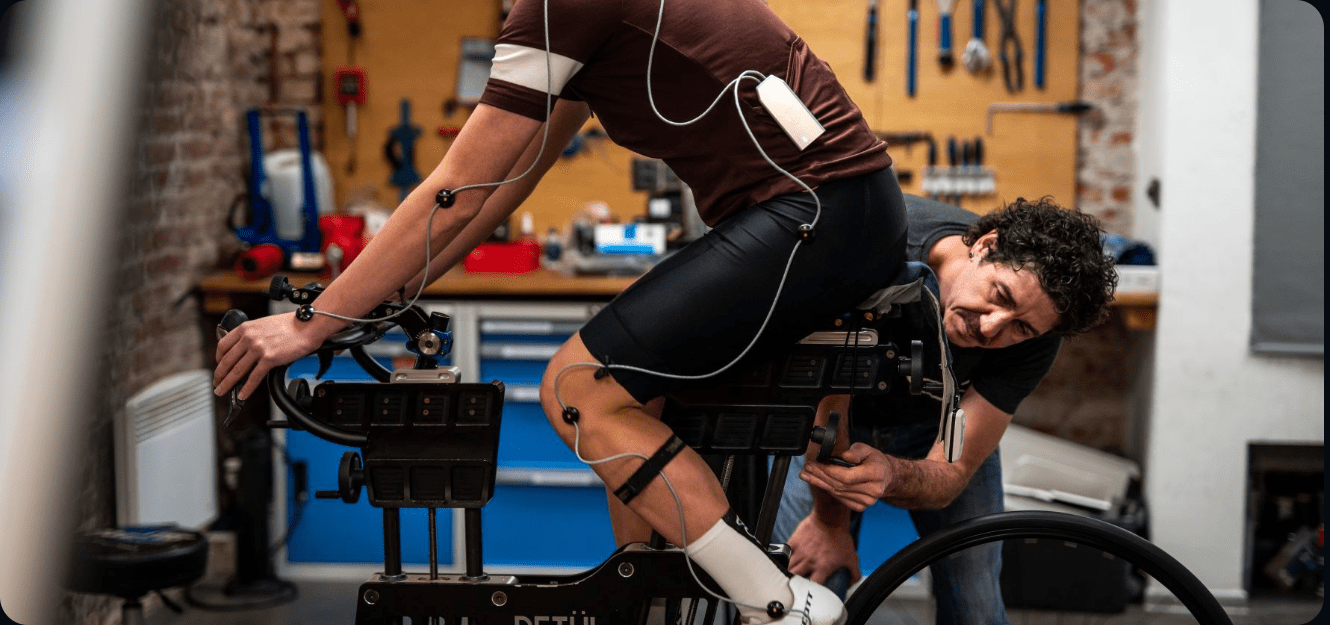
Every effective bike fitting starts with the same principle: your position on the bike is defined by three key contact points: the saddle, the handlebars and the pedals.
These are the only places where your body meets the bike, and together they determine how your weight is distributed, how efficiently you produce power, and how much strain is placed on your joints and muscles.
The pros at KOA emphasize that most cycling discomfort can be traced back to misalignment in one or more of these contact points.
The saddle is your foundation. It supports the majority of your body weight and directly affects leg extension, pelvic stability and pedalling efficiency. Even small errors in saddle height or position can quickly lead to knee, hip or lower-back pain.
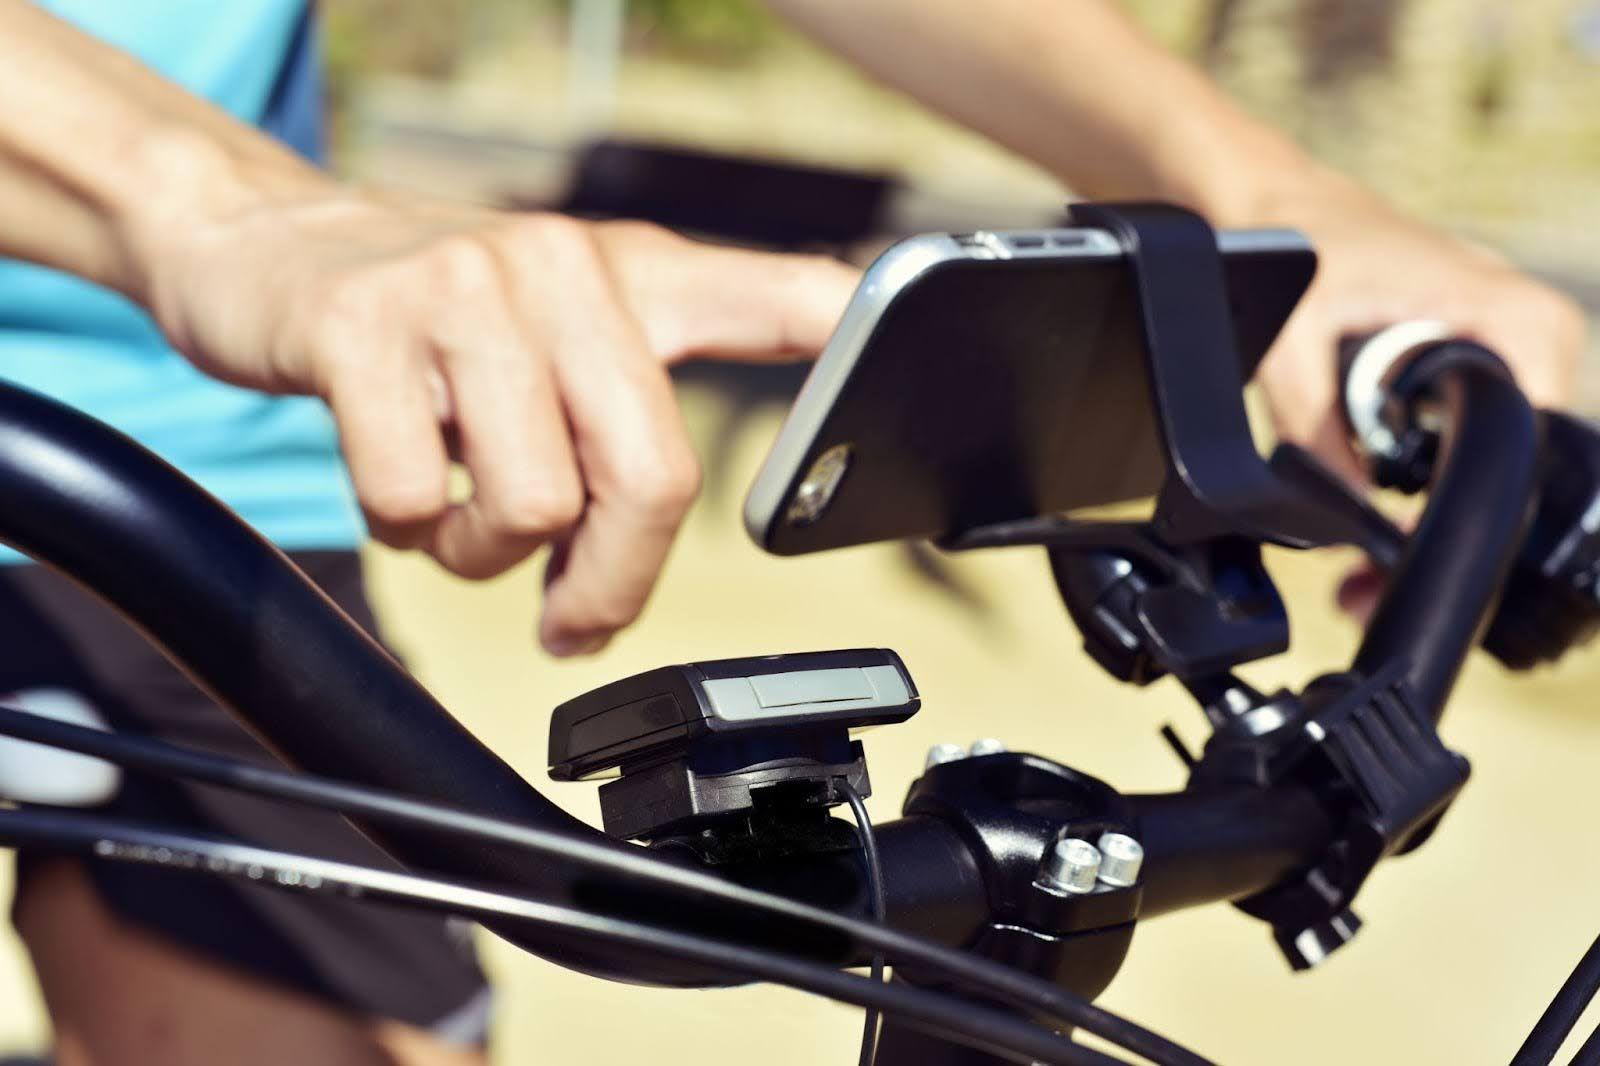
The handlebars control your upper body posture. Their position influences your reach, spinal alignment, breathing and how much weight is placed through your hands and shoulders.
The pedals are where power is transferred into motion. Foot placement and cleat position affect how force travels through your legs, particularly around the knees and ankles.
Filip describes the three contact points simply: “It’s the relationship between your saddle, pedals and handlebars and your joints, muscles and flexibility.”
TIP: TAKE A STEP-BY-STEP APPROACH
The key to fitting a bike to your body is not adjusting everything at once, but understanding how these three contact points work together.
A change in one area – for example, raising the saddle – will often influence another, such as reach to the handlebars or pressure on the pedals.
That’s why a structured, step-by-step approach is essential.
Start with the saddle, then refine your position at the front of the bike, and finally check how your feet connect with the pedals.
When these three points are aligned, the result is a position that feels stable, efficient and sustainable over longer rides.
HOW TO CHECK YOUR SADDLE HEIGHT
Proper saddle height is the foundation of any bike fitting. If it’s wrong, everything else compensates – usually leading to discomfort or inefficiency.
 To find the right starting point, there are a few simple methods you can use at home.
THE HEEL METHOD
This is the simplest starting point.
Sit on the bike
Place your heel on the pedal
Rotate backwards
Your leg should fully straighten at the bottom of the stroke.
When you return to a normal pedalling position (forefoot on the pedal), there will be a slight bend in your knee – exactly what you want.
THE HIP-ROCK TEST
Watch your hips while pedalling.
- If they rock side to side → saddle too high
- If your knees stay very bent → saddle too low
“If your saddle is too high, your hips will start to rock,” Filip explains. “And over time, that can lead to discomfort or injury.”
FILM FROM THE SIDE
This is one of the most effective self-check tools.
Record yourself cycling from the side
Look for smooth, stable movement
Check knee extension at the bottom of the stroke
This method gives you a more objective view than relying on feel alone.
SADDLE FORE/AFT AND TILT – BIKE SADDLE FITTING BASICS
Once your saddle height is correct, the next step in bike saddle fitting is adjusting its position and tilt.
FORE/AFT POSITION
This determines how your weight is distributed.
- Too far forward → excess pressure on hands and wrists
- Too far back → reduced power output, especially climbing
Here’s a useful guideline: With pedals level, your front knee should sit roughly above the pedal axle.
SADDLE TILT
Small changes here can make a big difference.
- Nose too high → pressure and discomfort
- Nose too low → sliding forward, increased strain on arms
Experts suggest keeping the saddle close to level, with minor adjustments (1 to 2 degrees) for comfort.
SADDLE SHAPE AND WIDTH
Discomfort is not always about position – sometimes it’s the saddle itself.
- A saddle that’s too narrow → pressure on soft tissue
- A saddle that’s too soft → lack of support
- A saddle that’s the incorrect shape → uneven weight distribution
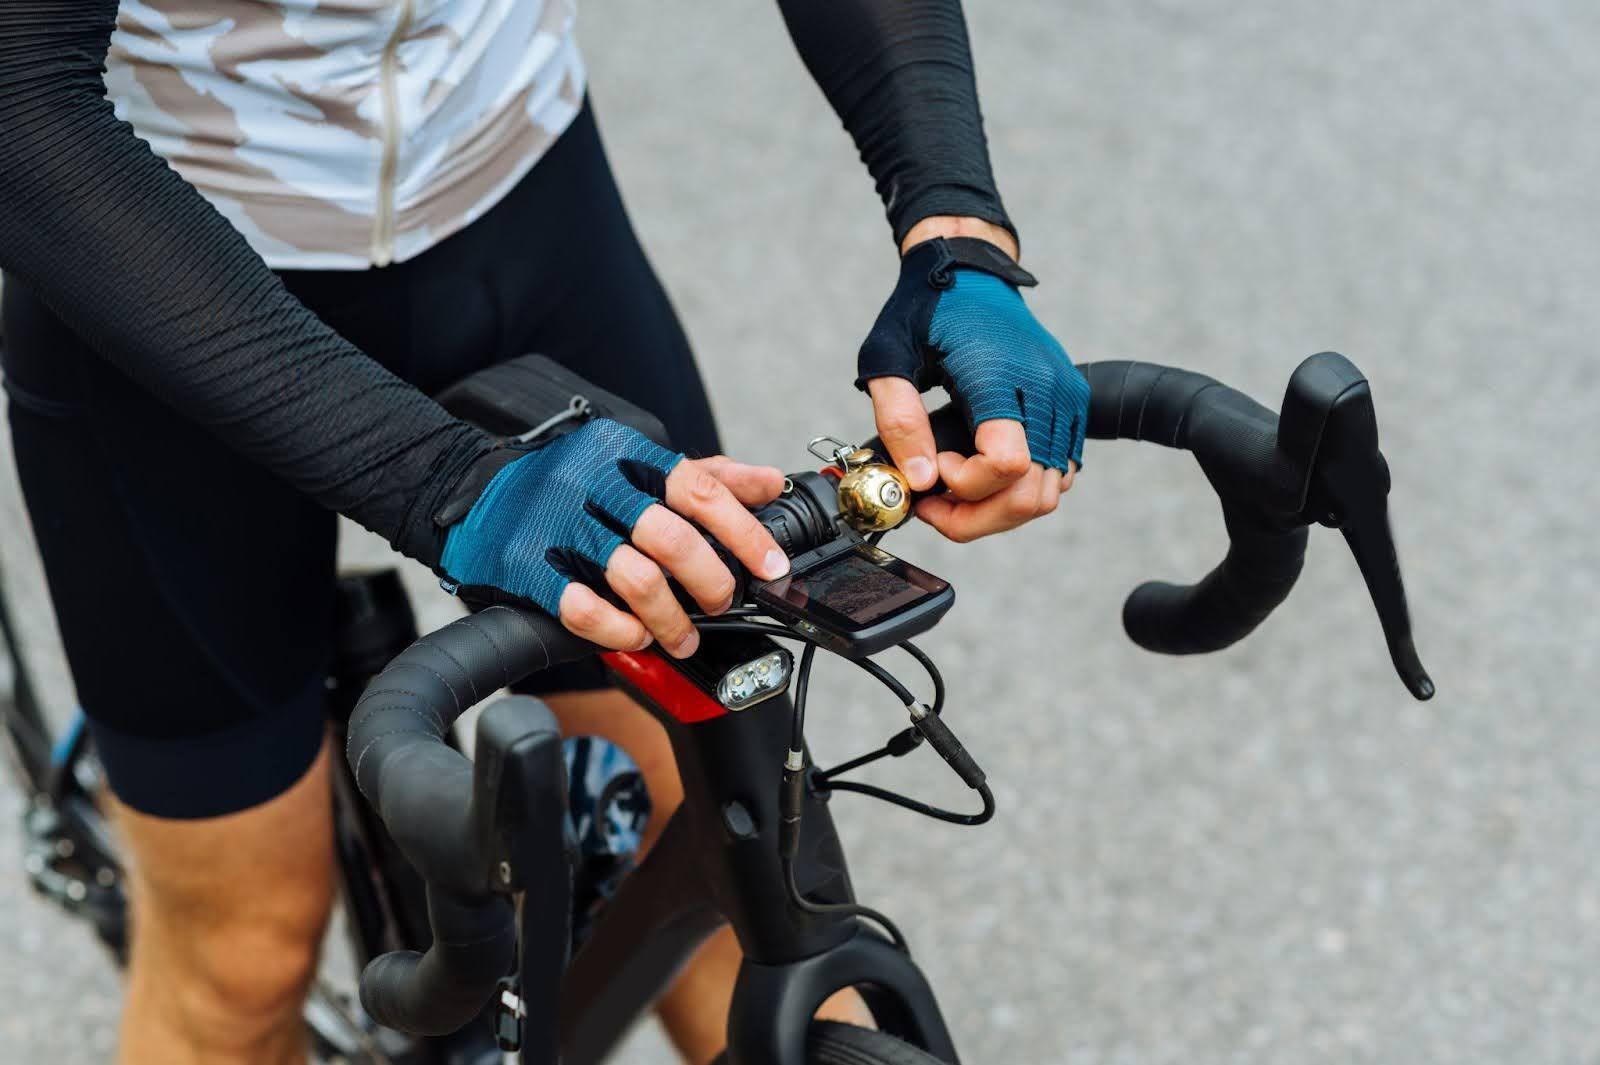
ROAD BIKE FITTING: HANDLEBAR REACH AND HEIGHT
On a road bike, handlebar position defines your upper body posture. To dial this in, you need to look at two key elements: how far you reach, and how high the bars sit.
REACH
- Too long → stretched position, shoulder and neck tension
- Too short → cramped posture, restricted breathing
A good position allows for:
- A slight bend in your elbows
- Relaxed shoulders
- A neutral spine
HEIGHT
Lower handlebars improve aerodynamics – but require flexibility.
For most riders – especially beginners and endurance cyclists – comfort should take priority over aggressive positioning.
Filip notes, “There’s nothing wrong with a slightly higher front end if it means you can ride longer and stay comfortable.”